This Mama Plans

I’m deep in the throes of motherhood at the moment. Our daughter is now 11 months old and she is soon to be unexpectedly joined by a little brother in a couple of months time!

We got rid of everything newborn after a couple of months of having Amber so we have pretty much had to think about Moses baskets and newborn clothes and next to me cribs (with my daughter I co-slept but I’d like to let our little boy have his own space and have a little more space for myself this time around… or at least have the option! If he is wriggly as he is right now in my belly I’ll be truly grateful of my own space haha).

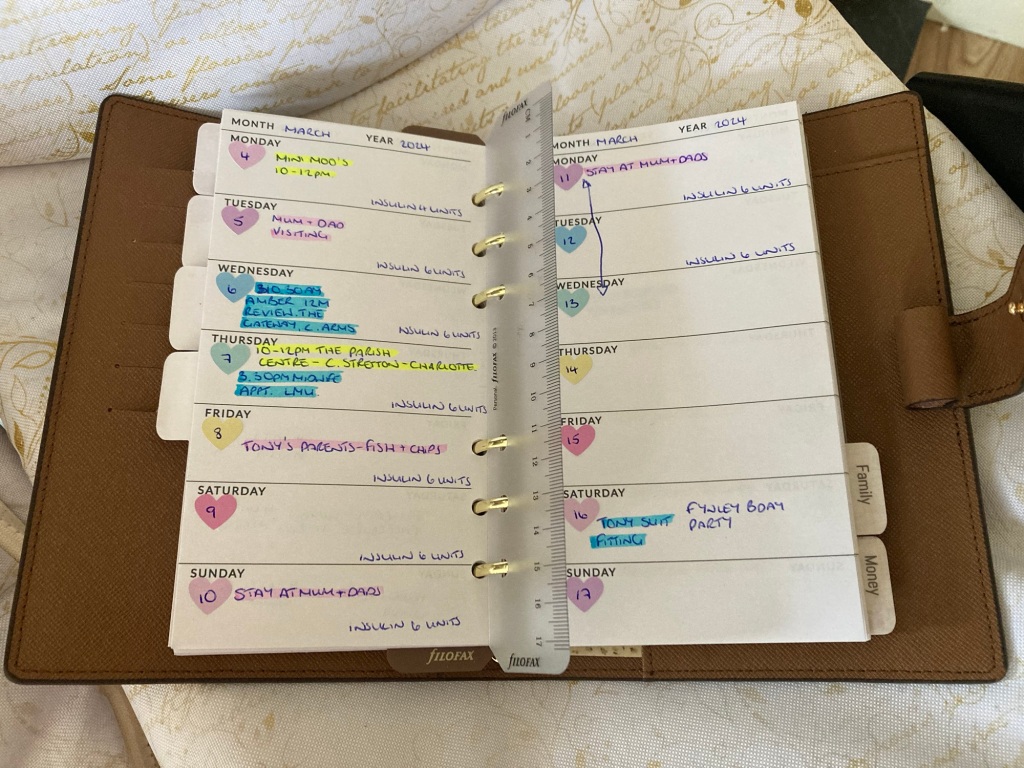
Once again I’ve been diagnosed with the dreaded Gestational Diabetes and as of last week I’ve begun injecting slow release overnight insulin. For everyone that has to inject themselves or test their blood sugars I salute you; it’s not easy. It’s even harder when you’re sleep deprived due to baby teething and have pregnancy brain fog. Just remembering to test an hour after food and injecting the insulin at the same time each night when our daughter comes first and is demanding bedtime or a bottle (or both) is a challenge! But with only 8 weeks to go now, I am confident only 56 days of finger pricking and injections will pass quite quickly.

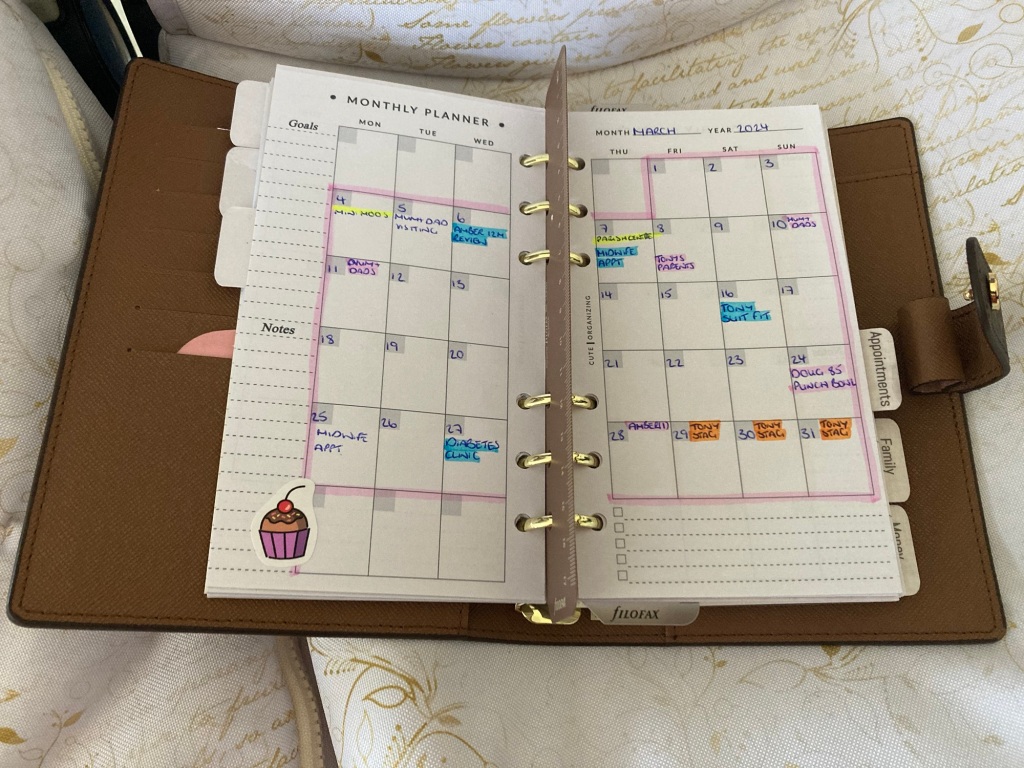
When I had Amber, I recall leading up to her birth and especially just afterwards wishing I’d got a planner setup ready and being utilised. The amount of appointments leading up to and after birth is crazy. And that’s in between family and friends wanting to meet new baby… and life stuff. Hindsight is a wonderful thing; but having been there before, I decided to start organising a new planner set up.

Before this decision (and perhaps an influencing factor), we had been researching double prams… because you know… 2 under 14months… practicality wins hands down haha! We decided on a Bugaboo Donkey but damn they look so boring, dark and flimsy! Luckily I found someone on Etsy that does custom work and anyone who knows me, knows I like to put my own stamp on things. So I set to work designing my own hoods, liners and footmuffs with gusto. But when it came, my buldging, battered pram bag looked far too shabby for the new pretty pram… so I decided to look for a new, slightly more glam way of toting around all of my daughters things (and although people say you carry less as they get older I have found I’m carrying more – the usual bottles, change of clothing, muslin cloths, extra dummies, calpol, gripe water, changing facilities, blankets etc… but now we are also carrying toys, food, sippy cups, cutlery, silicone bibs and snacks as she’s now on solids alongside bottles). As well as my daughters items, I’ll be shortly be taking my newborn sons bits and pieces around too. So I needed a new and larger bag. Something organised too; as I’ve found quite quickly that nappy bags can get disorganised very quickly!

I’m not normally one for backpacks so I pulled out my old sturdy LV Neverfull tote and at the moment I’ve got it stuffed to the brim with Ambers items. As well as that, a Speedy 30 is serving as a “Pram Caddy”, holding all of mine and my partners essentials as well as a couple of milk bottles in the felt liner and anything we think might be handy.

Putting the Donkey into double mode removes my “bag basket” so I’m looking to consolidate everything into 1 bag. Side Note: Ambers toys are not in the bag on this photo

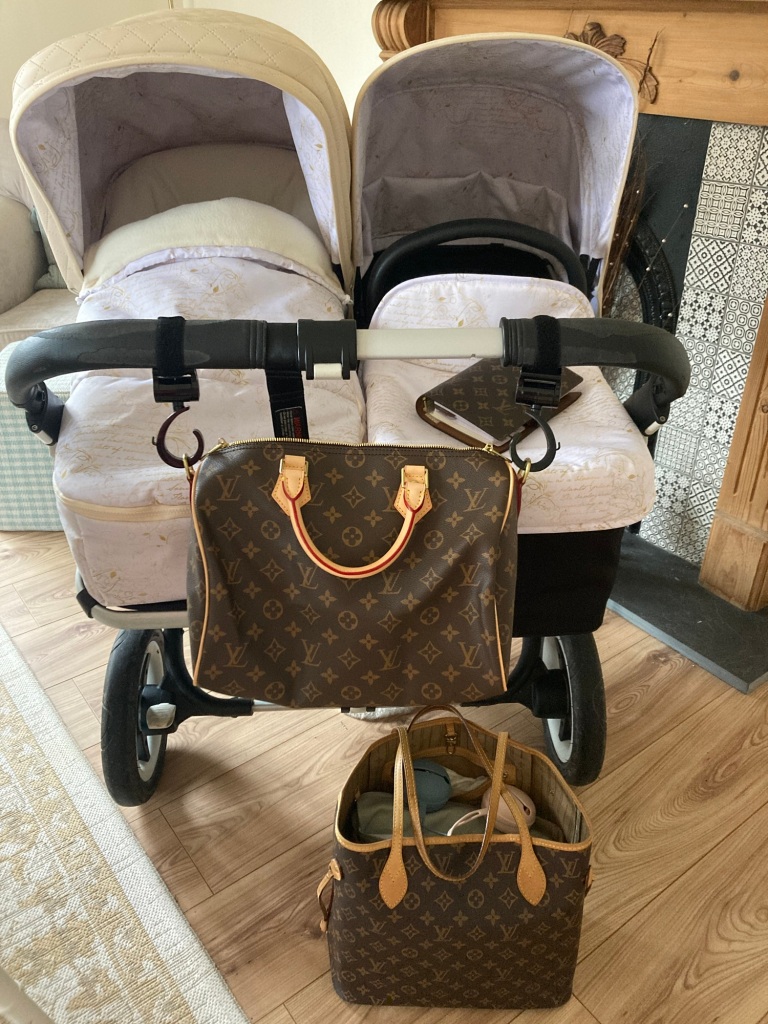
However… the lure of the practical backpack was overpowering and I can feel myself giving in to an LV Palm Springs bag; especially as we will not have the (oh so handy) side basket on the pram for much longer and the thought of sacrificing under basket storage and putting the tote bag on its side (of course, I can just see everything spilling out everywhere) and being splashed by mud constantly is too painful for me to imagine.

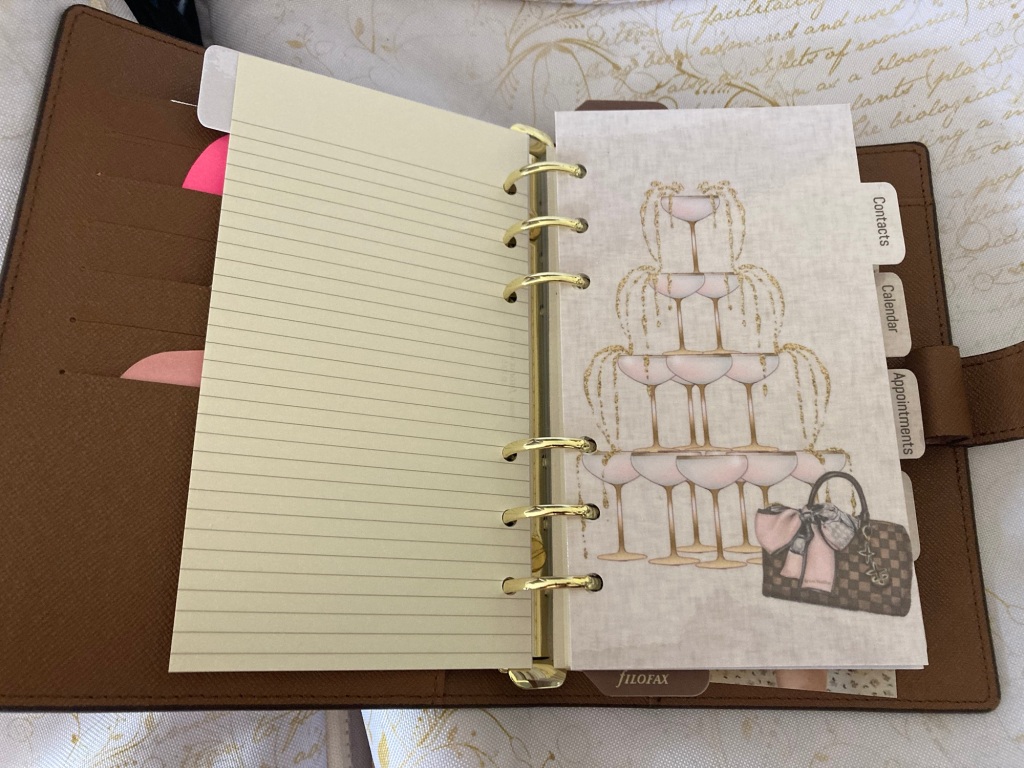
Anyway; huge digression there! With my love of the LV monogram bags in full force, I have purchased an LV Monogram MM size agenda from DHGate (I mean, Maternity Pay sucks and I have enough to pay out in the preparation for this little lad so real luxury items are unfortunately on the back burner for the next 18 years… am I right?!). When it arrived I was actually so disappointed because the ring diameter was 16mm!

I wound up purchasing a gold 30mm ring size clear plastic binder from Amazon and then de-ringing the planner and getting my partner Tony to drill holes for the 30mm rings to fit in.

I then purchased inserts from Cute Organising on Etsy and I had some custom tabs created from appleblushdesigns on Etsy which I’m super happy with!

I’ve switched out the 16mm rings for 30mm rings: perhaps 25mm rings would be a better fit for this binder as the press-stud is pulling
Beautiful tabs from appleblushdesigns on Etsy!
Planner pages from Cute Organising on Etsy
My super happy daughter at 3 months old

If anyone has any suggestions on how to get about stylishly with a newborn and a 1 year old of different genders – please let me know as the bag situation has got me flummoxed right now!

All the best

Kel

Xxx

The Bombshell Filofax

Happy Monday everyone!

Recently I have been revisiting and devouring one of my favourite books, “The Bombshell Manual of Style” by Laren Stover. When I first read this in 2010 I was hooked.

For some time I have been a fan of the classic bombshell films, with Bridget Bardot, Jayne Mansfield, Kim Novak and of course, Marilyn Monroe as the stars. So when I re-read the Manual (AKA, The Bible 😉 ) I knew that Reuben Toledo’s amazing bombshellesque illustrations had to be involved somehow in my filofax.

So I added some illustrations to some filofax notepaper, and here is an example of how they have come out:

20131021-233836.jpg

I’m quite pleased! So I’ve added them to the Free Inserts Page if you’re interested in unleashing your inner bombshell 🙂

While I was fiddling around with my printing, I also had a go at positioning one of the illustrations in the original filofax week on 2 pages “this week” section. Here’s how that turned out!

20131021-234158.jpg

Pretty neat, huh?

This is also available for anyone that is interested, in the Free Inserts page (the link is at the top of the page!)

20131021-234517.jpg

Hope you enjoy, I’ll add some more illustrations soon 🙂

Stay creative!

Kel

X

How I Make My Dividers

Hi everyone!

Today I did a bit of shopping in the craft corner of a local garden centre to give me more girly-pink ideas for my upcoming new dividers and system.  I ended up travelling to hobbycraft as well…!

Image

Just a bit of pink to add to my growing collection…!  The beachy styles at the top are for my scrapbook I fully intend on making when I get home from Tenerife in a few weeks time.

Anyway, I wanted to share how I make my dividers.  I have 2 posts coming out today, the second one will show all of my dividers completed and in use as of about 1 hour ago ;).

First of all, I mentioned a post or so ago that the vision behind the change is focusing on the “lady” that I have drawings of.  She will feature on all of my attempted designs ;).  So anyway, with that in mind, I think of how best I can showcase the drawing.

The one I’m going to show you was very quickly made and not a lot of detail went into this one as opposed to some of them, but hey ho… here we go!

First of all, I chose the appropriate style background paper (like card stock, but paper instead) and cut to size.  For me and what I need it for, it doesn’t need to be completely straight, it doesn’t need to be a certain size, just however I feel works for me:

Image

I cut and stick into place (usually slightly on an angle, I don’t require things to be perfectly straight!).  Then I line up my drawing where I want, cut and stick again:

Image

I created a frame made of of scrap paper and added little embellishment to finish off.

Then I sprinkled on a little “interest” – a cutout saying “summer days” and an adhesive dollie boarder down the one side to give texture.  I added a bit of sparkle and another little flower embellishment near the bottom of the “eiffel tower”.

Image

And that’s my method…!  Once I complete all of the dividers, I then run them all though the laminator and cut to size, hole punch and away I go!  It just takes so much time!

Now I’m going to work on my next post which should be completed this evening also…  I’m WIRED!  So excited to show off and use my new dividers… I know I’m pathetic but I have worked 3 days on these and I’m rather proud of them haha!

Kel

x

Yes, I got bored with my Malden look…!

I’m not sure whether it is the summer influence, the new decor of my flat or the fact I’ve just watched a hell of a lot of pink (Legally Blonde)… but the girly glamorous side to me is dying to be unleashed!

Today I looked upon my beloved Malden and decided it was:

1) too bulky

and

2) not feminine enough for my liking

I got to thinking – “how can I express my femininity using my Filofax? How can I lighten this up? What would Elle Woods do?” Haha!

First of all, I took stock of what I REALLY needed in there. I mean REALLY needed. Like… how bulky is the business card section? I know I need my cards and all, and I do access them quite often, but surely, couldn’t I transfer the detail into my address section instead? Or have a separate organiser just for my cards? The card section is so large, that it means I can only have a month of my day-per-page diary in at a time… and trying to open and close rings is a nightmare as it’s so stuffed!

20130617-011547.jpg 20130617-011601.jpg 20130617-011612.jpg 20130617-011628.jpg

Out came my trusty creative bits and pieces, and armed with my mug of coffee (yeah, that’s a Savage Garden mug you see there in the picture…), I began turning the rather basic creative cogs in my mind. Let’s be honest here, I only started getting to grips with the whole creativity thing the end of last year, I’m by far the least creative soul on the planet…!

20130617-011658.jpg

I looked at the kind of ideas I’d put together for my bestie for her pocket Filo (before she quickly upgraded to a personal) and I loved the “scrapbook” type theme I had going… so I thought I might get a few bits of inspiration from that…

20130617-011710.jpg

By the way, the photo on the diary is a polaroid printout of my bestie – isn’t she a beaut!

Taking the idea of the pretty font due to be used on my mates tabs as you saw on the above photographs, I decided I’d like some Elle Woods inspiration and go for a pink tab and a dark violet font colour. I went one further and scanned, printed and cut out an inspirational “lady” to be the theme of my Tabs. You’ll see her in various designs (once I’ve managed to stretch the hours out longer, there just isn’t enough time to do everything I want to do. Does anyone else think that once they start messing around, time shoots by and all of a sudden 8 hours have passed by and you’ve succeeded in one thing only?) anyway, here’s the photograph of the tab design and my theme lady:

20130617-011736.jpg

Before I started work on my tabs, I realised I wanted pink tabs…! More pink! Pink is the new black, pink is the word etc etc… I’m going pinksane! The way I wanted to do it was to use pink coloured Filofax paper, however… this little lady thought it would be a great idea to auction off all of her coloured paper months ago as she thought she would never have any use for it, and liked all of the pages to be white… proves it’s certainly a lady’s perogative to change her mind…! Tomorrow I SHALL get some.

But anyway – I really wanted to do SOMETHING! I was wired and inspired! I decided printing out bits and bobs ready for when I could do more would help. It didn’t. I ended up part making a bookmark (which needs to be laminated and then hole punched but I want to wait for a couple of bits and bobs that require laminating in order to complete it):

20130617-011758.jpg

And then, after 8 hours of internet searching for appropriate possible background ideas, this is my result so far… and yep, that’s the back of the bookmark I made today too that you can see near the “Dior” printout.

20130617-011809.jpg

Feels like I have a very long way to go to get to where I want to get to… but I’m sure it will be worth it in the end… After all, re-vamping has always been my favourite part!

Have you changed your Filofax tabs lately? What inspired you, and why?

Much love

Kel

x