Filofax Setup


After chatting with my Best Friend Carrie tonight who was interested in how I set my planner up (the way it works for ME), I figured as I’m incredibly happy with my system I would put more information on the way I go about setting up my Month and Weekly view diary pages.

For my setup I always begin with my Month To View pages.  Then I transfer across to my Week To View, but I’ll get to that shortly!

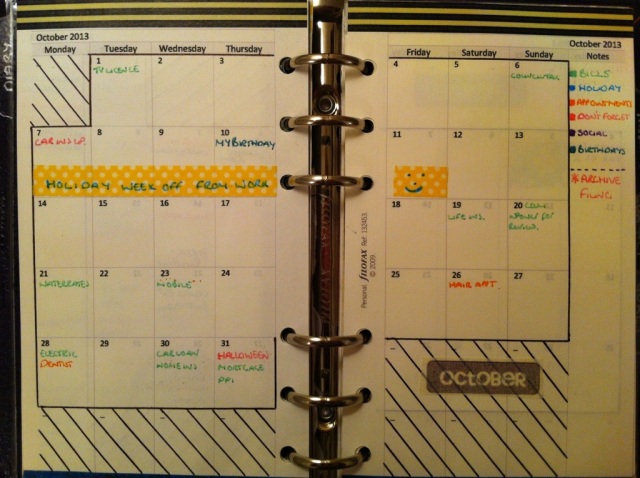
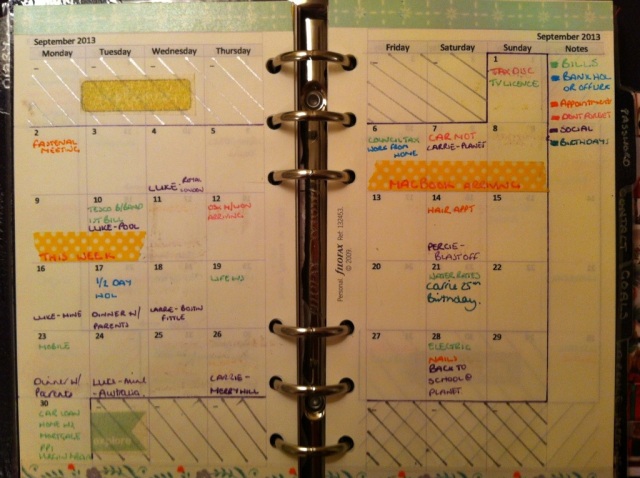
As you may know already from a previous post briefly mentioning what is in my Filofax, I use the Philofaxy/My Life All In One Place Month To View printouts which I decorate with Washi Tape and then draw around the entire month’s boxes in a coloured pen.

Here is an example of how my page looks like before my scrawls and colour coding system takes hold of it!


20130926-224740.jpg


When I’ve completed my decoration, I then use my coloured Pilot Frixion Erasable Pens to mark out my colour coding system in the Notes Section on the far right hand side of the page as you can see below.

I also then fill in what I already know is happening that month, like:

Direct Debits that will leave my account that month (light green)

Holiday days I take from work or work from home or National Holiday days (light blue)

Appointments for either work or personal, e.g. customer visits, nails, hair, doctors, dentist etc (orange)

“Don’t Forget!” items such as MOT or Insurance being up, deadlines for reports or just something I need to do for a specific day that requires me to sort something out “by that date”.  I also use it for “Recognised Days”, e.g. Father’s Day, St Georges Day, Pancake Day, Halloween, Remembrance Day – but these days are not recognised as a National Holiday (pink)

Social Events or parties, nights out, date nights, meals etc, anything where I am interacting with my circle of friends or family or person of interest 😉  (purple)

Birthdays – self explanatory (dark green)

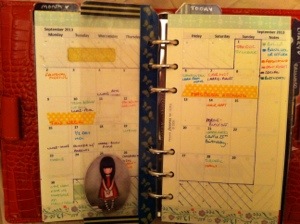
They are all plotted out on my month to view using my colour coding system as you can see below.

20130926-224809.jpg


At this point I would begin transferring my data over into my Week To View, but more on this shortly.

Below is an example of this month for me at a glance.  You can see that it’s been padded out with social events and appointments.  Usually, I try to put my events in the order that they will be done.  This means during the week my social events (purple) are generally at the bottom of the box because of work I can only really socialise on the evenings.  It allows for room in case anything crops up that I need to add in (a work appointment for example).  With the week to view, I do not put much detail – like times and addresses or in depth arrangements.  It’s just what’s happening, which date.

20130926-224838.jpg


Now then.  Once I’ve got all of my month set up to the point where I’ve inputted all of my bills, birthdays, national holidays/work holidays, social events that have been planned in advance etc… I transfer them over into my Week To View diary pages.

My week is the Standard Filofax Week To View.  Honestly, I tried using others, noteably a day per page with appointment times, but once I stopped Repping every day I found it took up too much space in my Filofax and therefore decided to try other methods.  This method works for me best.

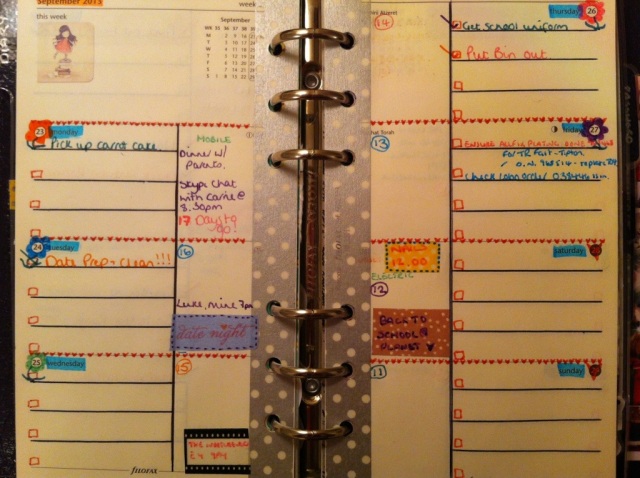
I’ve split my pages into 2 parts, added lines and checkboxes to one part, and the part closest to the rings are left blank.

Once I’ve had fun decorating with washi tape, my colour pens doodling around the dates and highlighting the month and the days, I use the “inner section” – the part closest to the rings – to import my Month To View calendar events (sometimes using the Event Stickers I make), and also in this area, expanding on the information, such as times.  The colour coding system is still in force in this area.

I only use this area for whatever you see on the Month To View (except if there are films on TV I want to watch).

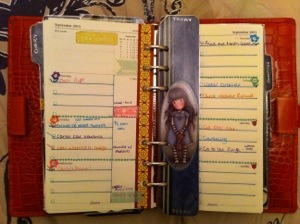
For example, you can see in light green on Monday I had a Direct Debit scheduled for my Mobile Phone Bill.  I also had dinner with my parents and then a skype chat planned (including a time) – both in purple.

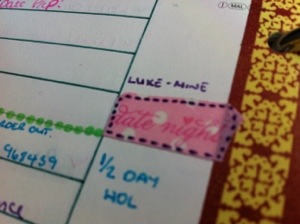
You can see on Tuesday evening I had a date night with Luke at mine planned at 7pm – in purple as it was classed as a “social event”.

All of those examples are on my Month To View.

20130926-224912.jpg


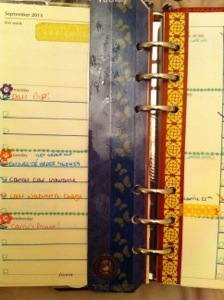
The last section, or the “outer section” – the section with the checkboxes, are not colour coded, and they are merely daily to-do-lists for me to fill out the night before or even during the day etc.  They also aid in my working life when I need to chase an order up a week in a week or so’s time.

The Daily To-Do-List is a real close up view of things I need to accomplish that day, whether it is to change my bedding, to ensure I pop time in to pamper myself with a face mask, to remind me to water my orchids, to make sure I post something out or collect something…

One last thing…

I also use my first section of the week – the part that says “this week” usually above the Monday on the Standard UK Filofax Week To View – to record things that are going to happen over the course of the week; eg, if I’m off work on Holiday all week, it’s on there.  If my parents are abroad that week, it’s on there.  Anything that is happening that week – all week – is in that section.

I hope that’s given you an insight as to how I plan my pages out a little more, I know it sounds like a lot and a lot of time and effort go into it, but I think the most time is the initial set up – figuring out how I wanted things to look or work for me.  After that, it’s all about the maintenance and keeping things up to date as much as possible.  I spend a couple of minutes updating my Filofax every day to ensure I don’t miss anything out.

I’m not saying this is the perfect setup – if I’d have had this setup myself a mere 6 months ago it would not have worked for me in my Repping Role.  What works for one person will not work for someone else.  It all depends on how much time you want (or are able!) to take out to organise your life effectively.

I’m a very orderly person, but also very visual, so things at a glance as well as up close are important to me.  I need to see the whole picture, divided up as much as possible.  I need colour, something that attracts me to want to look at my planner often enough to want/feel inspired to complete the tasks I set myself – or even, to set myself the tasks in the first place!

How does your setup work for you?  Have you tampered with different setups and are currently in the dreaded “planner fail” area right now?

Kel

x
Filofax Birthday Present!

The inspiration for my Halloween Filofax dividers actually came from my Best Friend, Carrie.  Or rather, my birthday present to her.

Carrie is a rock girl to heart.  She loves a bit of metal, so for my birthday present to her, I wanted it to be extremely personal and a full representation of how I see her through my eyes.  The “gorjuss” range embodies her perfectly.

Carrie began using a Filofax about a year ago, beginning with my Lavender Pocket Metropol, upgrading to a Black Personal Identity and now she is in a beautiful Holborn which I lust after!  She has always complained at her lack of creativity and how she feels her planner is very “plain”.

After meeting up with her in the week last week, she wanted to see how I plan my pages out, and I was only too glad to oblige – whipping out my monthly pages and explaining my colour coding system and how it transfers to the “inner section” of my weekly diary pages.  She seemed intrigued about the colour coding, so I rushed out to get her some erasable pens pronto for part of her birthday pack that I had been slowly building up for her.

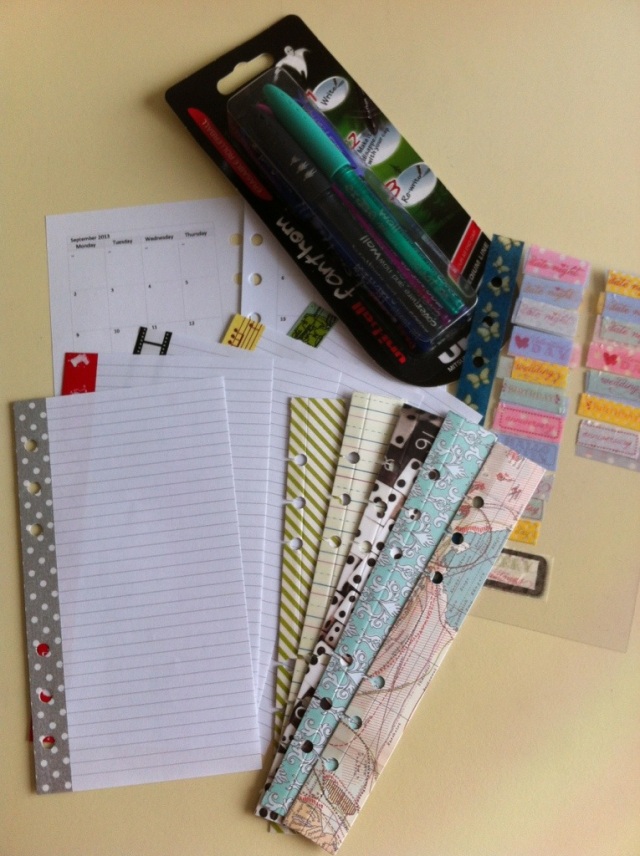
In her birthday pack, I got her:

Washi Tapes

Uniball Phantom Pens x 5 (colourful)

Smash Today Markers

Flyleaf with Event Stickers

Notepaper with Washi Tape

Philofaxy/My Life All In One Place Month To View Pages (ready to decorate!)

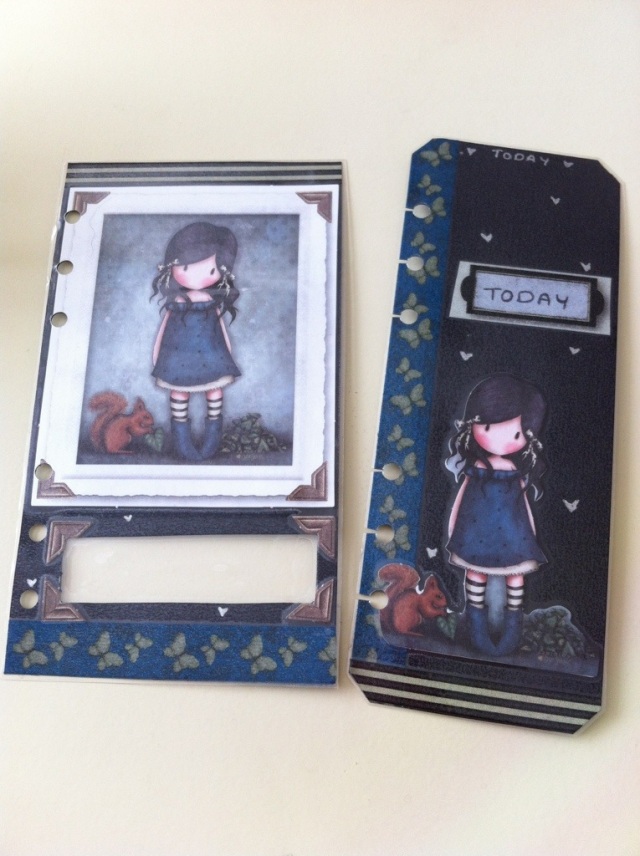
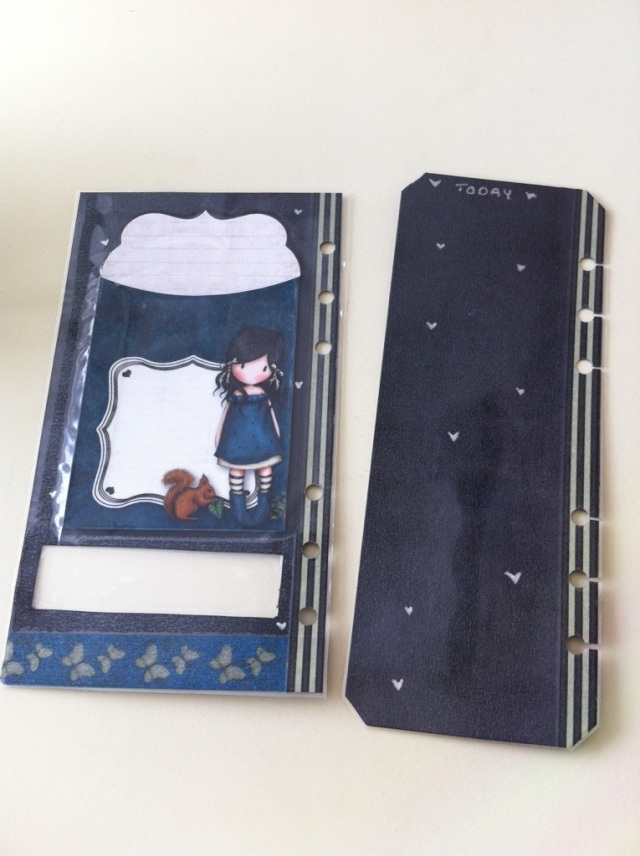
Gorjuss Notelets

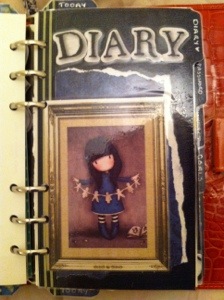
Gorjuss Front Page

Gorjuss Today Marker

20130926-221048.jpg

20130926-221127.jpg

20130926-221159.jpg


I think that was it…  I think!

Anyway, I saw her this evening to provide her present to her (and to do a shopping spree!).  I watched anxiously as she opened her little bundle, but she seemed delighted, especially with the gorjuss items (phew!).  In fact, she was so happy, that she wanted a go at doing her own dividers herself!  We ended up shooting up to The Range and purchasing another bumper pack for her to take home and have a go at making her own dividers etc.

I had never felt so happy than seeing her creative spirit coming to life around the Arts & Crafts section.  My own little limited creative mind had been squashed for years, and decorating my planner is my outlet.  I cannot describe what a thrill comes over me when I open my planner.  Smug Satisfaction, call it what you want – but I feel proud of what I have achieved – something that is personal to ME – there will be no other like it.  The fact I’ve slaved for 8 hours non-stop over dividers and today markers makes me appreciate my own planner all the more.  I think if you haven’t done it yourself you can’t truly begin to imagine the process of creating something from scratch, with little idea of how it will turn out etc.  You can’t fully appreciate what someone else has gone through to get that finished product.

So my advice to you today is this:  Have a go.  Just try.  You might be surprised!

Kel

x

Autumn/Winter Filofax?

Hm…

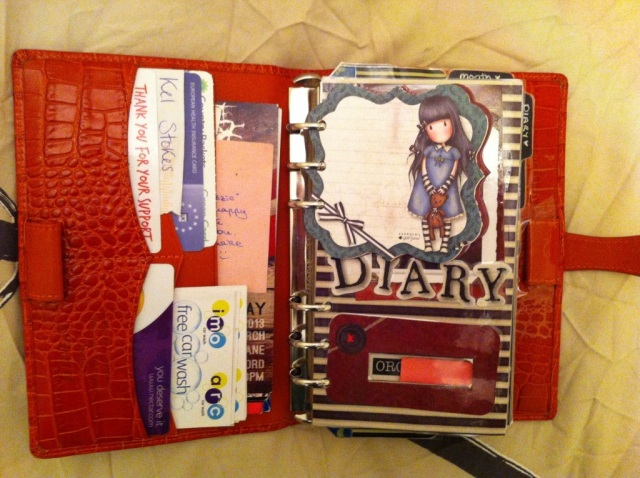
In my last post I wasn’t sure of my lively, exciting orange Osterley lived up (or rather, down) to the spooky Halloween season. The more I looked at my subdued, gothy style new dividers made from the “gorguss” range, the more I figured that my poor Osterley was far too happy and joyful and… Summery… To be mournful and rather fitting with Halloween/the “gorjuss” range.

So I tried something.

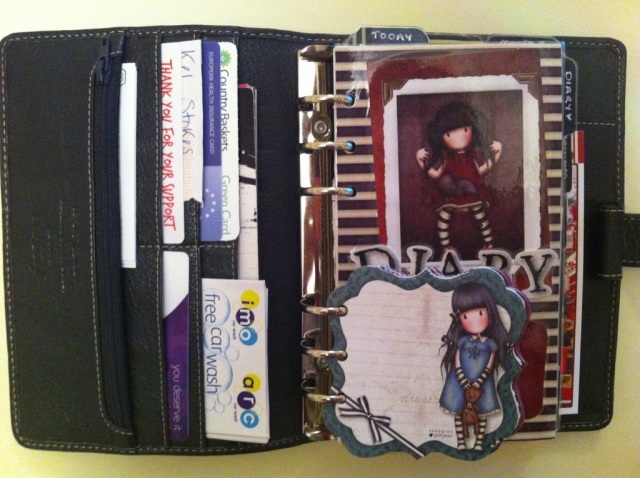
I tried my inserts in my grey Malden.

20130922-235212.jpg

Just to remind you, this is what it looked like in my Osterley:

20130922-235310.jpg

Now I’m faced with a dilemma because I do love my Osterley soooooooo much: but I think the “gorjuss” range just complements the Malden far too much.

What do you think??!

Kel

X

Halloween Filofax

I have a love for Halloween. Not sure why, must be the fact I secretly enjoy being spooked!

Nevertheless, my love for Halloween also has me with a penchant for slightly gothic styles.

So imagine my surprise while scouring through a craft ideas magazine one afternoon and spotting the “gorjuss” range!

In the words of Rachel Zoe: “I die!”

Actually, I had been lusting for a few months over the “gorjuss” range, but to be honest, I had no idea how to incorporate any of it into my very very ungothic style Filofax. Also, my lovely Ozzie is certainly not a gothic colour (orange) so wasn’t sure how it would… Work.

But anyway, today I succumbed to a bumper decoupage pack which included A4 printed papers, alphabet stickers and loads of pictures to pop out!

I got it home and stared at it in horror: what do I do now??!

I decided to get my Filo ready for Halloween. That’s my excuse, anyway.

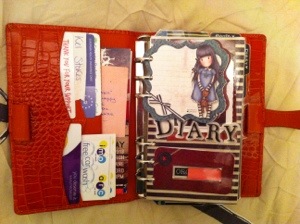
I’m already really happy with my setup so it was just a case of changing the dividers and today markers, as you can see, below:

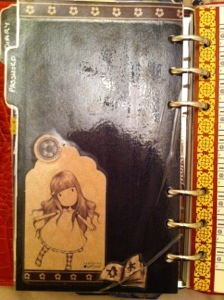
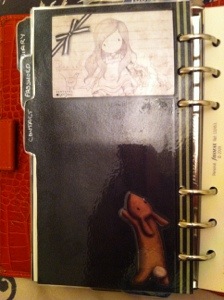
20130922-015432.jpg
When you open my Filo, the first thing you see is my notelets which I have hole punched ready to be used on the go and moved into the designated area.

20130922-015634.jpg
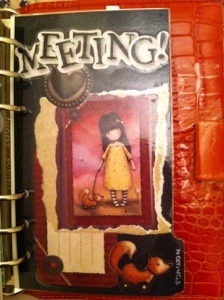
Here is my front page which includes a cutout for my organiser number.

20130922-015917.jpg
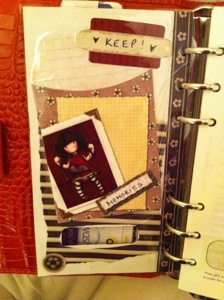
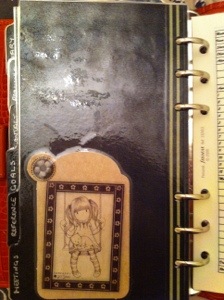
This is the back of my front page: it has a little memory pocket for keepsake items 🙂

20130922-020040.jpg
Here is the month tab that has a top tab.

20130922-020150.jpg
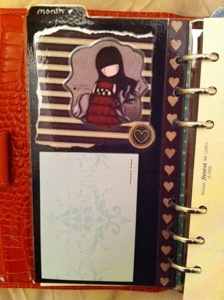
The back of my month tab holds my sticky notes 🙂

20130922-020237.jpg
Here is my month to view, with my new bookmark: clear! So that I can still view all of the days 🙂

20130922-020343.jpg
This is my diary section that holds my cotton cream week on 2 pages.

20130922-020435.jpg
Behind my diary section are my event stickers.

20130922-020537.jpg
Here is my today marker 🙂

20130922-020621.jpg
And the back of my today marker.

20130922-020700.jpg
Here is my password tab 🙂

20130922-020739.jpg
And the back of the password tab. I figure it might be nice to have a lot of decoration going on :).

20130922-020843.jpg
Contacts front.

20130922-020913.jpg
And the back of my contacts divider.

20130922-020952.jpg
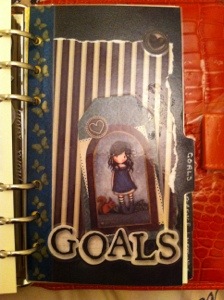
Goals tab 🙂

20130922-021028.jpg
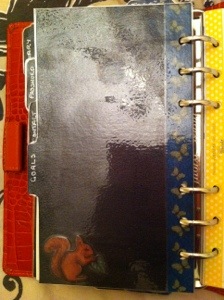
Back of goals.

20130922-021059.jpg
Reference tab.

20130922-021130.jpg
Back of reference tab.

20130922-021227.jpg
Meetings tab.

20130922-021300.jpg
Finally, back of meetings tab.

And now, I’m all set up for Halloween, yippee!!!

Have you decorated your planner ready for Halloween or seasons etc?

Kel

X

Filofax Week

Hi everyone!

I’ve been quiet for a while, I know… I apologise! It’s just, I’ve been mighty busy and my social life has been pretty mental etc. Not only that, but I’ve been honing my system to perfection, so now I have a great system that I use that works for me, I can finally share it!

I never understood when people said they had found their perfect setup or system. I was one of those bumbling idiots that just chucked everything in their diary then had a difficult time navigating through the scrawls, everything was everywhere and although I felt slightly more organised than without a planner, I still didn’t quite grasp the concept of having a system to suit “you”.

I mentioned a YouTube video a couple of blogs ago, and it revolutionised the way my week is viewed. I have split the page in 2: one half is a to do list for each day, the other half is colour coded and taken from my month to view tabs. More often than not, in this half I use the washi-tape “labels” that I blogged about (in one of my last posts) so that everything is visually attractive (to me, anyhow!).

I break the days of the week up by using doodles or patterns in different colours and I make the week day numbers into flowers, and the weekends/days off work/holidays etc into hearts. I use one of the smash! markers trimmed and punched for my bookmarks with a small sticky note with my colour coding system attached in case I might forget ;).

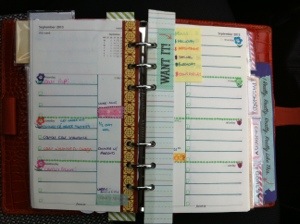
Here is this week in action so far… It’s probably the quietest week so far (which is why I’ve managed to sit and type this instead of running around Asda in my lunch break!).

20130919-133414.jpg

As you can see the last few days I’ve had a few social visits (in purple) and I’ve used a couple of the washi tape labels.

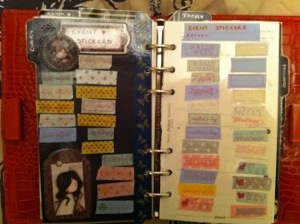
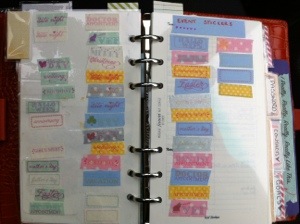
Talking of the washi tape labels, I now have the back of my diary page holding my labels so. I can attach them on the go. I printed out a few too many for just 1 page so ended up using a flyleaf I had hanging around also:

20130919-133723.jpg

And finally, here is a close up of a washi tape label in action:

20130919-133806.jpg

I did think about doing my own however a disaster occurred and my poor old Mid 2009 white MacBook decided to give up the ghost a few weeks ago, so I’ve had to sort all that out, and now I have a 2nd hand Late 2009 white Unibody MacBook that I’m slowly reloading and getting set up again. Once up and running I might have a go at a couple of my own labels: I want stuff like “Shopping” and “Cinema” and “Hair Appointment”/”Beauty Appointment”.

How are you set up and organised? Are you visually stimulated when you open your organiser?

Take care!

Kel

X