This Mama Plans

I’m deep in the throes of motherhood at the moment. Our daughter is now 11 months old and she is soon to be unexpectedly joined by a little brother in a couple of months time!

We got rid of everything newborn after a couple of months of having Amber so we have pretty much had to think about Moses baskets and newborn clothes and next to me cribs (with my daughter I co-slept but I’d like to let our little boy have his own space and have a little more space for myself this time around… or at least have the option! If he is wriggly as he is right now in my belly I’ll be truly grateful of my own space haha).

Once again I’ve been diagnosed with the dreaded Gestational Diabetes and as of last week I’ve begun injecting slow release overnight insulin. For everyone that has to inject themselves or test their blood sugars I salute you; it’s not easy. It’s even harder when you’re sleep deprived due to baby teething and have pregnancy brain fog. Just remembering to test an hour after food and injecting the insulin at the same time each night when our daughter comes first and is demanding bedtime or a bottle (or both) is a challenge! But with only 8 weeks to go now, I am confident only 56 days of finger pricking and injections will pass quite quickly.

When I had Amber, I recall leading up to her birth and especially just afterwards wishing I’d got a planner setup ready and being utilised. The amount of appointments leading up to and after birth is crazy. And that’s in between family and friends wanting to meet new baby… and life stuff. Hindsight is a wonderful thing; but having been there before, I decided to start organising a new planner set up.

Before this decision (and perhaps an influencing factor), we had been researching double prams… because you know… 2 under 14months… practicality wins hands down haha! We decided on a Bugaboo Donkey but damn they look so boring, dark and flimsy! Luckily I found someone on Etsy that does custom work and anyone who knows me, knows I like to put my own stamp on things. So I set to work designing my own hoods, liners and footmuffs with gusto. But when it came, my buldging, battered pram bag looked far too shabby for the new pretty pram… so I decided to look for a new, slightly more glam way of toting around all of my daughters things (and although people say you carry less as they get older I have found I’m carrying more – the usual bottles, change of clothing, muslin cloths, extra dummies, calpol, gripe water, changing facilities, blankets etc… but now we are also carrying toys, food, sippy cups, cutlery, silicone bibs and snacks as she’s now on solids alongside bottles). As well as my daughters items, I’ll be shortly be taking my newborn sons bits and pieces around too. So I needed a new and larger bag. Something organised too; as I’ve found quite quickly that nappy bags can get disorganised very quickly!

I’m not normally one for backpacks so I pulled out my old sturdy LV Neverfull tote and at the moment I’ve got it stuffed to the brim with Ambers items. As well as that, a Speedy 30 is serving as a “Pram Caddy”, holding all of mine and my partners essentials as well as a couple of milk bottles in the felt liner and anything we think might be handy.
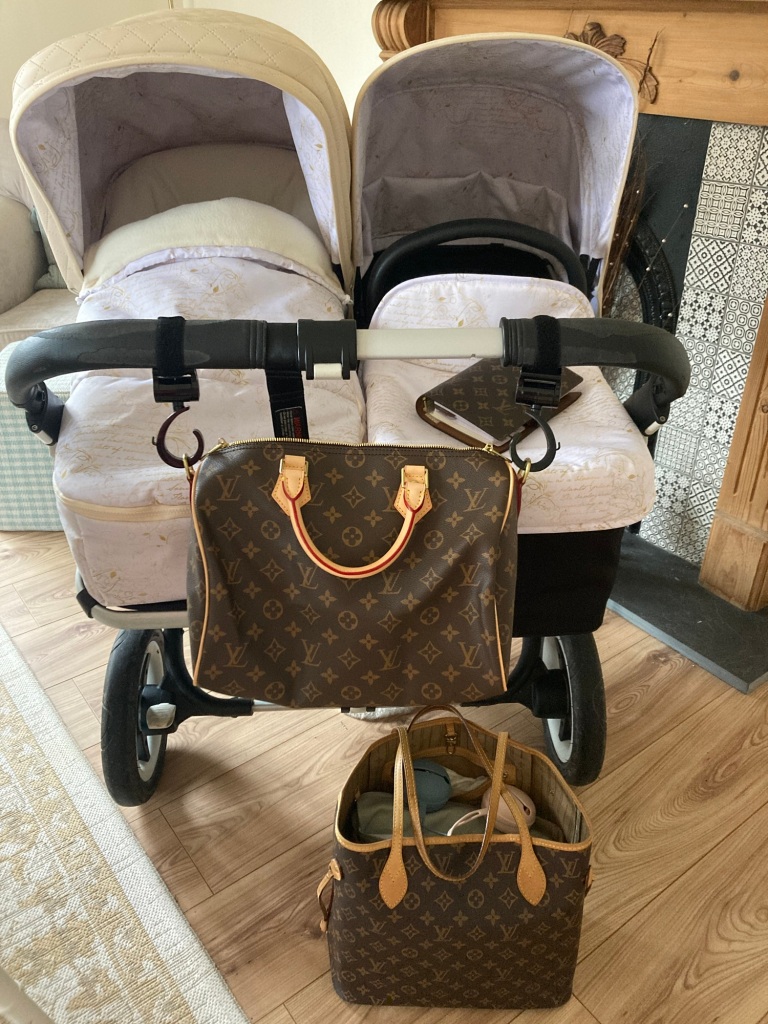
Putting the Donkey into double mode removes my “bag basket” so I’m looking to consolidate everything into 1 bag. Side Note: Ambers toys are not in the bag on this photo

However… the lure of the practical backpack was overpowering and I can feel myself giving in to an LV Palm Springs bag; especially as we will not have the (oh so handy) side basket on the pram for much longer and the thought of sacrificing under basket storage and putting the tote bag on its side (of course, I can just see everything spilling out everywhere) and being splashed by mud constantly is too painful for me to imagine.

Anyway; huge digression there! With my love of the LV monogram bags in full force, I have purchased an LV Monogram MM size agenda from DHGate (I mean, Maternity Pay sucks and I have enough to pay out in the preparation for this little lad so real luxury items are unfortunately on the back burner for the next 18 years… am I right?!). When it arrived I was actually so disappointed because the ring diameter was 16mm!

I wound up purchasing a gold 30mm ring size clear plastic binder from Amazon and then de-ringing the planner and getting my partner Tony to drill holes for the 30mm rings to fit in.

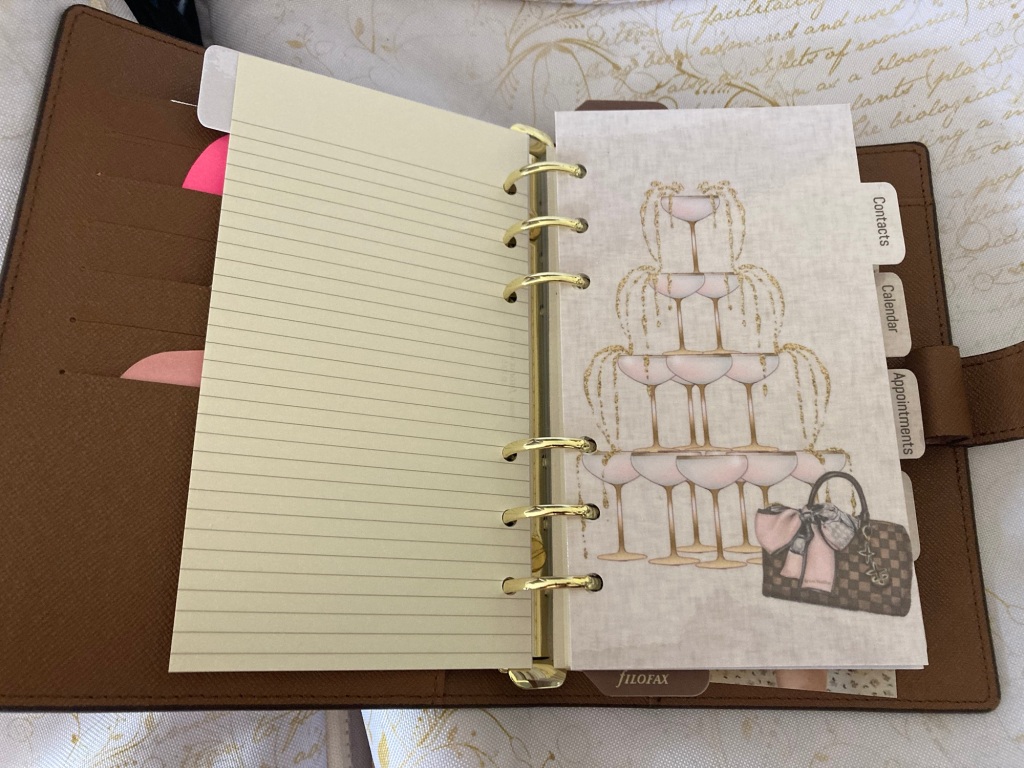
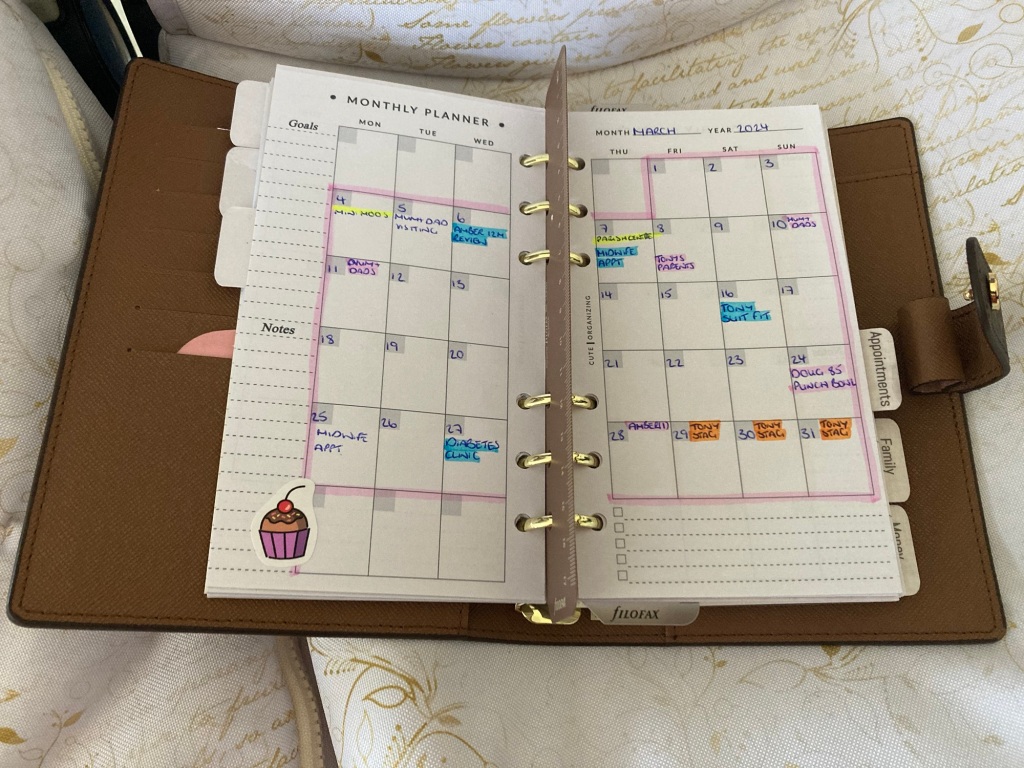
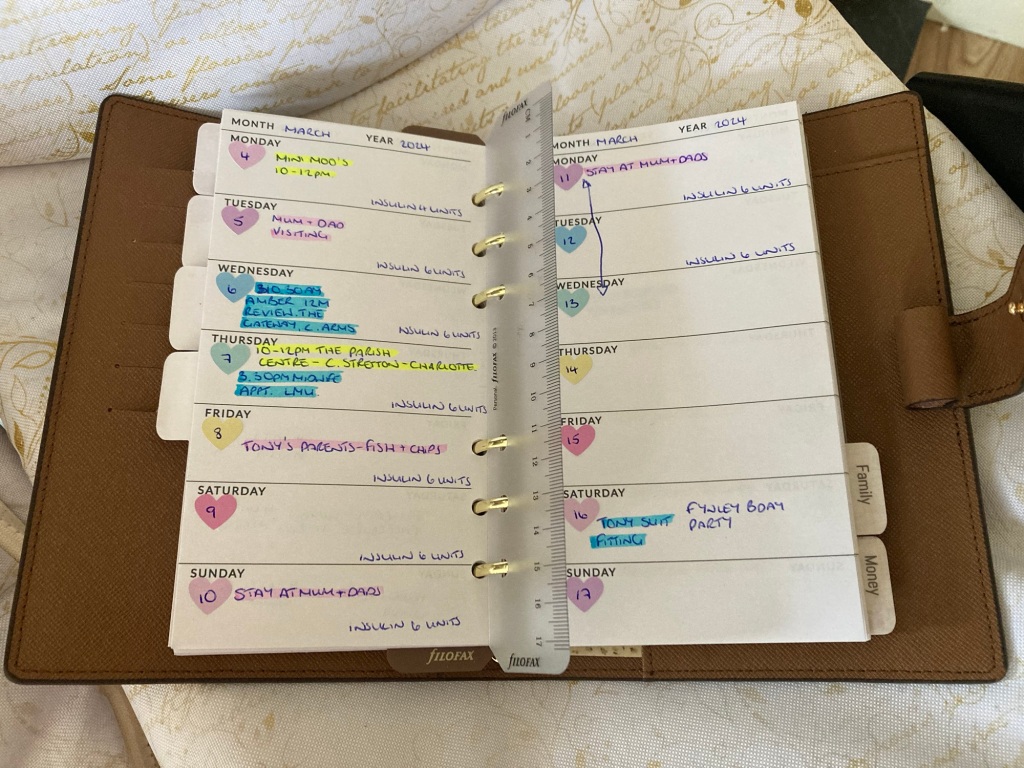
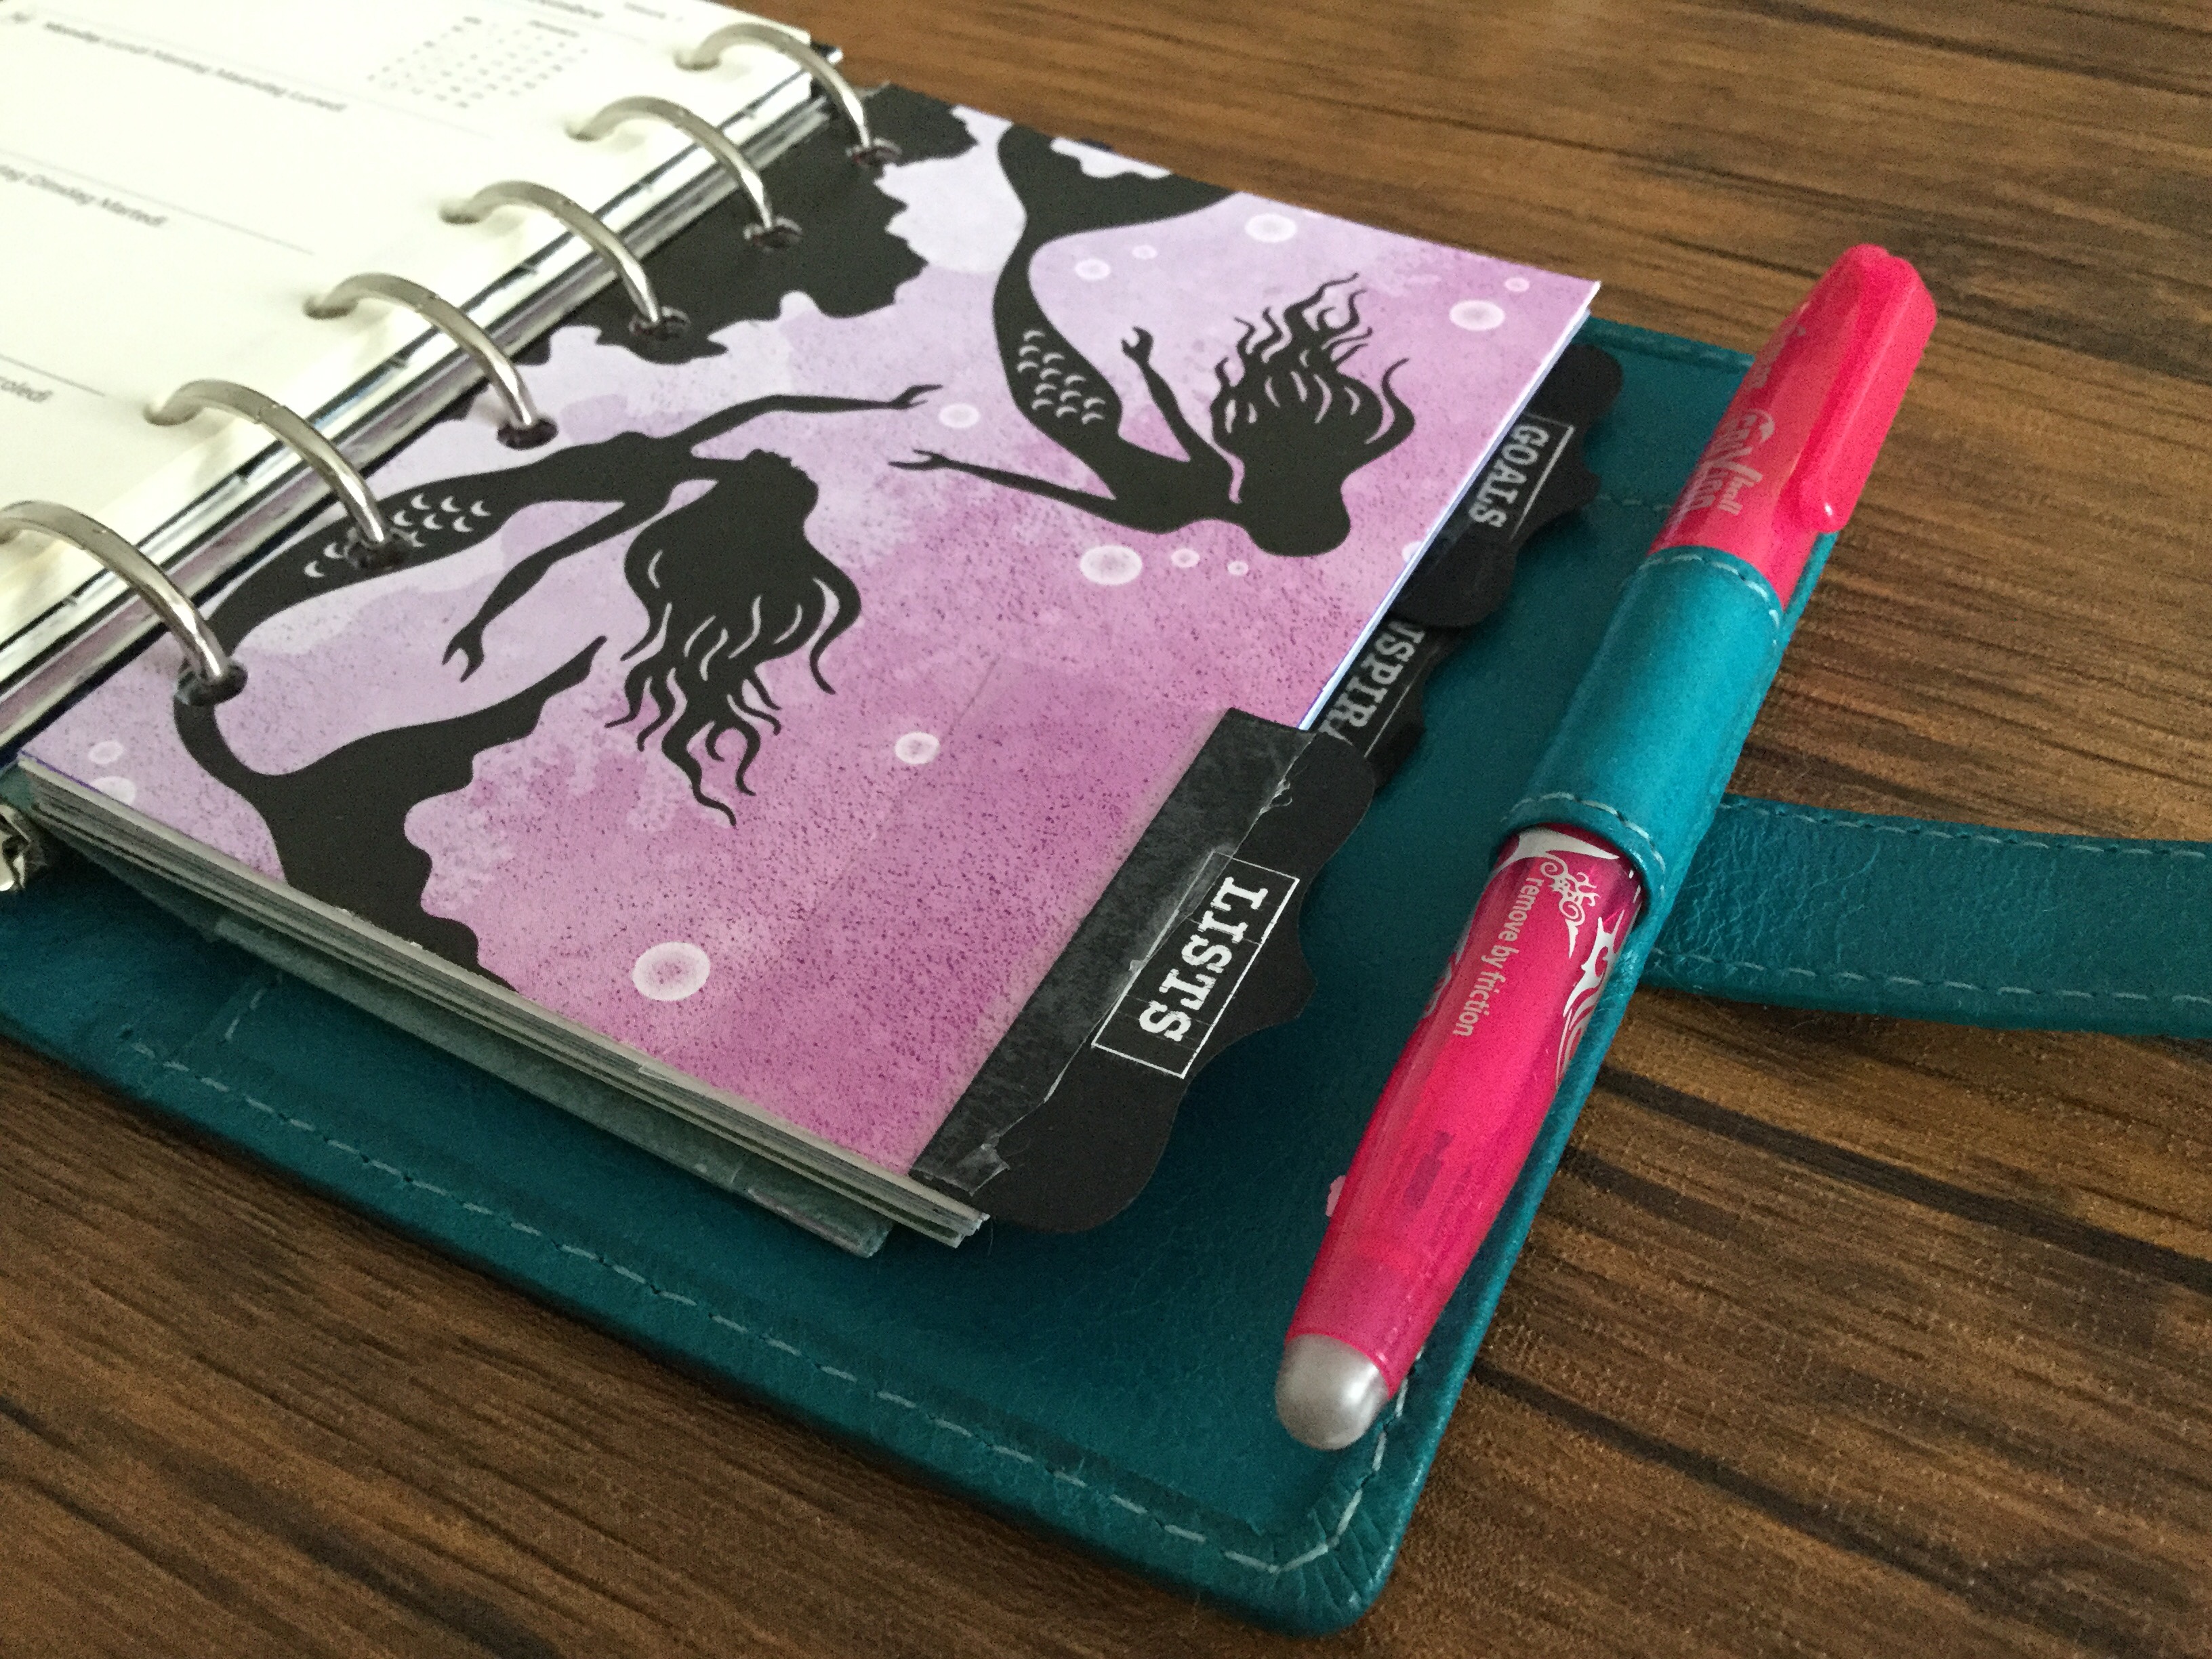
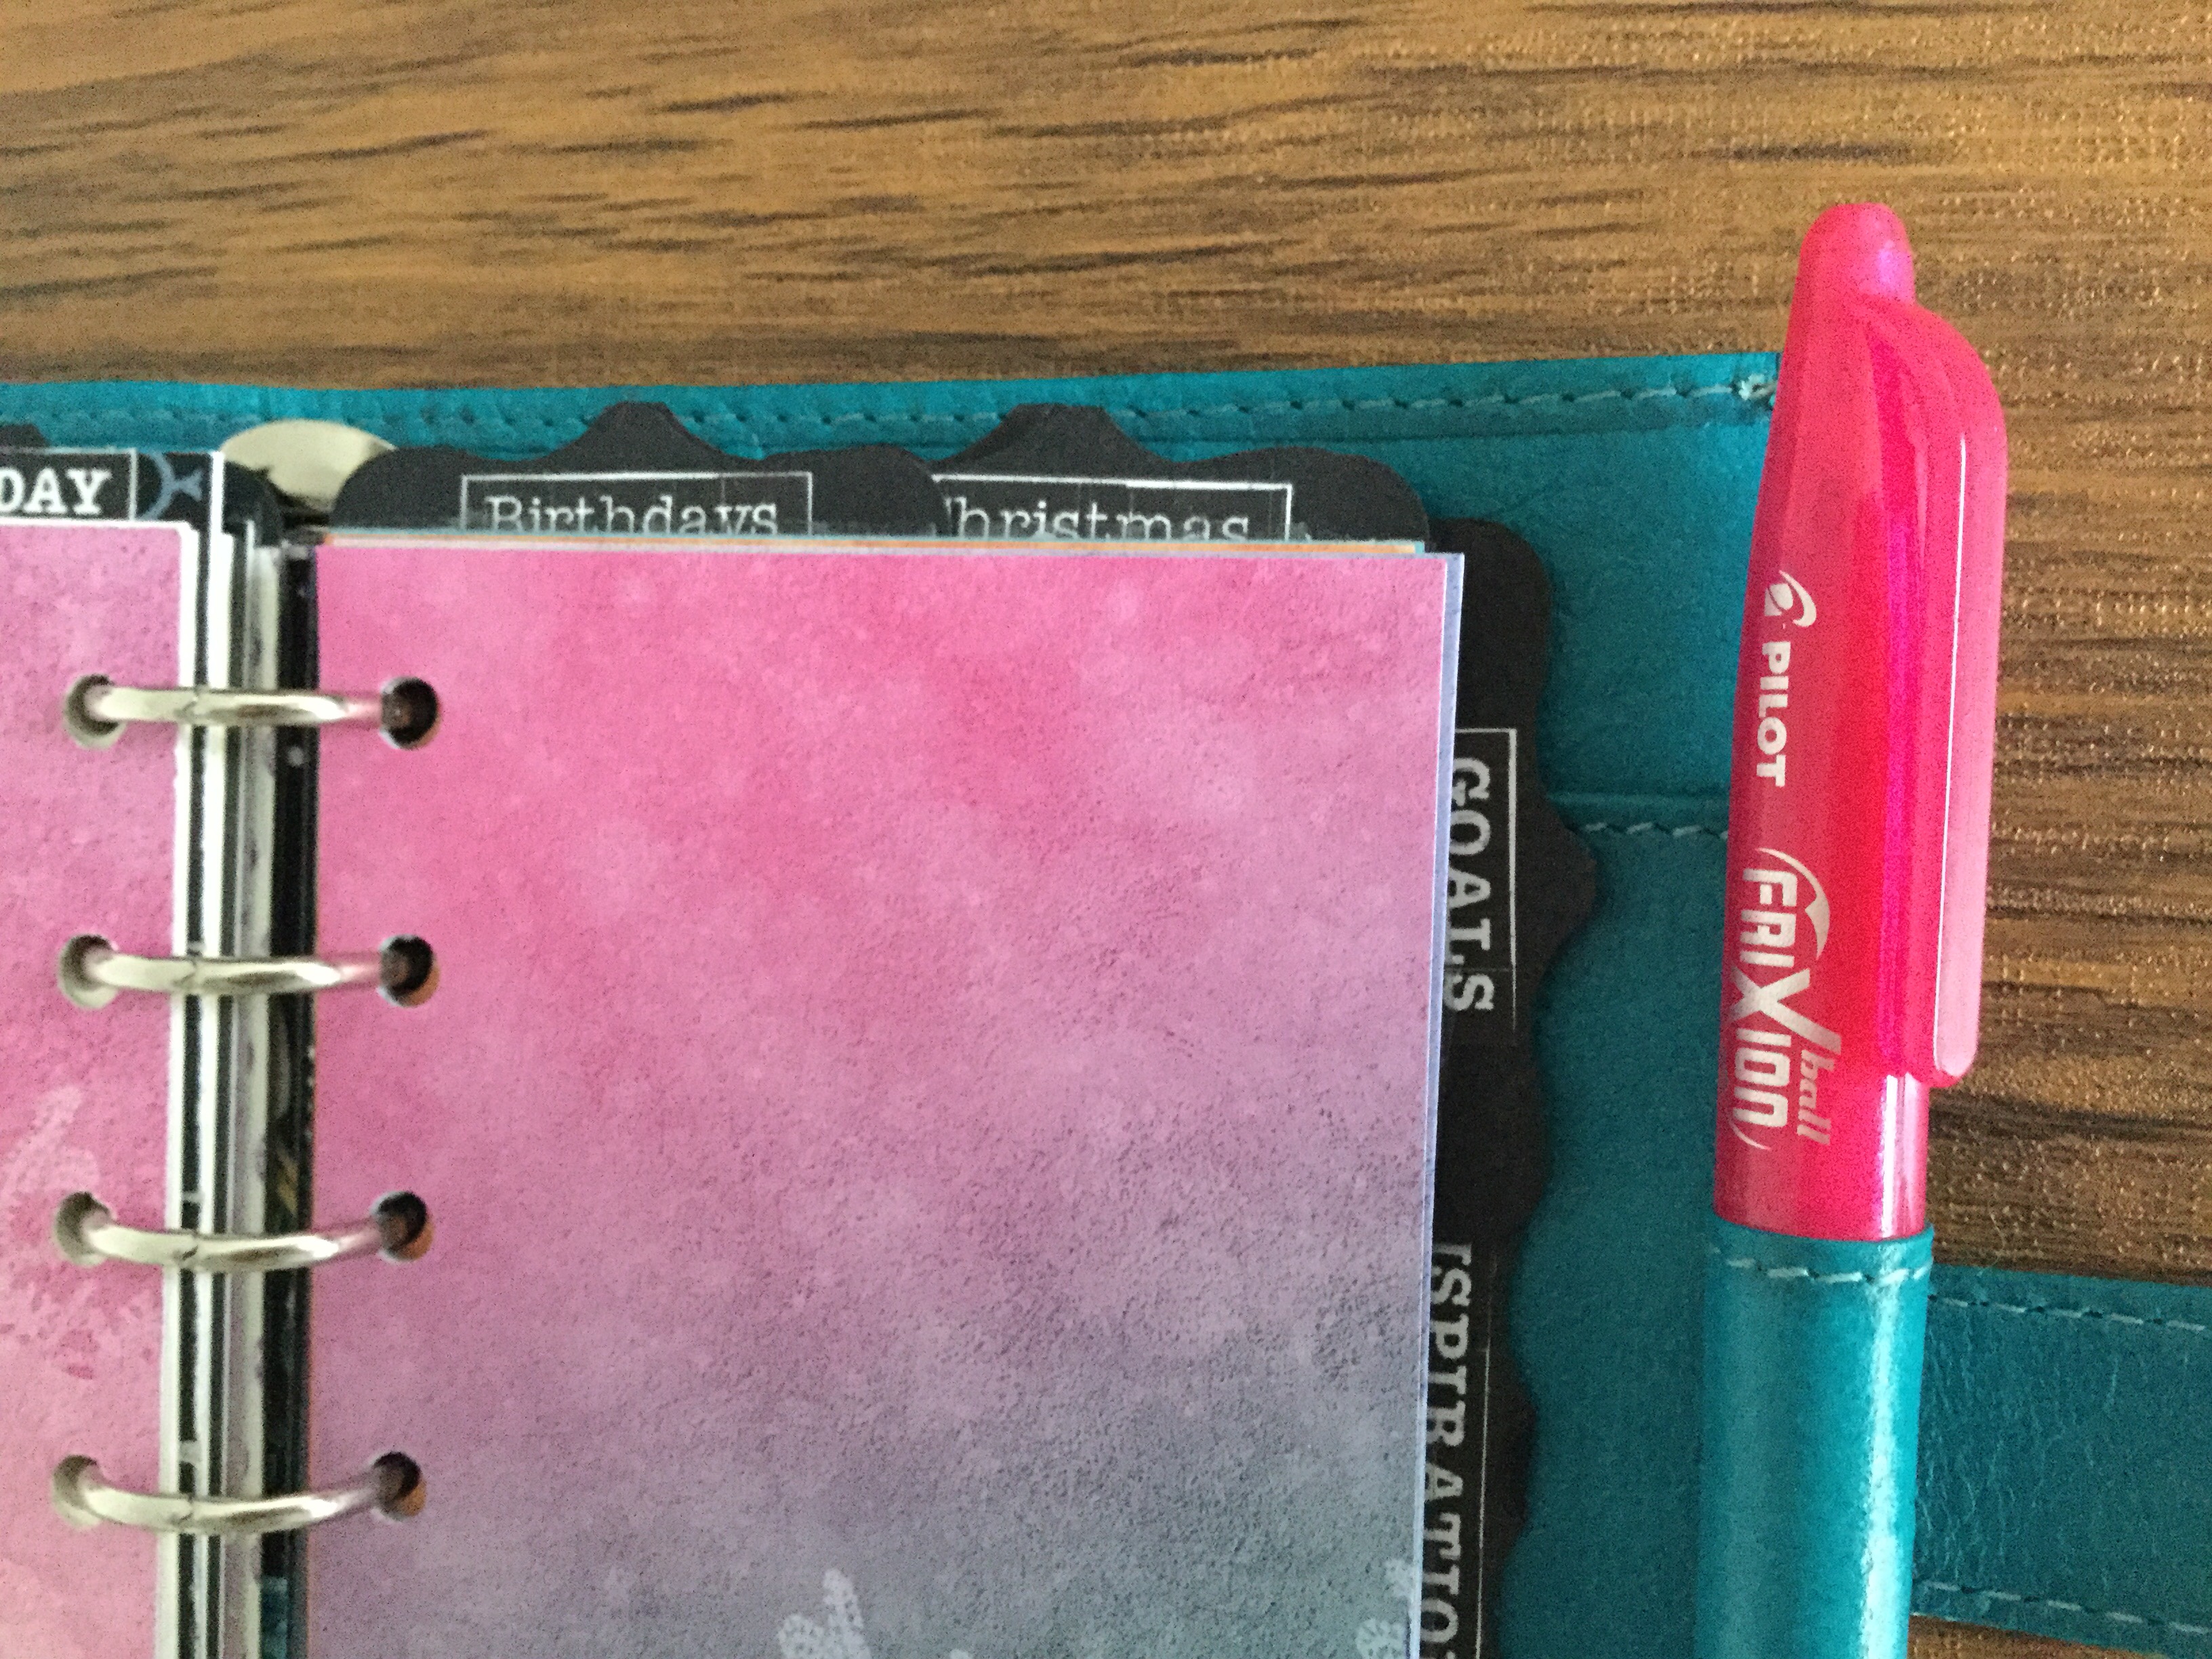
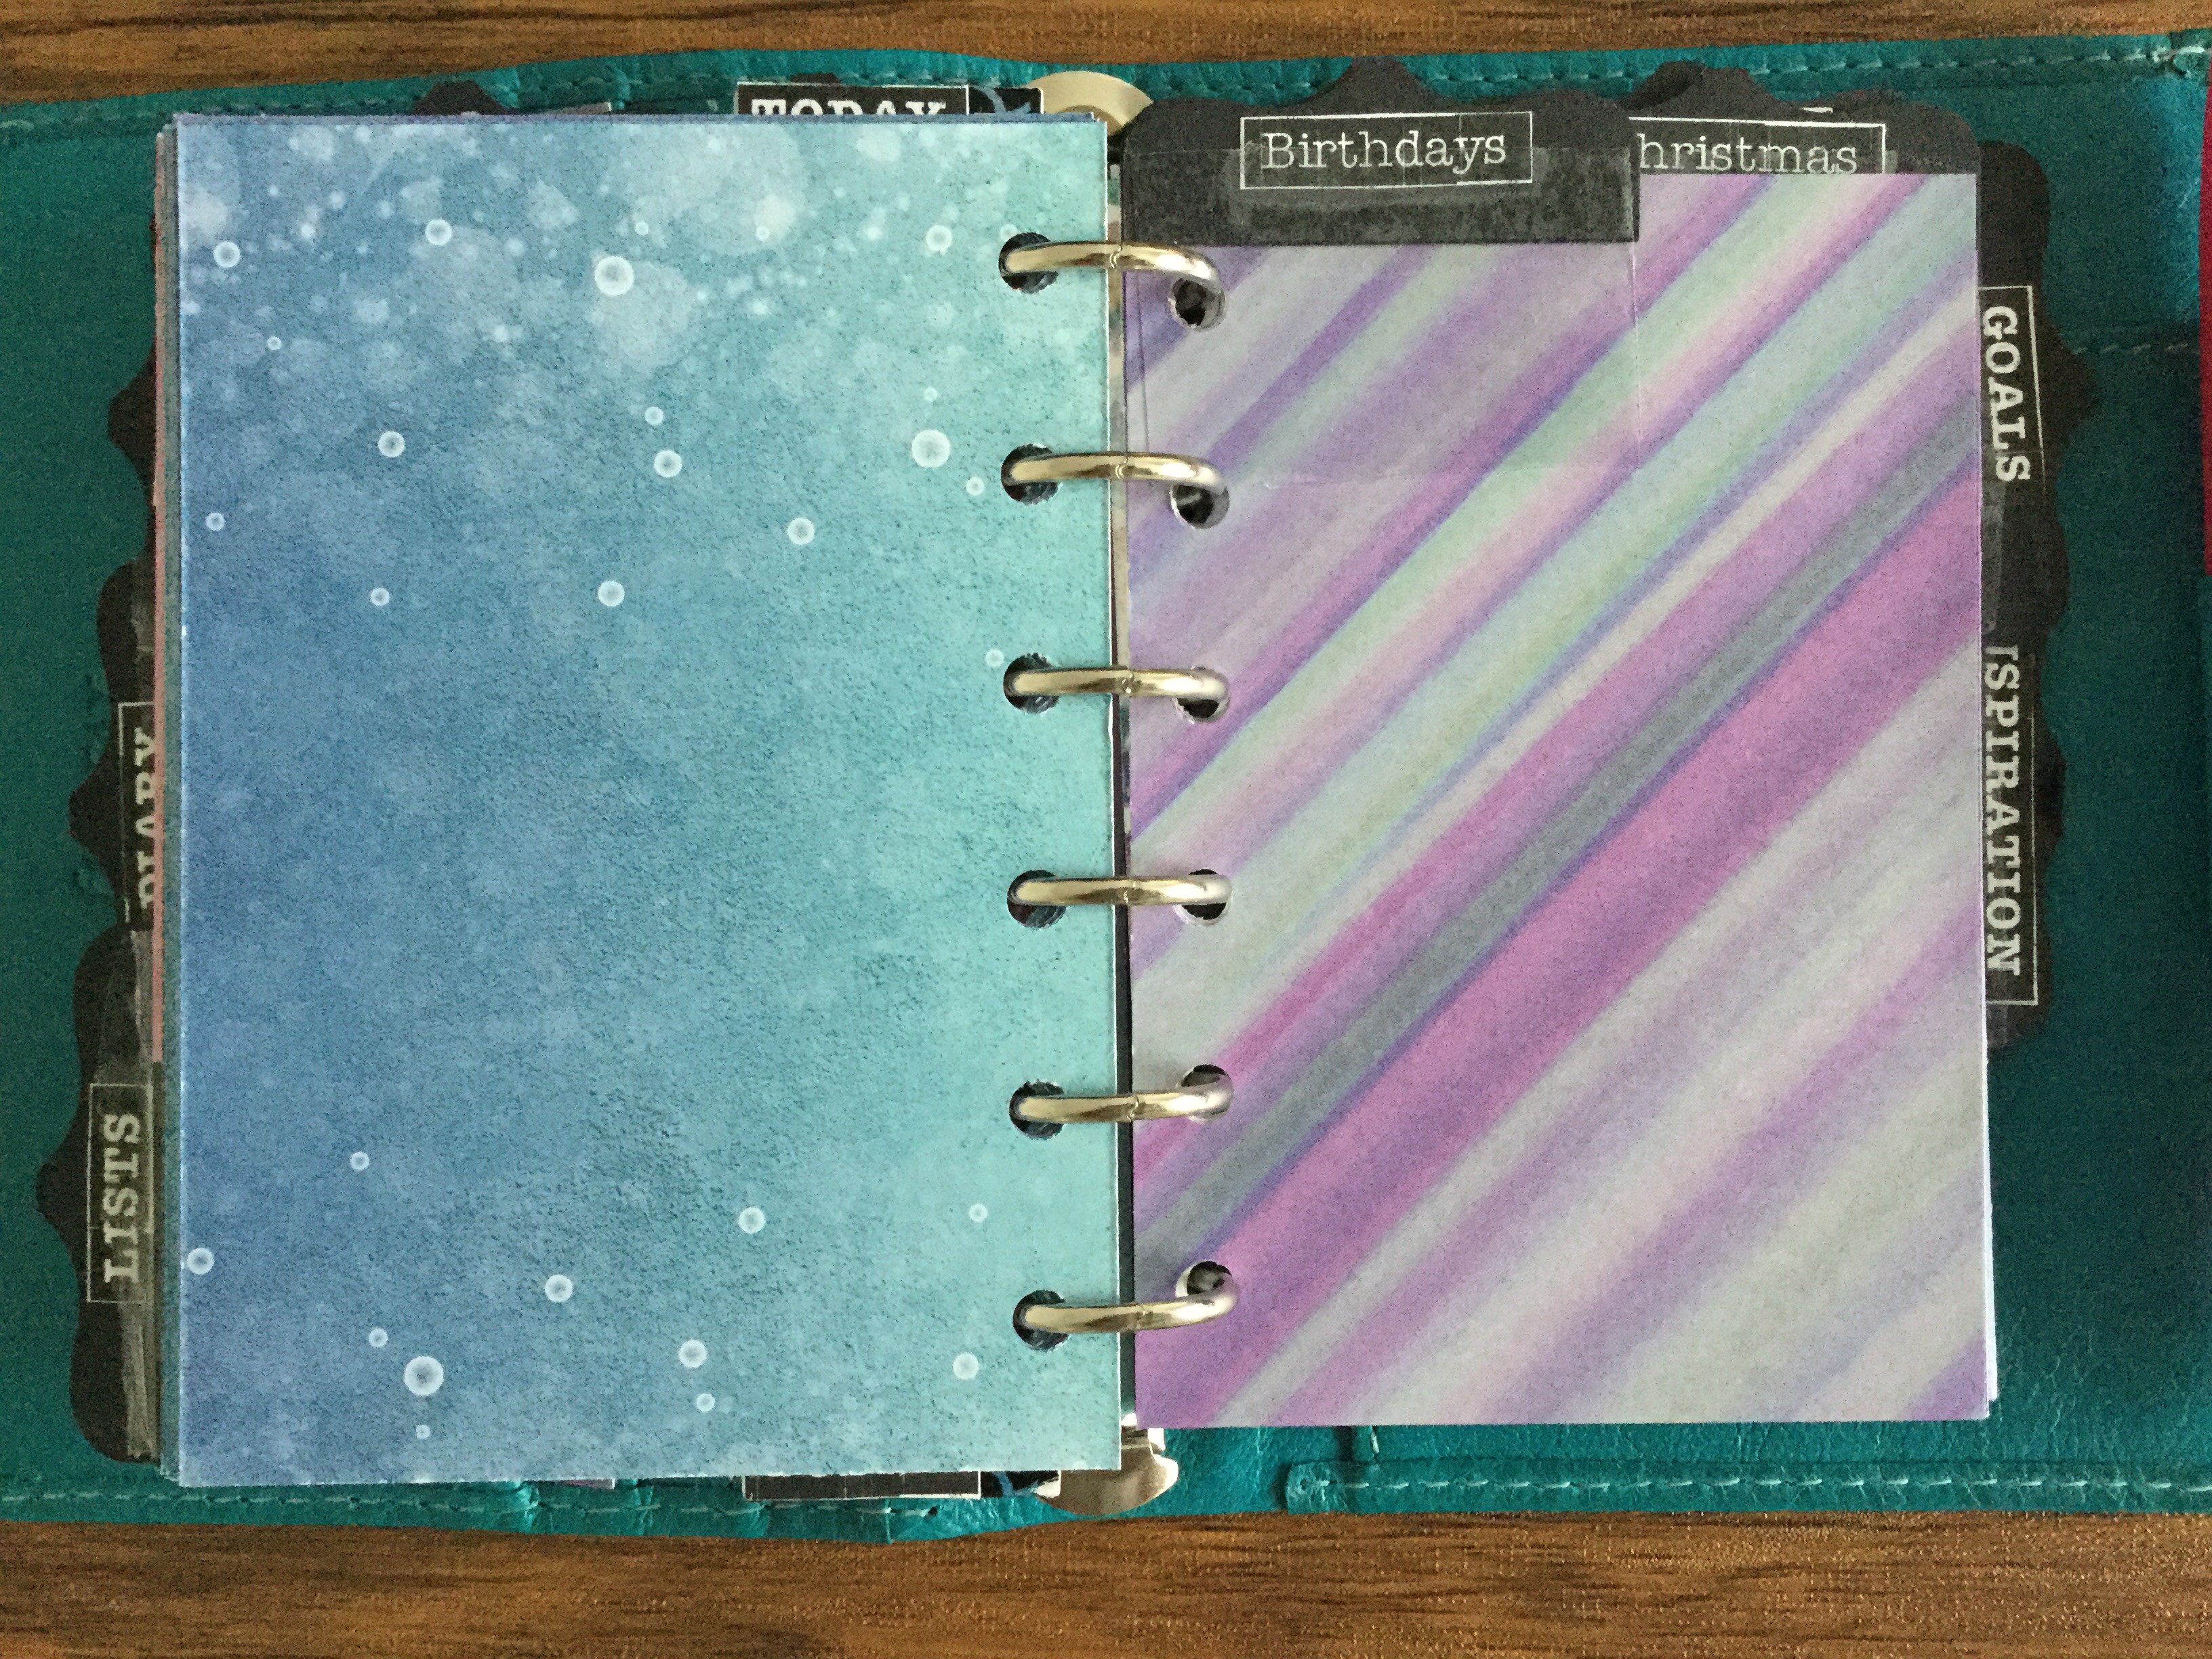
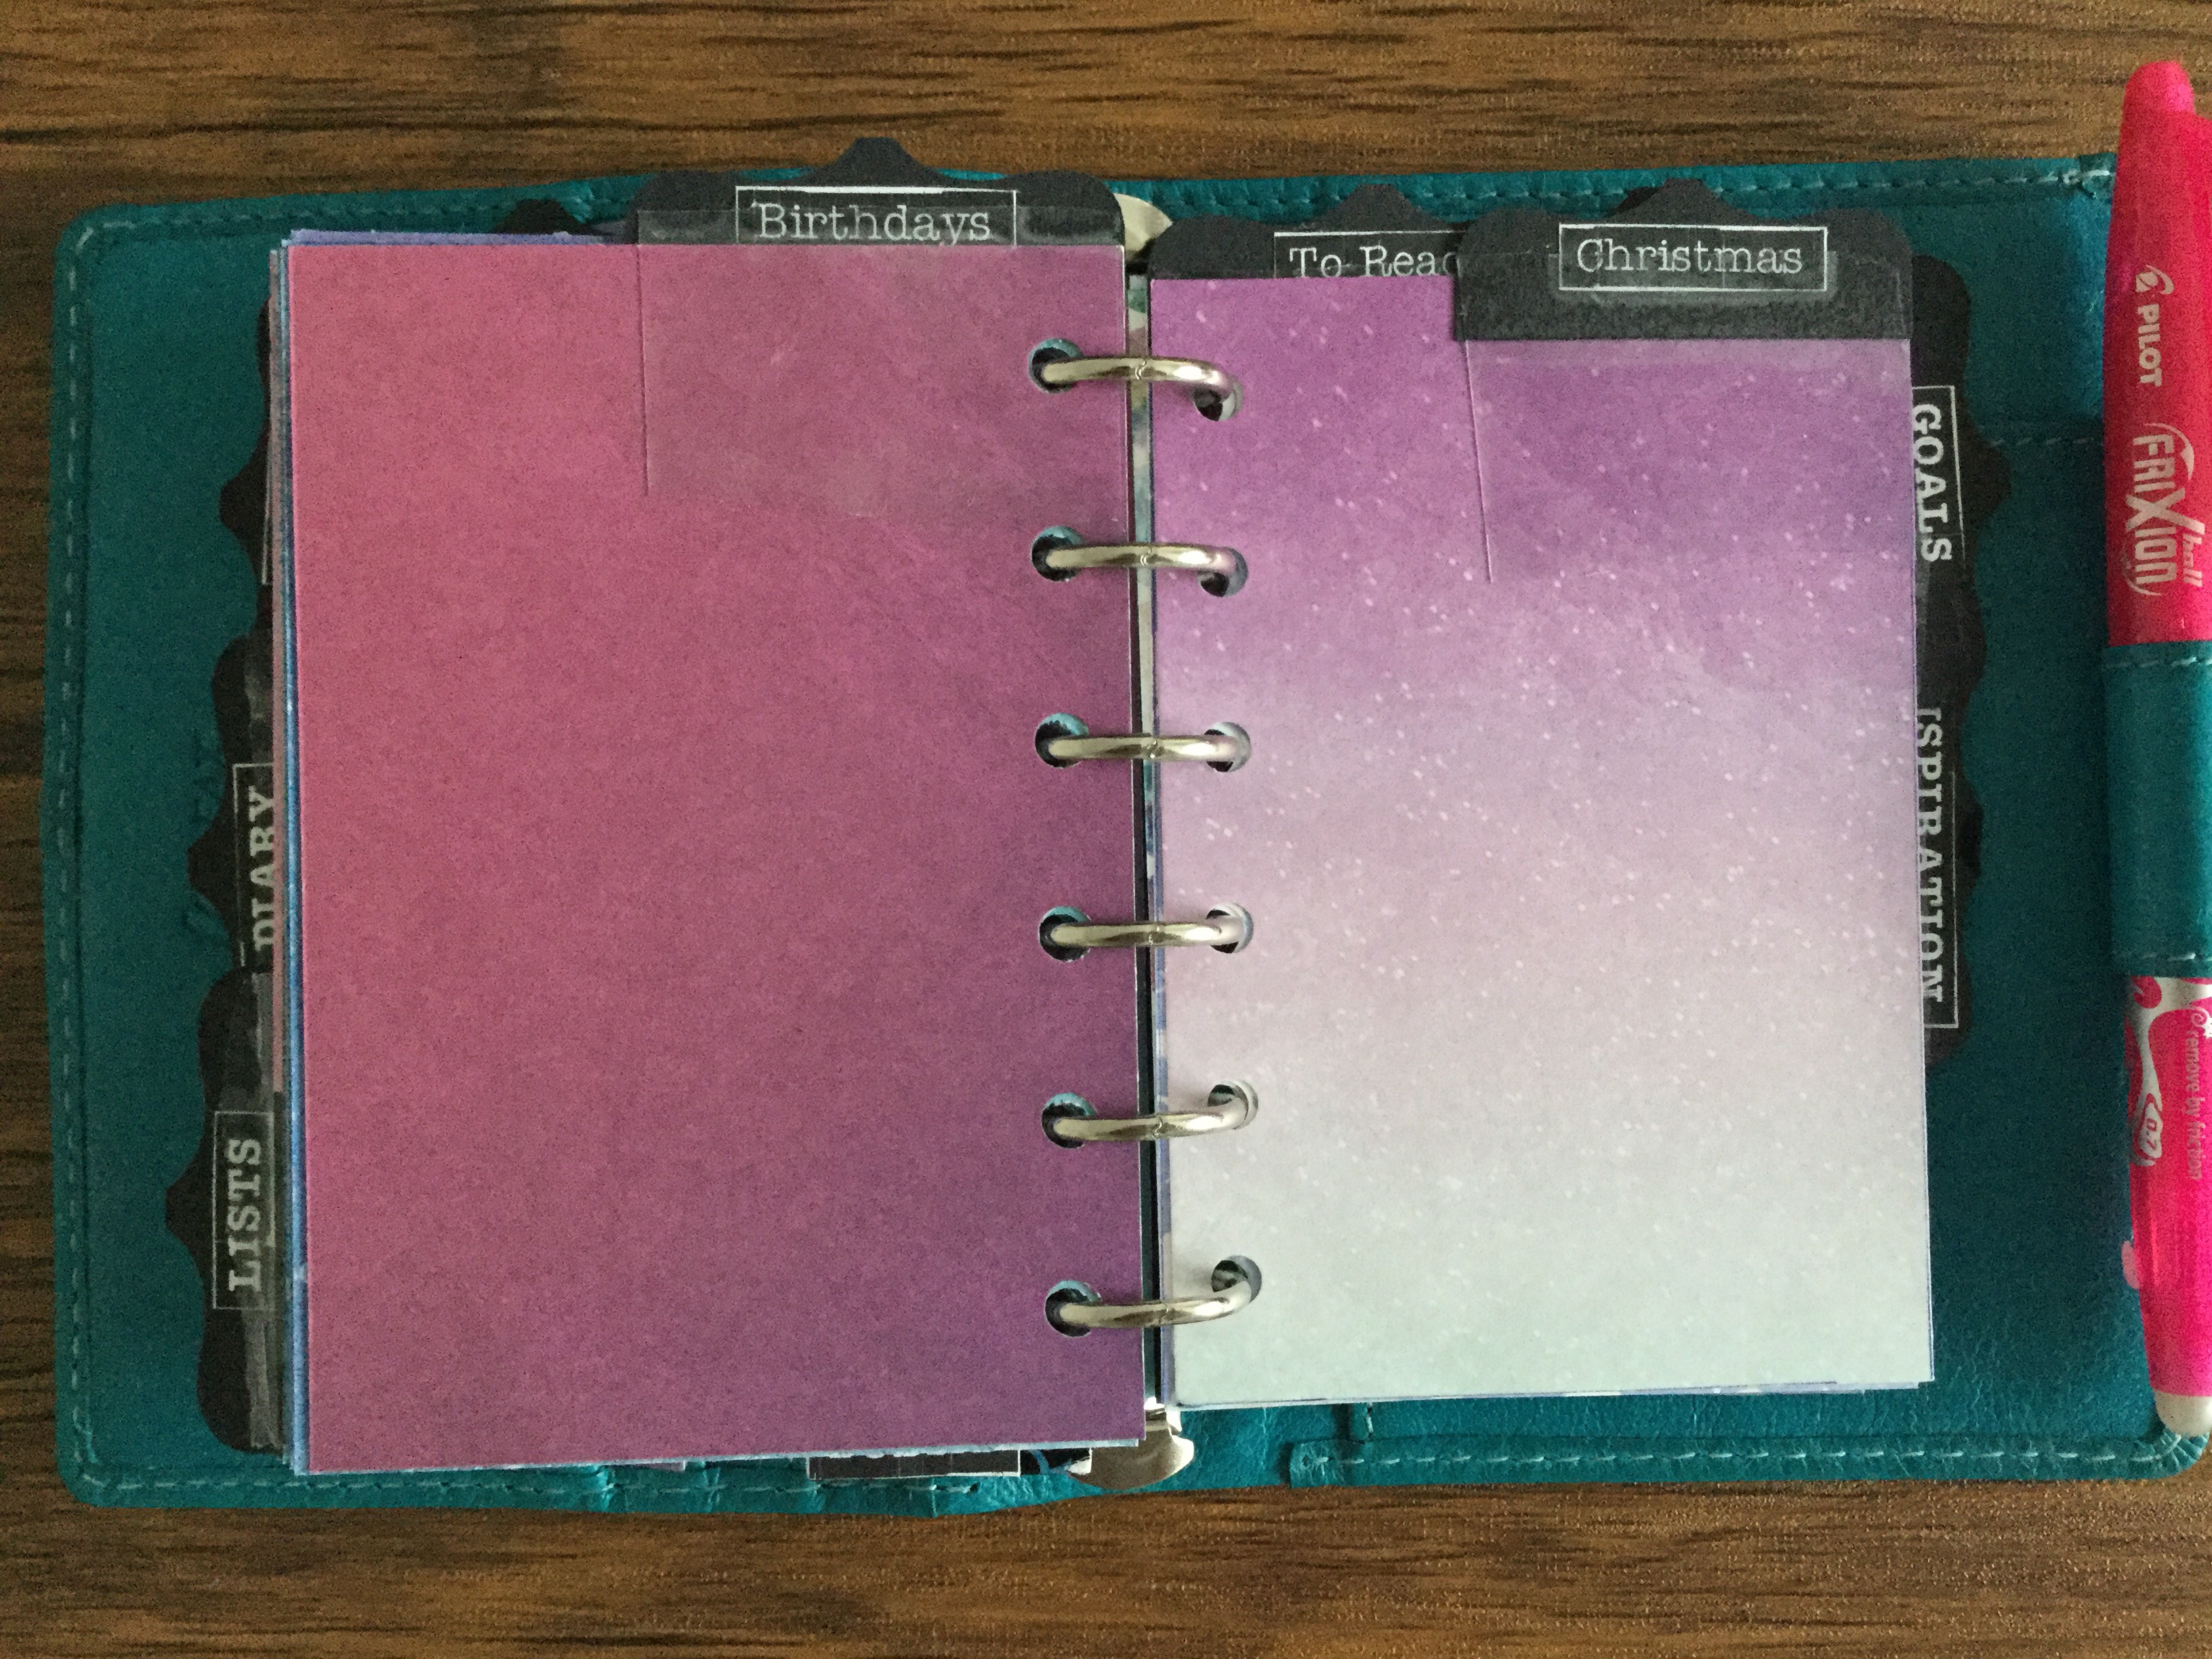
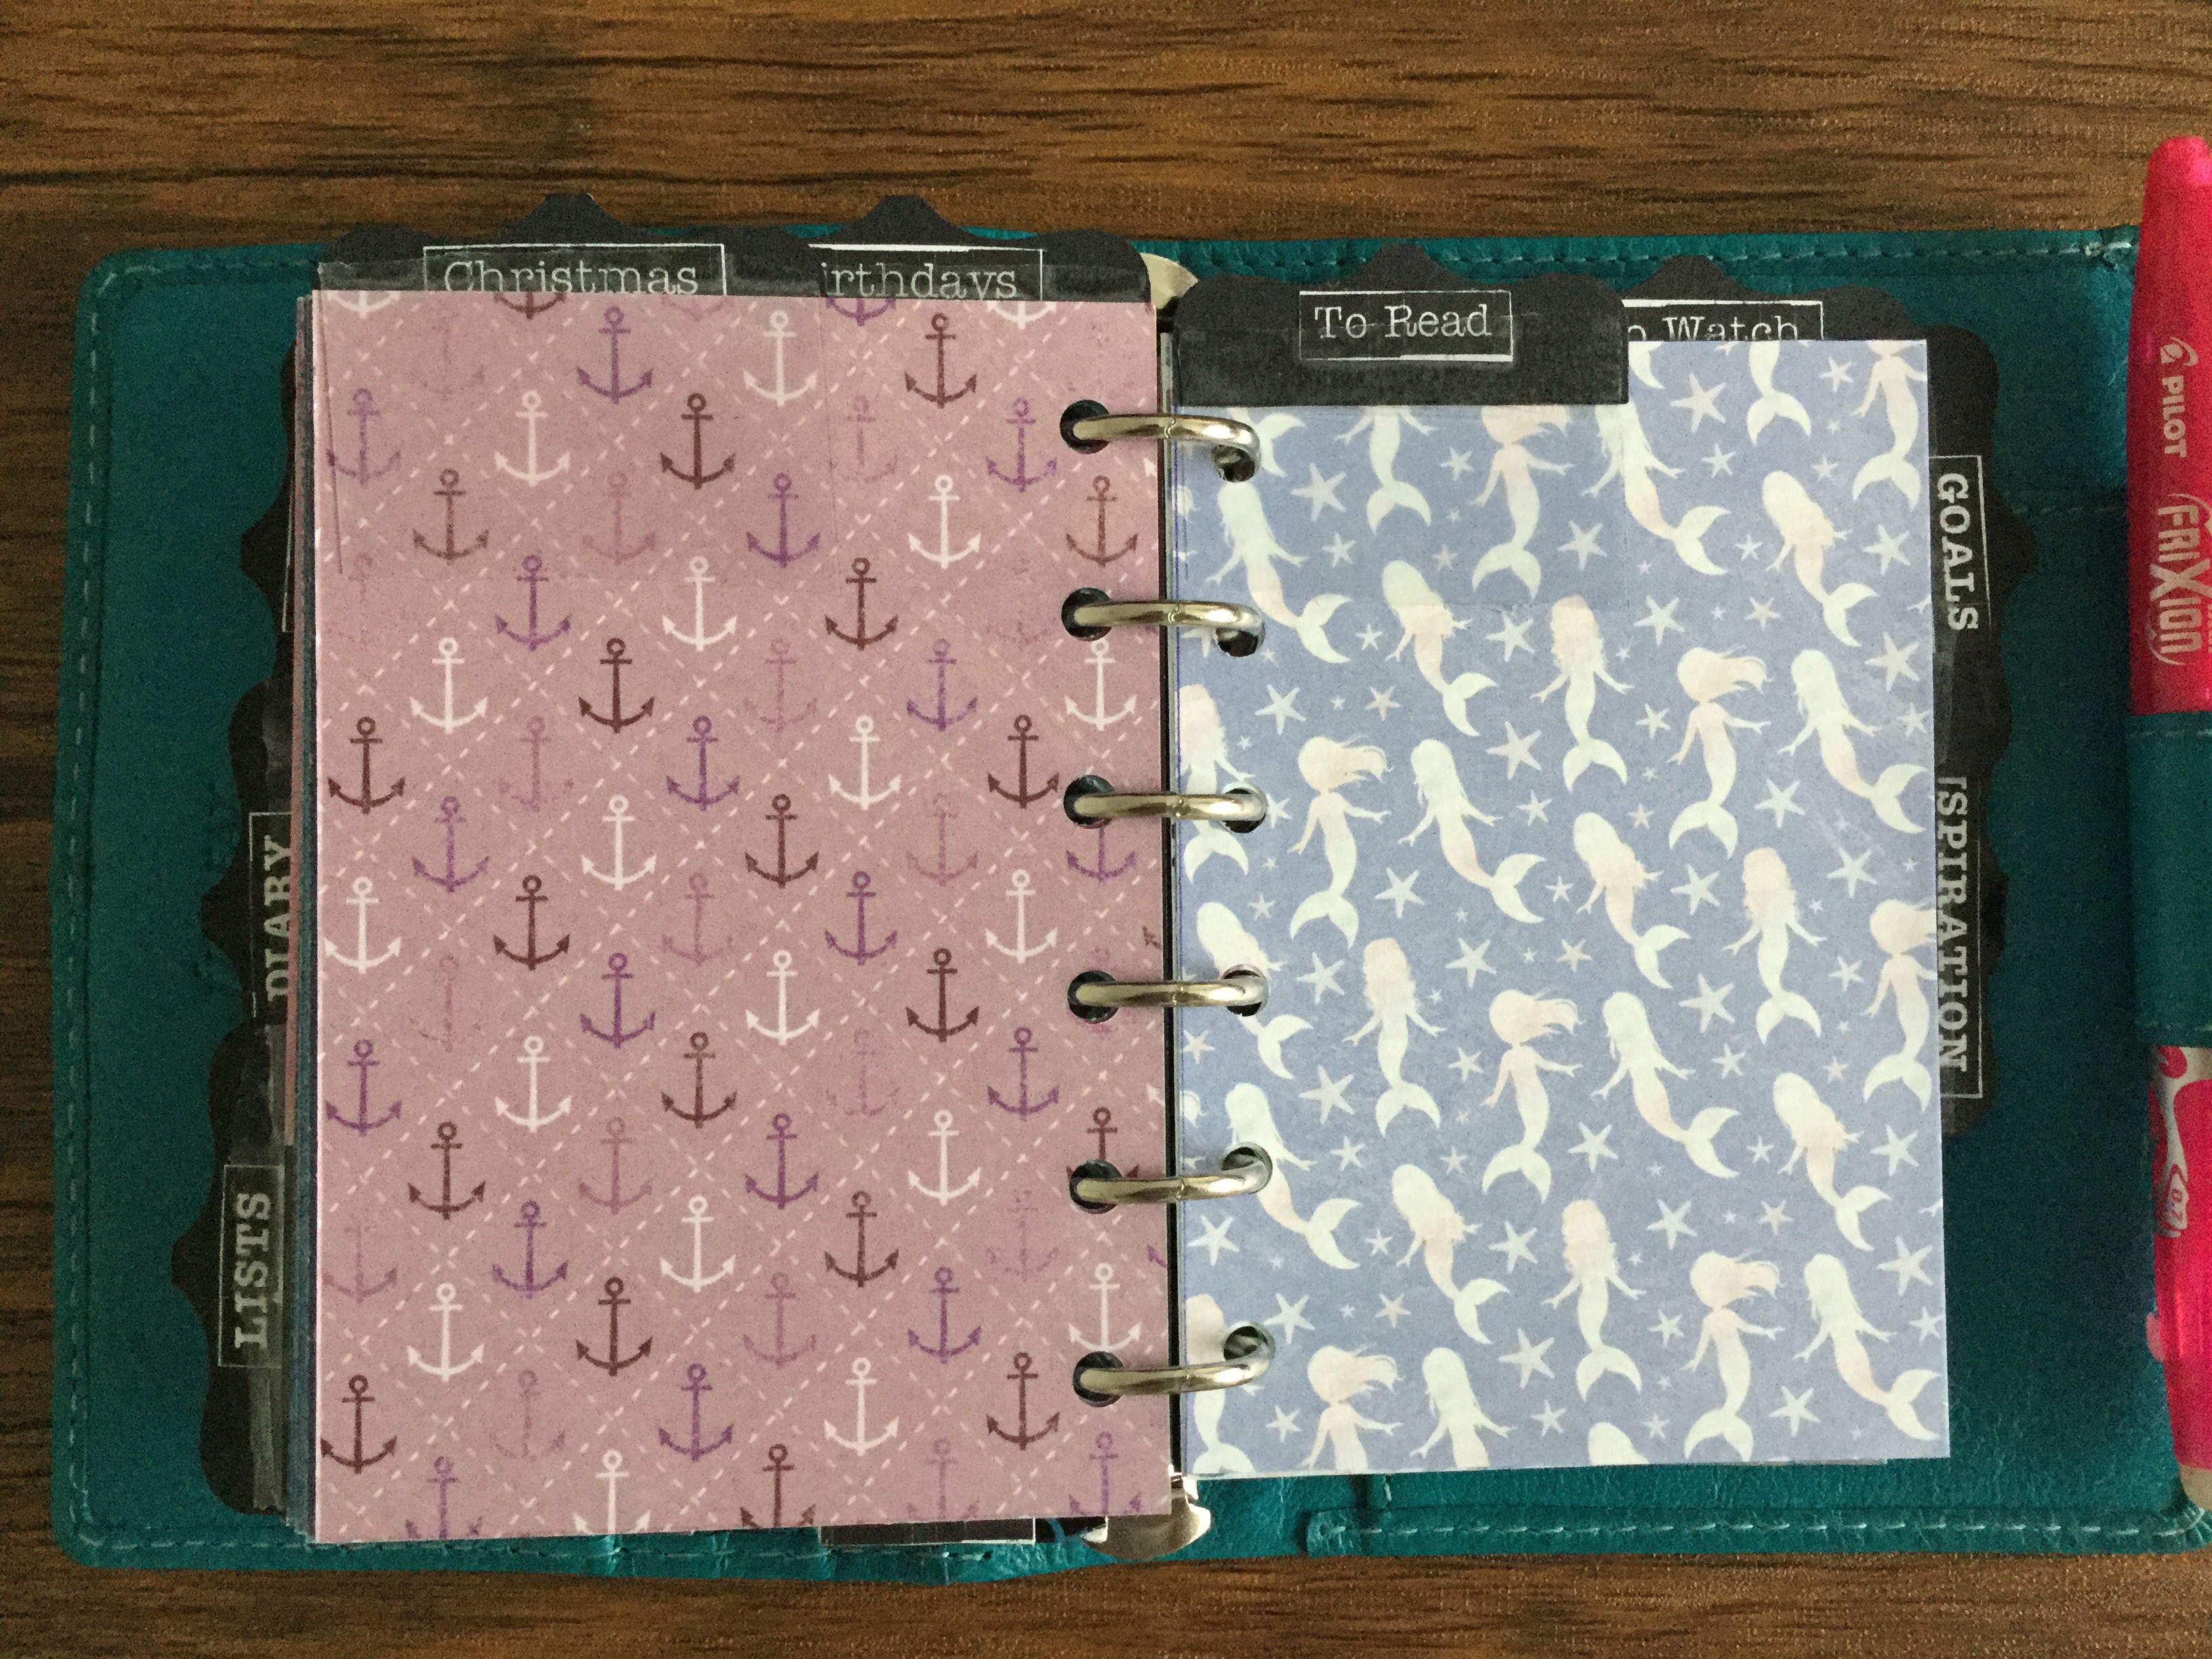
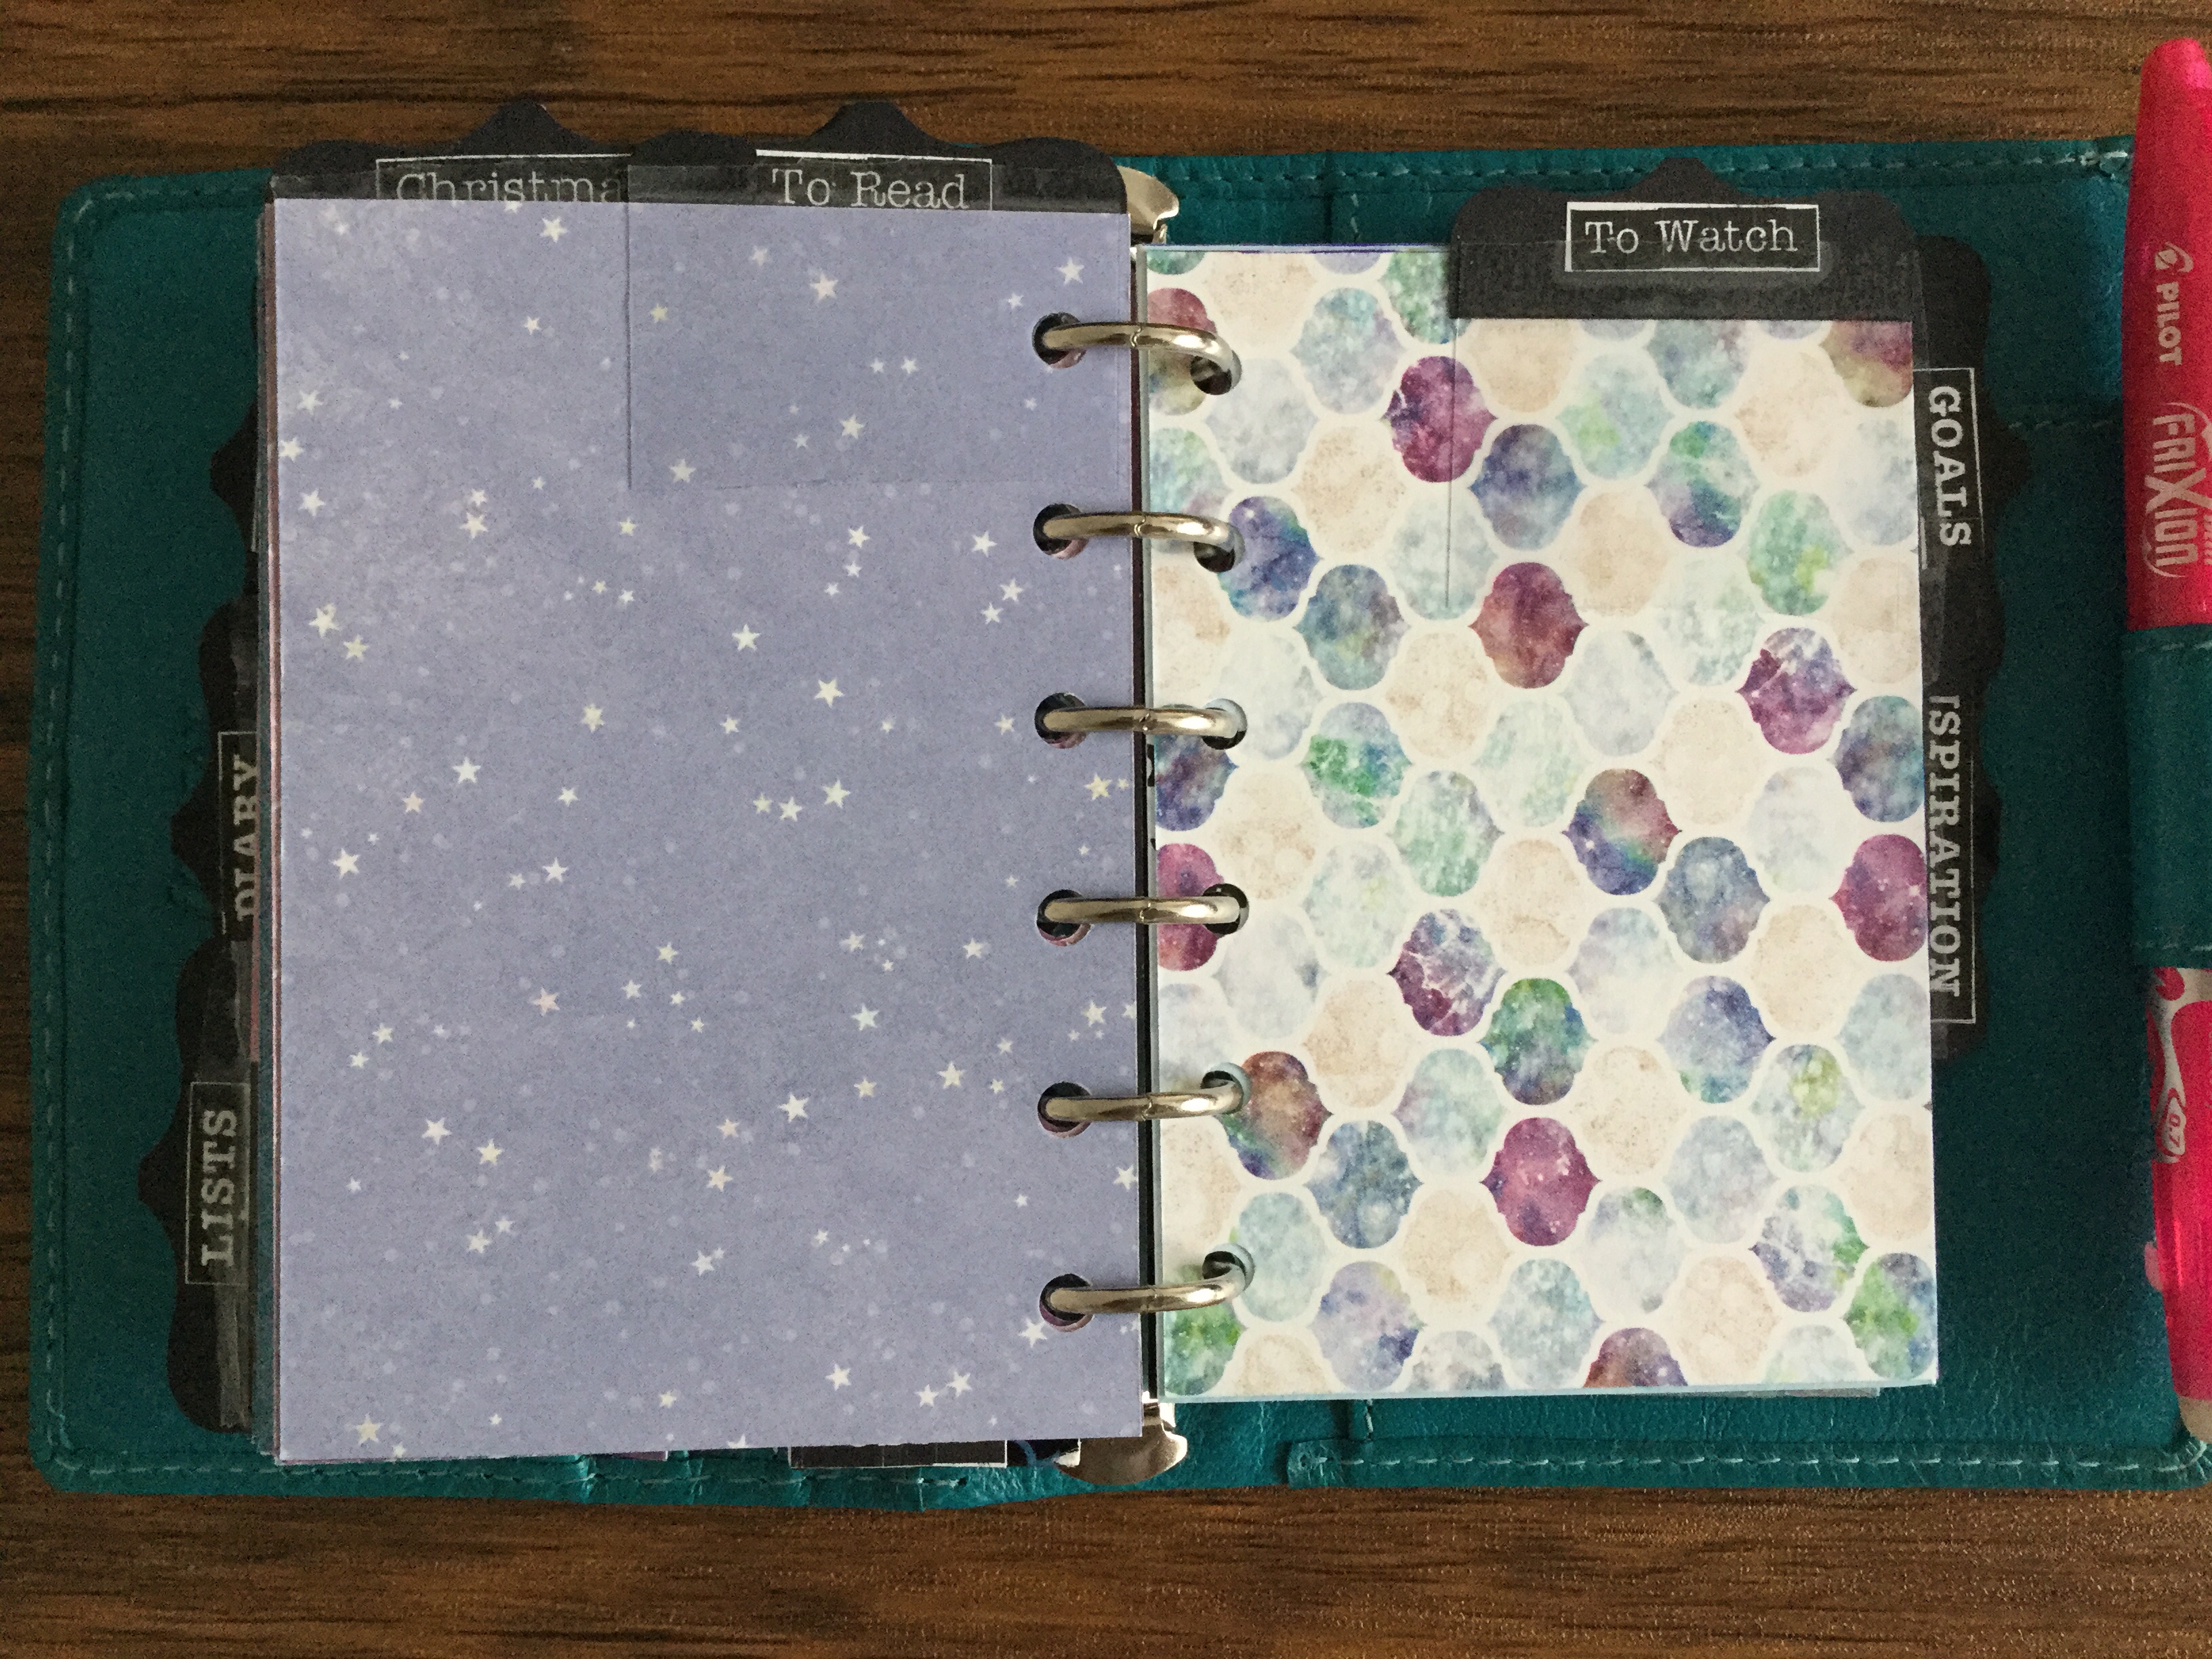
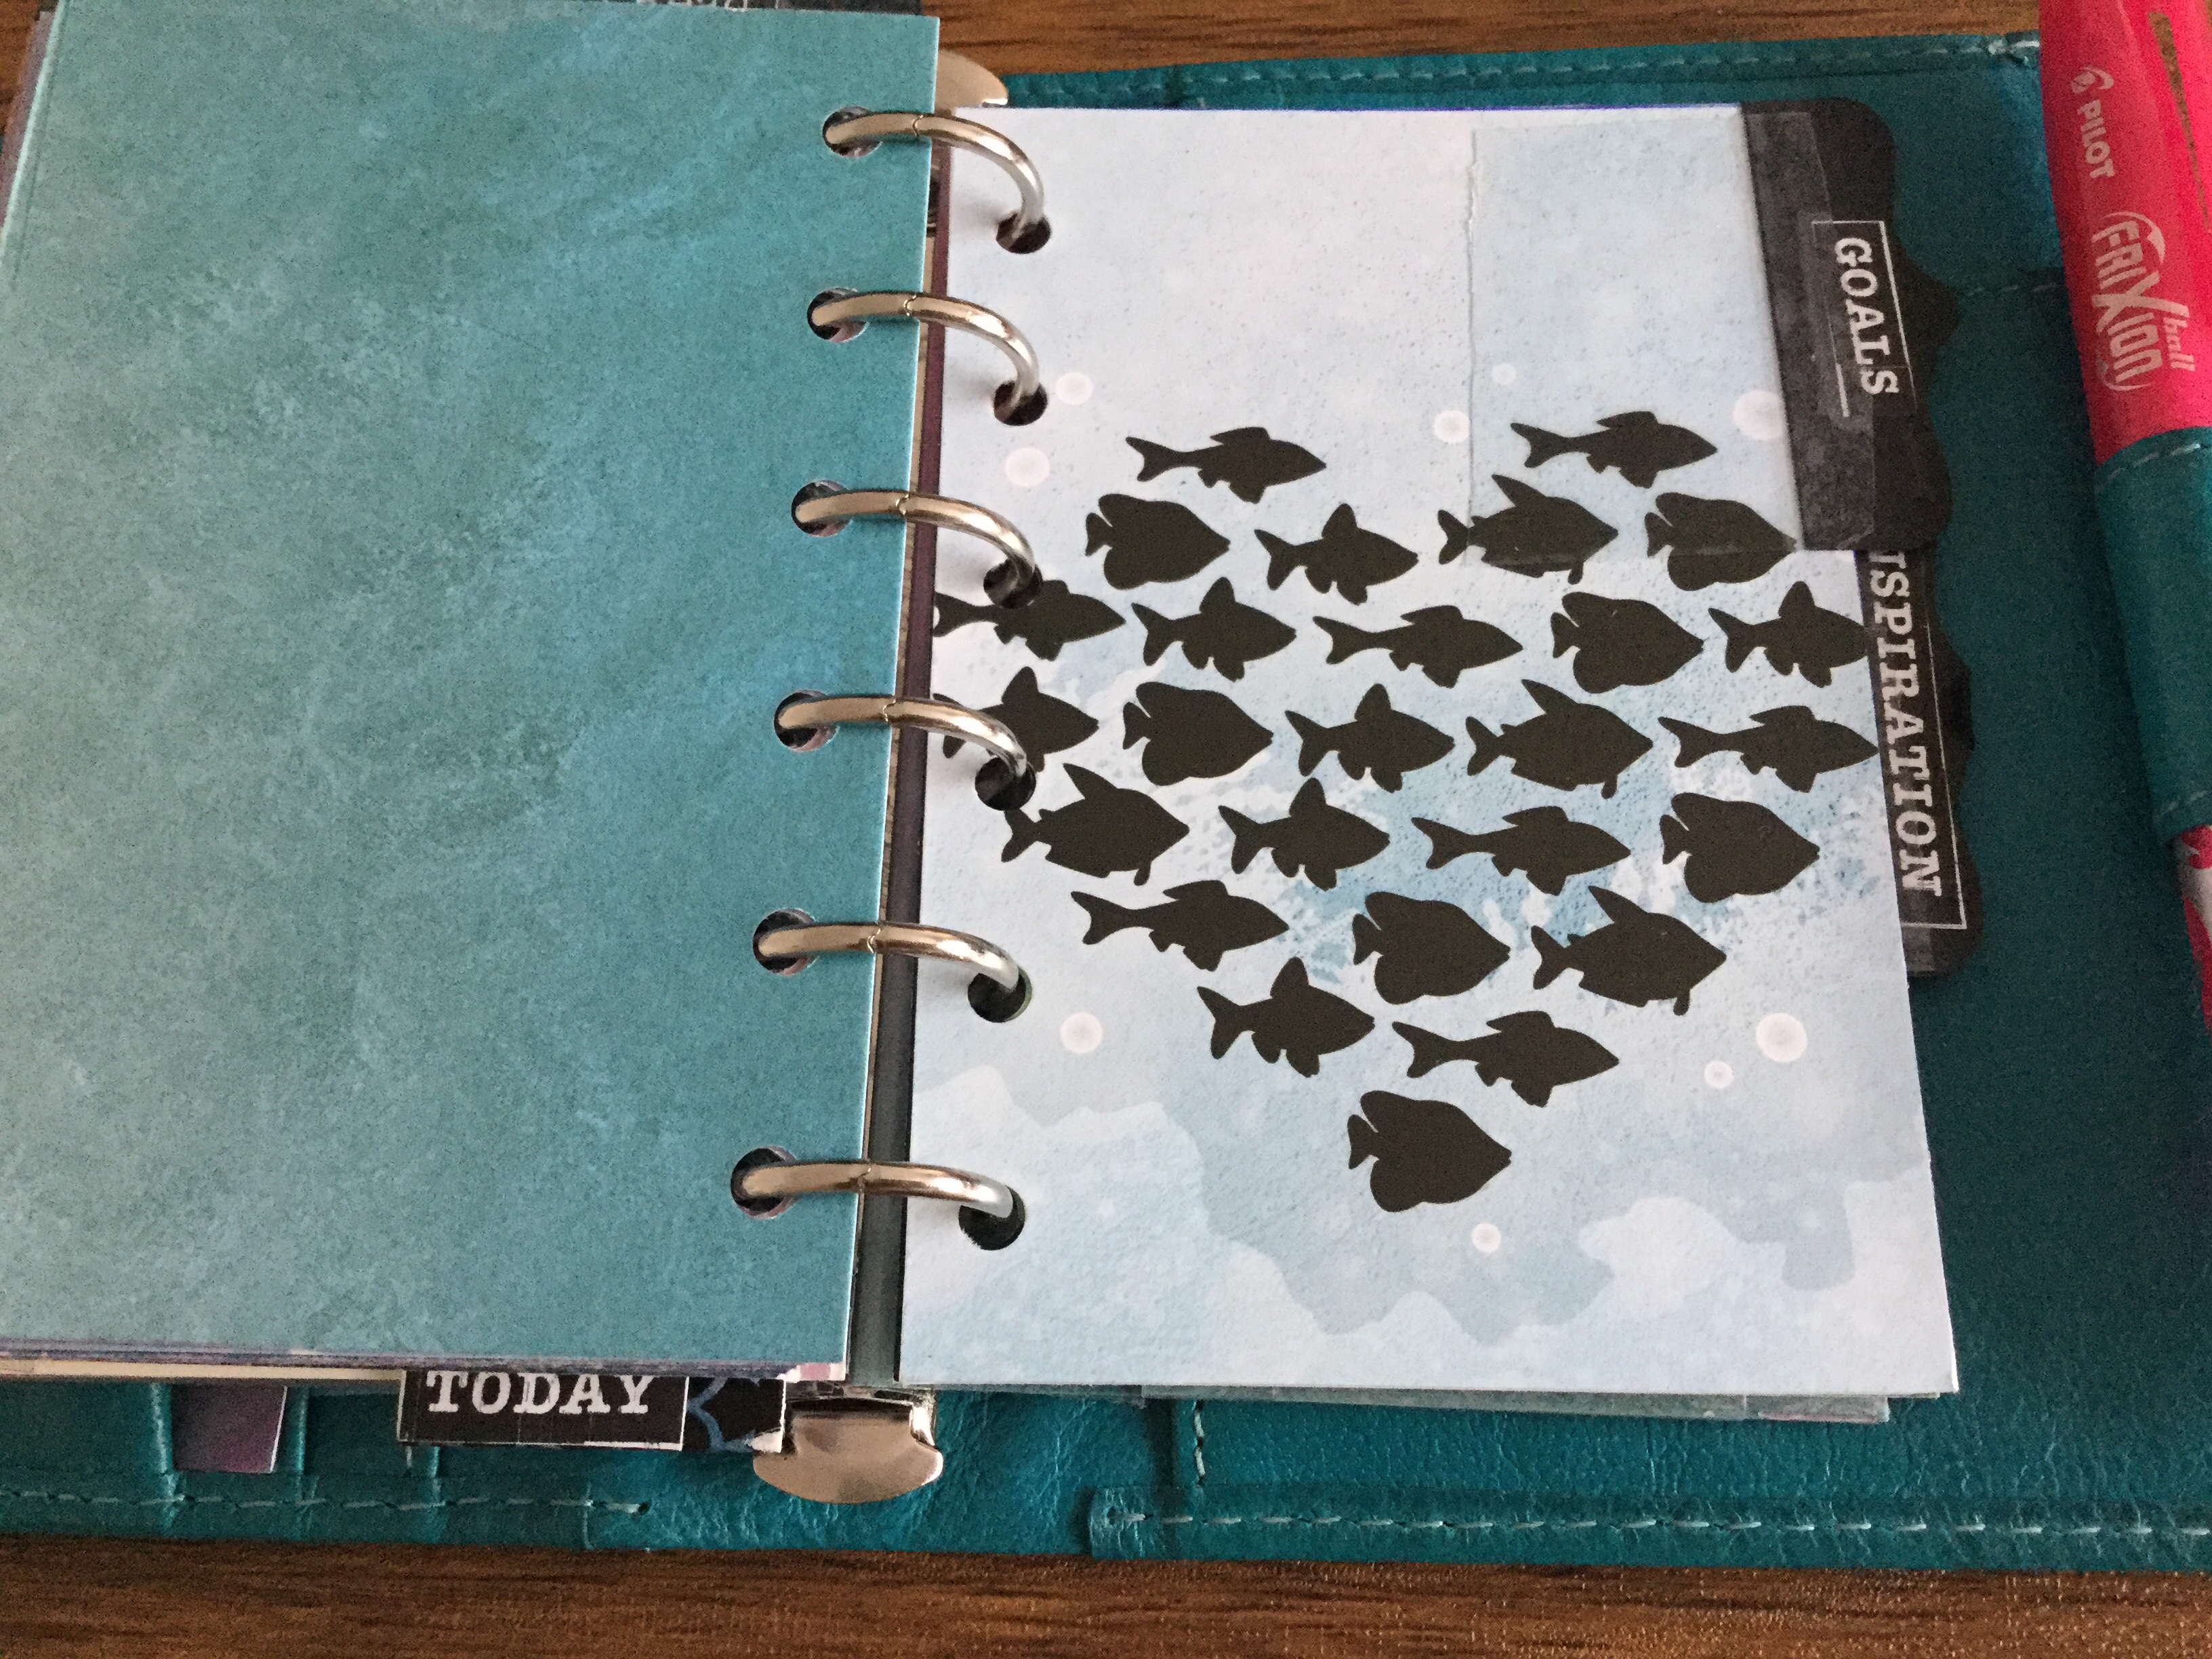
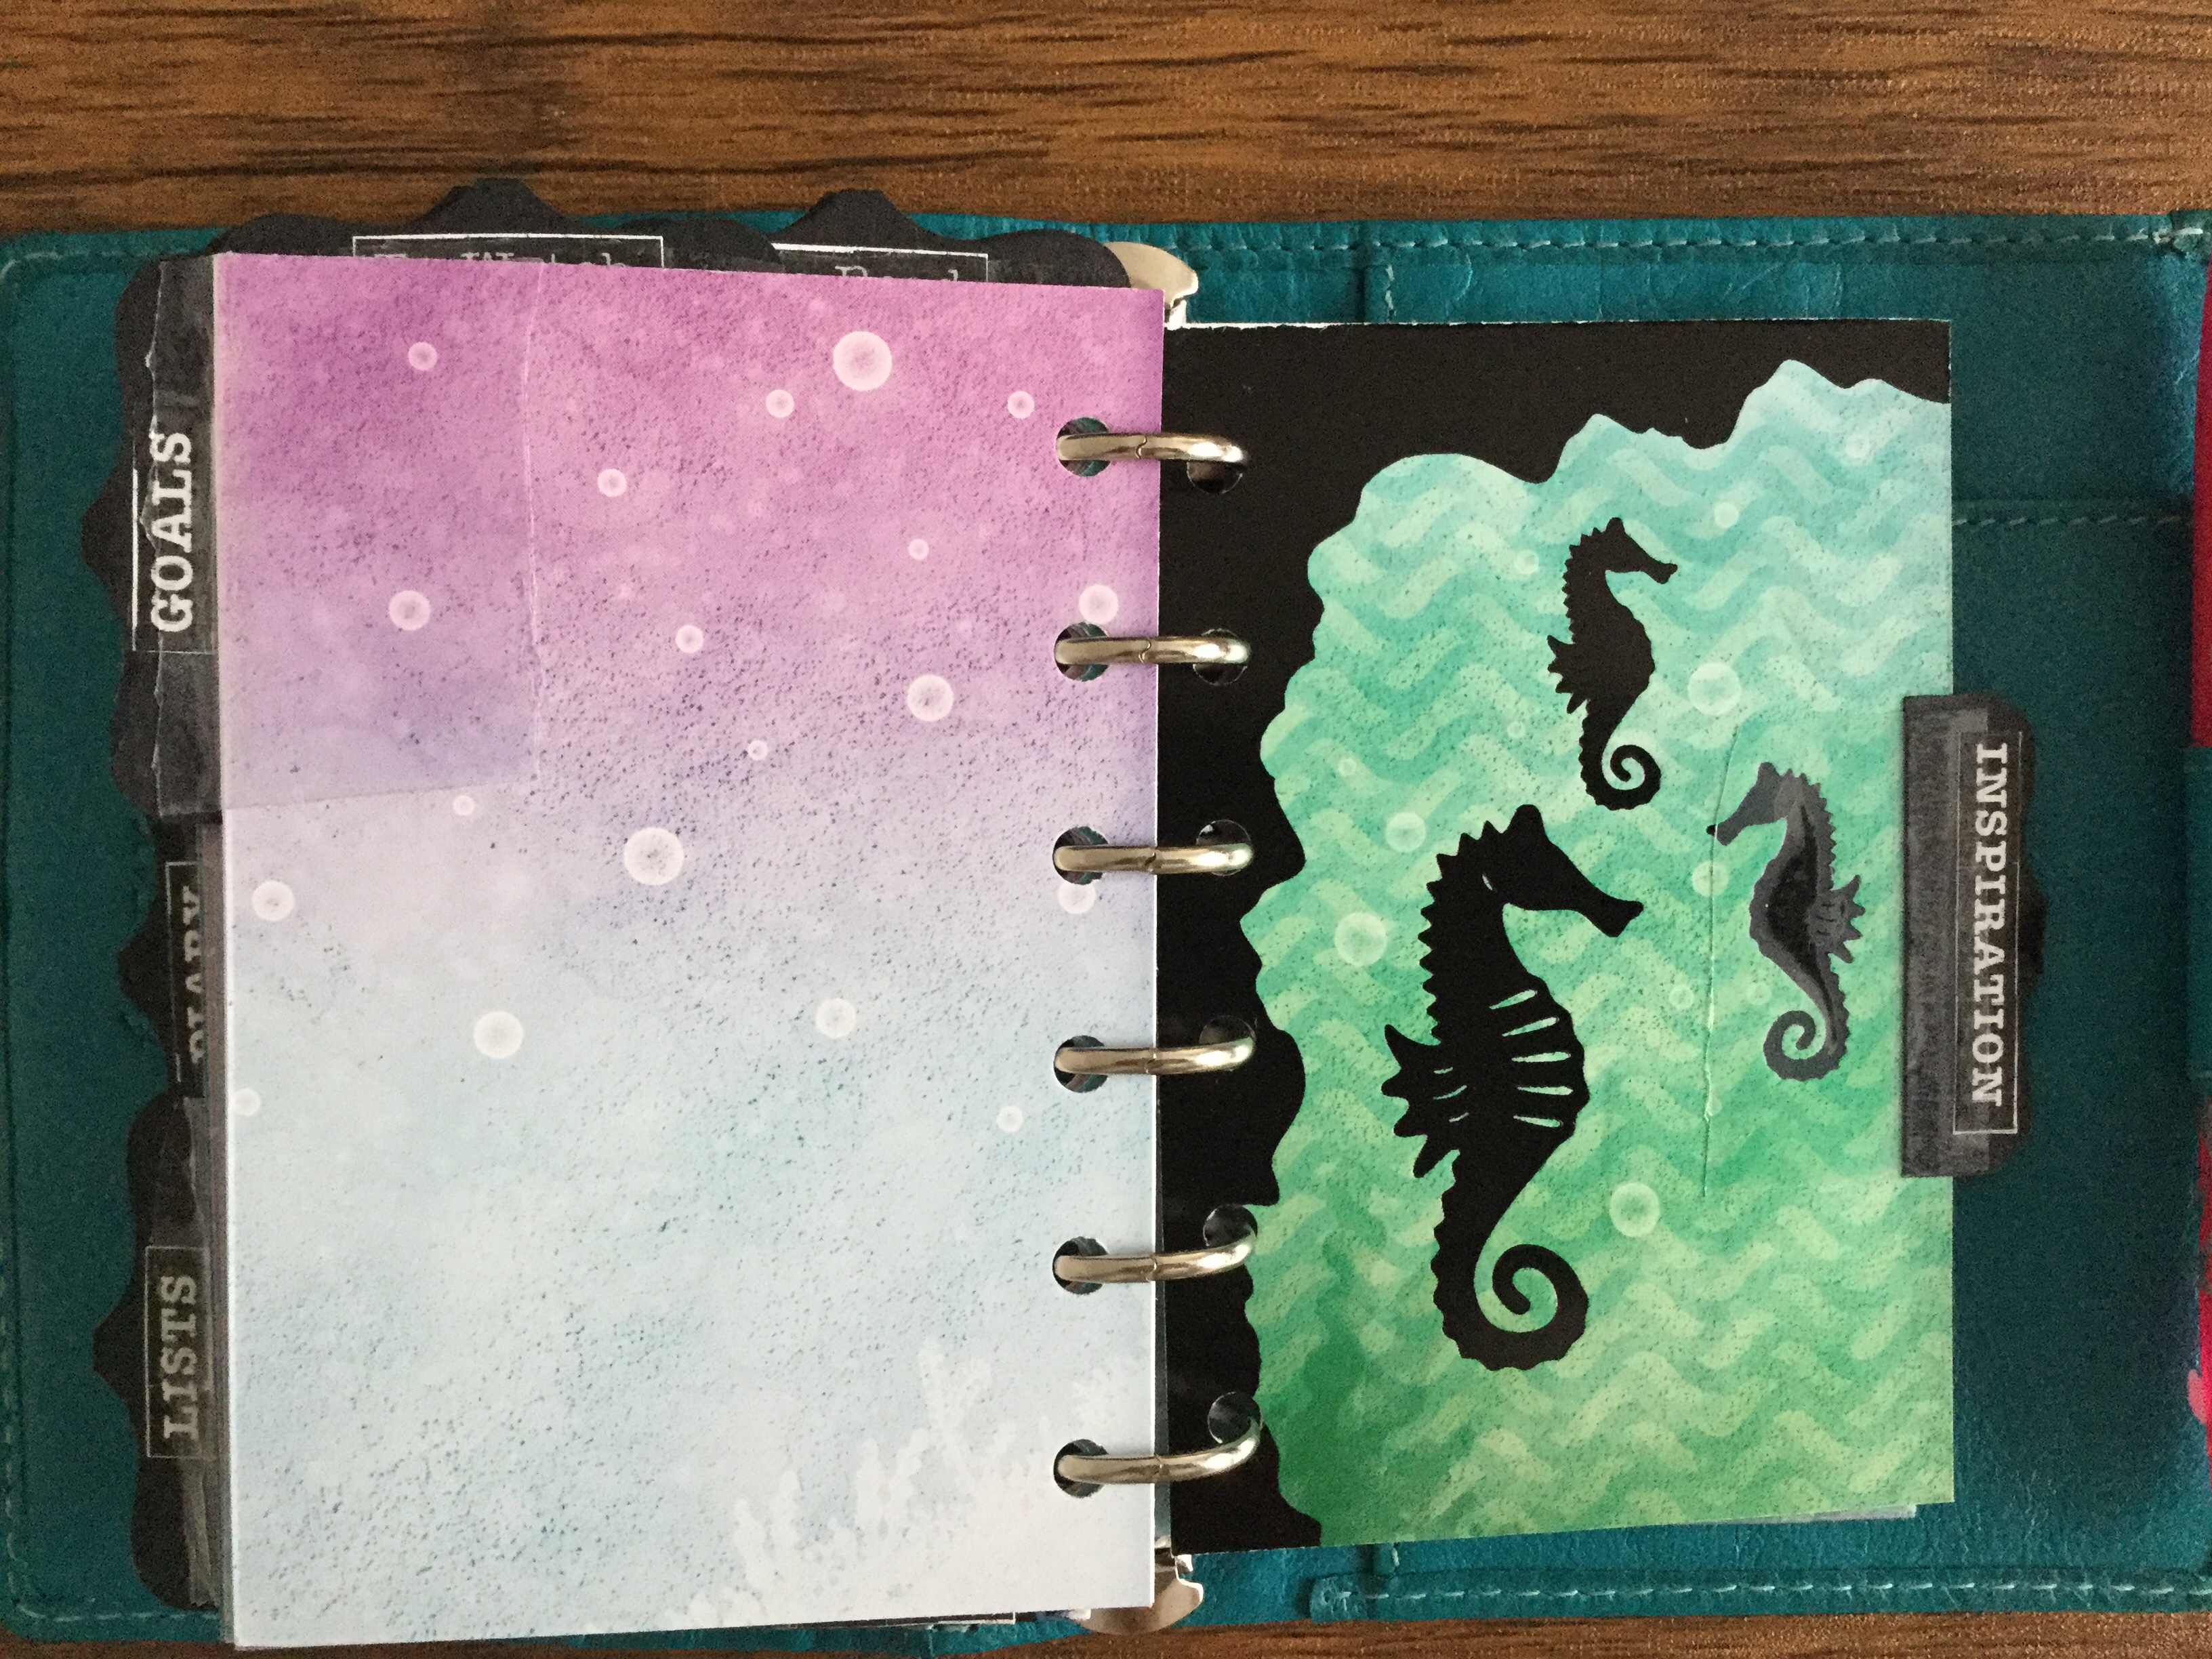
I then purchased inserts from Cute Organising on Etsy and I had some custom tabs created from appleblushdesigns on Etsy which I’m super happy with!

I’ve switched out the 16mm rings for 30mm rings: perhaps 25mm rings would be a better fit for this binder as the press-stud is pulling
Beautiful tabs from appleblushdesigns on Etsy!
Planner pages from Cute Organising on Etsy
My super happy daughter at 3 months old

If anyone has any suggestions on how to get about stylishly with a newborn and a 1 year old of different genders – please let me know as the bag situation has got me flummoxed right now!

All the best

Kel

Xxx
Kate Spade?

It’s been a while, hasn’t it?

I confess, I’ve been out of the planner world for a time. I moved in with my partner during lockdown, changed jobs to a part time role just down the road and ended up using a *gasp* wall calendar in our kitchen.

Then I got pregnant. I should have probably utilised the planner because I was so busy with the amount of appointments I had I could hardly tell what way was up most of the time let alone when my next appointment with the community midwife was or next scan or blood test… and inching into the 3rd trimester, gestational diabetes with even more appointments and eventually insulin. I did try utilising a moleskins but I just couldn’t make it work. I bought a beautiful vintage pink personal Finchley thinking I would start over in a personal size after being in a pocket size for so so so long. But nothing seemed to work for me. I JUST wasn’t interested.

Then once I gave birth, we had more appointments to check her over and we were re-admitted for jaundice. So again, I could have done with a planner.

But still, in my new mummy haze, I just didn’t have the time to spend on setting a planner up in the way that I’d like.

My daughter is now 3 and a half months old and I’m just coming out of the sleep deprived fog now, and I’m at the point where she doesn’t need me every minute of the day so I will be able to get my craftiness on whilst she sleeps in her Moses basket next to me.

So I think I’d like to try something a little outside of the Filofax community for a little while. I’m looking for a Kate Spade Wellesley zip around in either pink or black. I know I’m late to the party on these and I’ve been searching the Facebook groups but nothing so far. Anyone around selling one at all?

Pocket Filofax Malden in Kingfisher Blue

Hi Everyone!

WARNING – PICTURE HEAVY POST! 😉

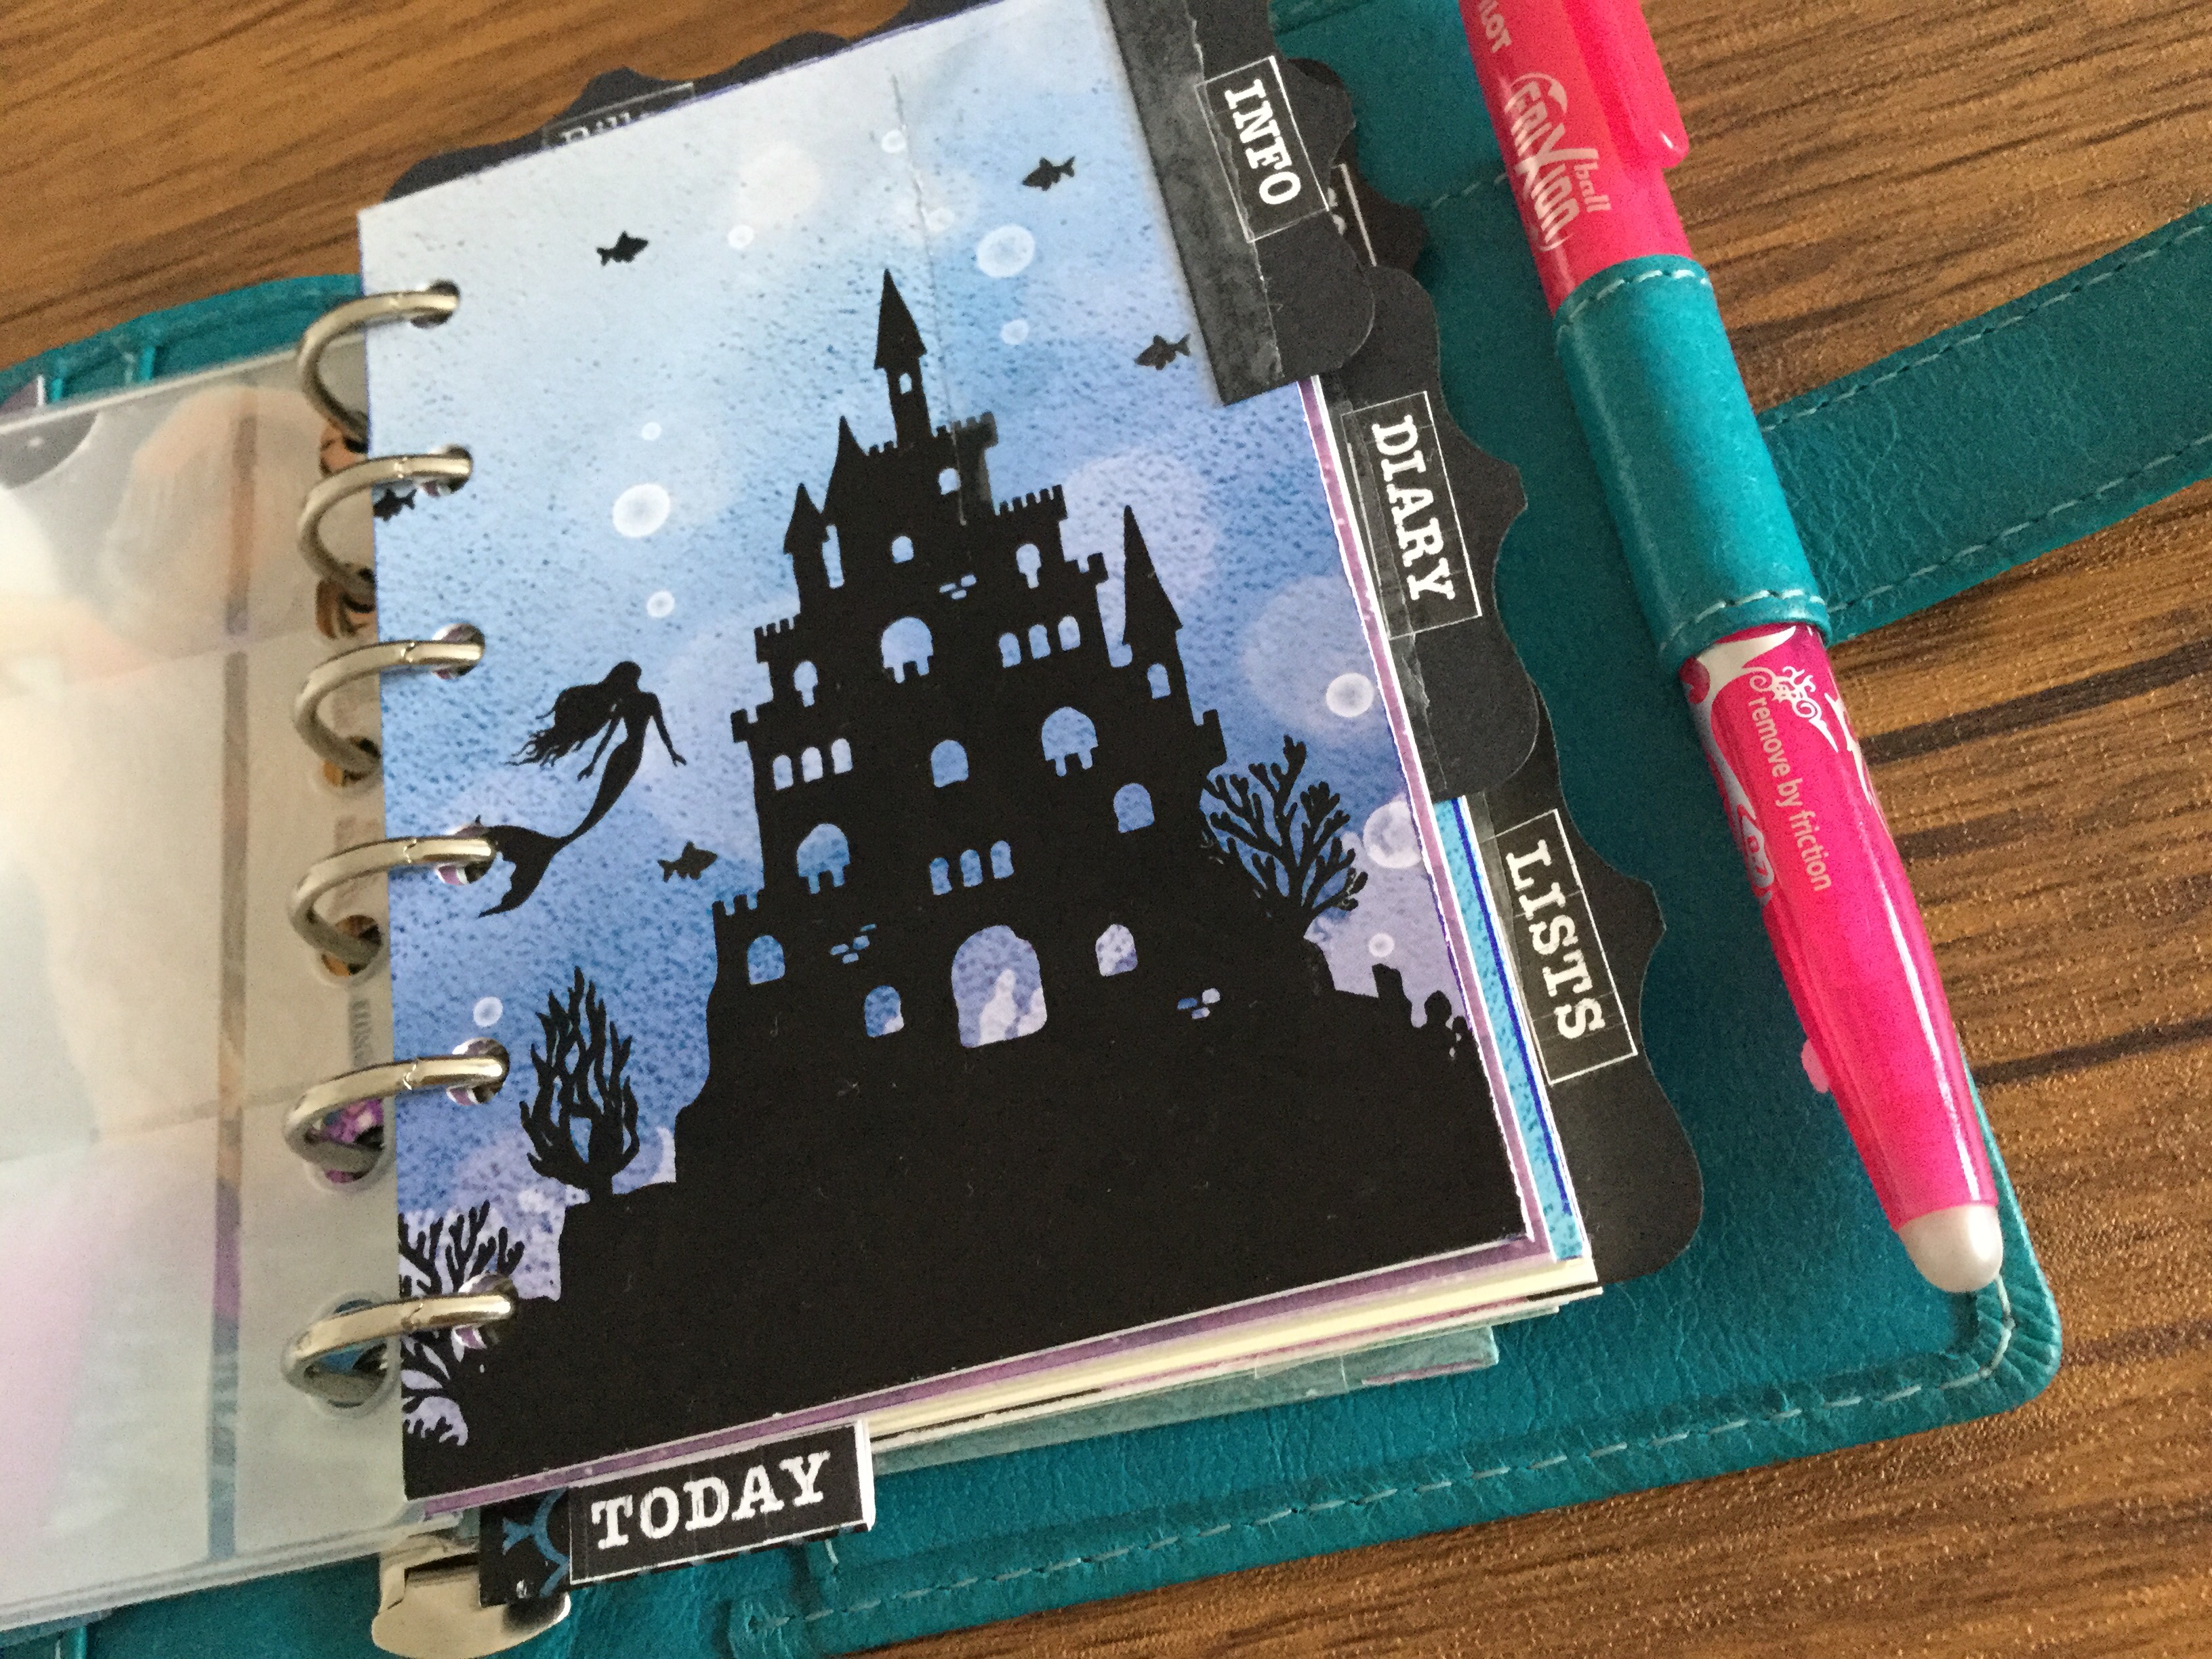
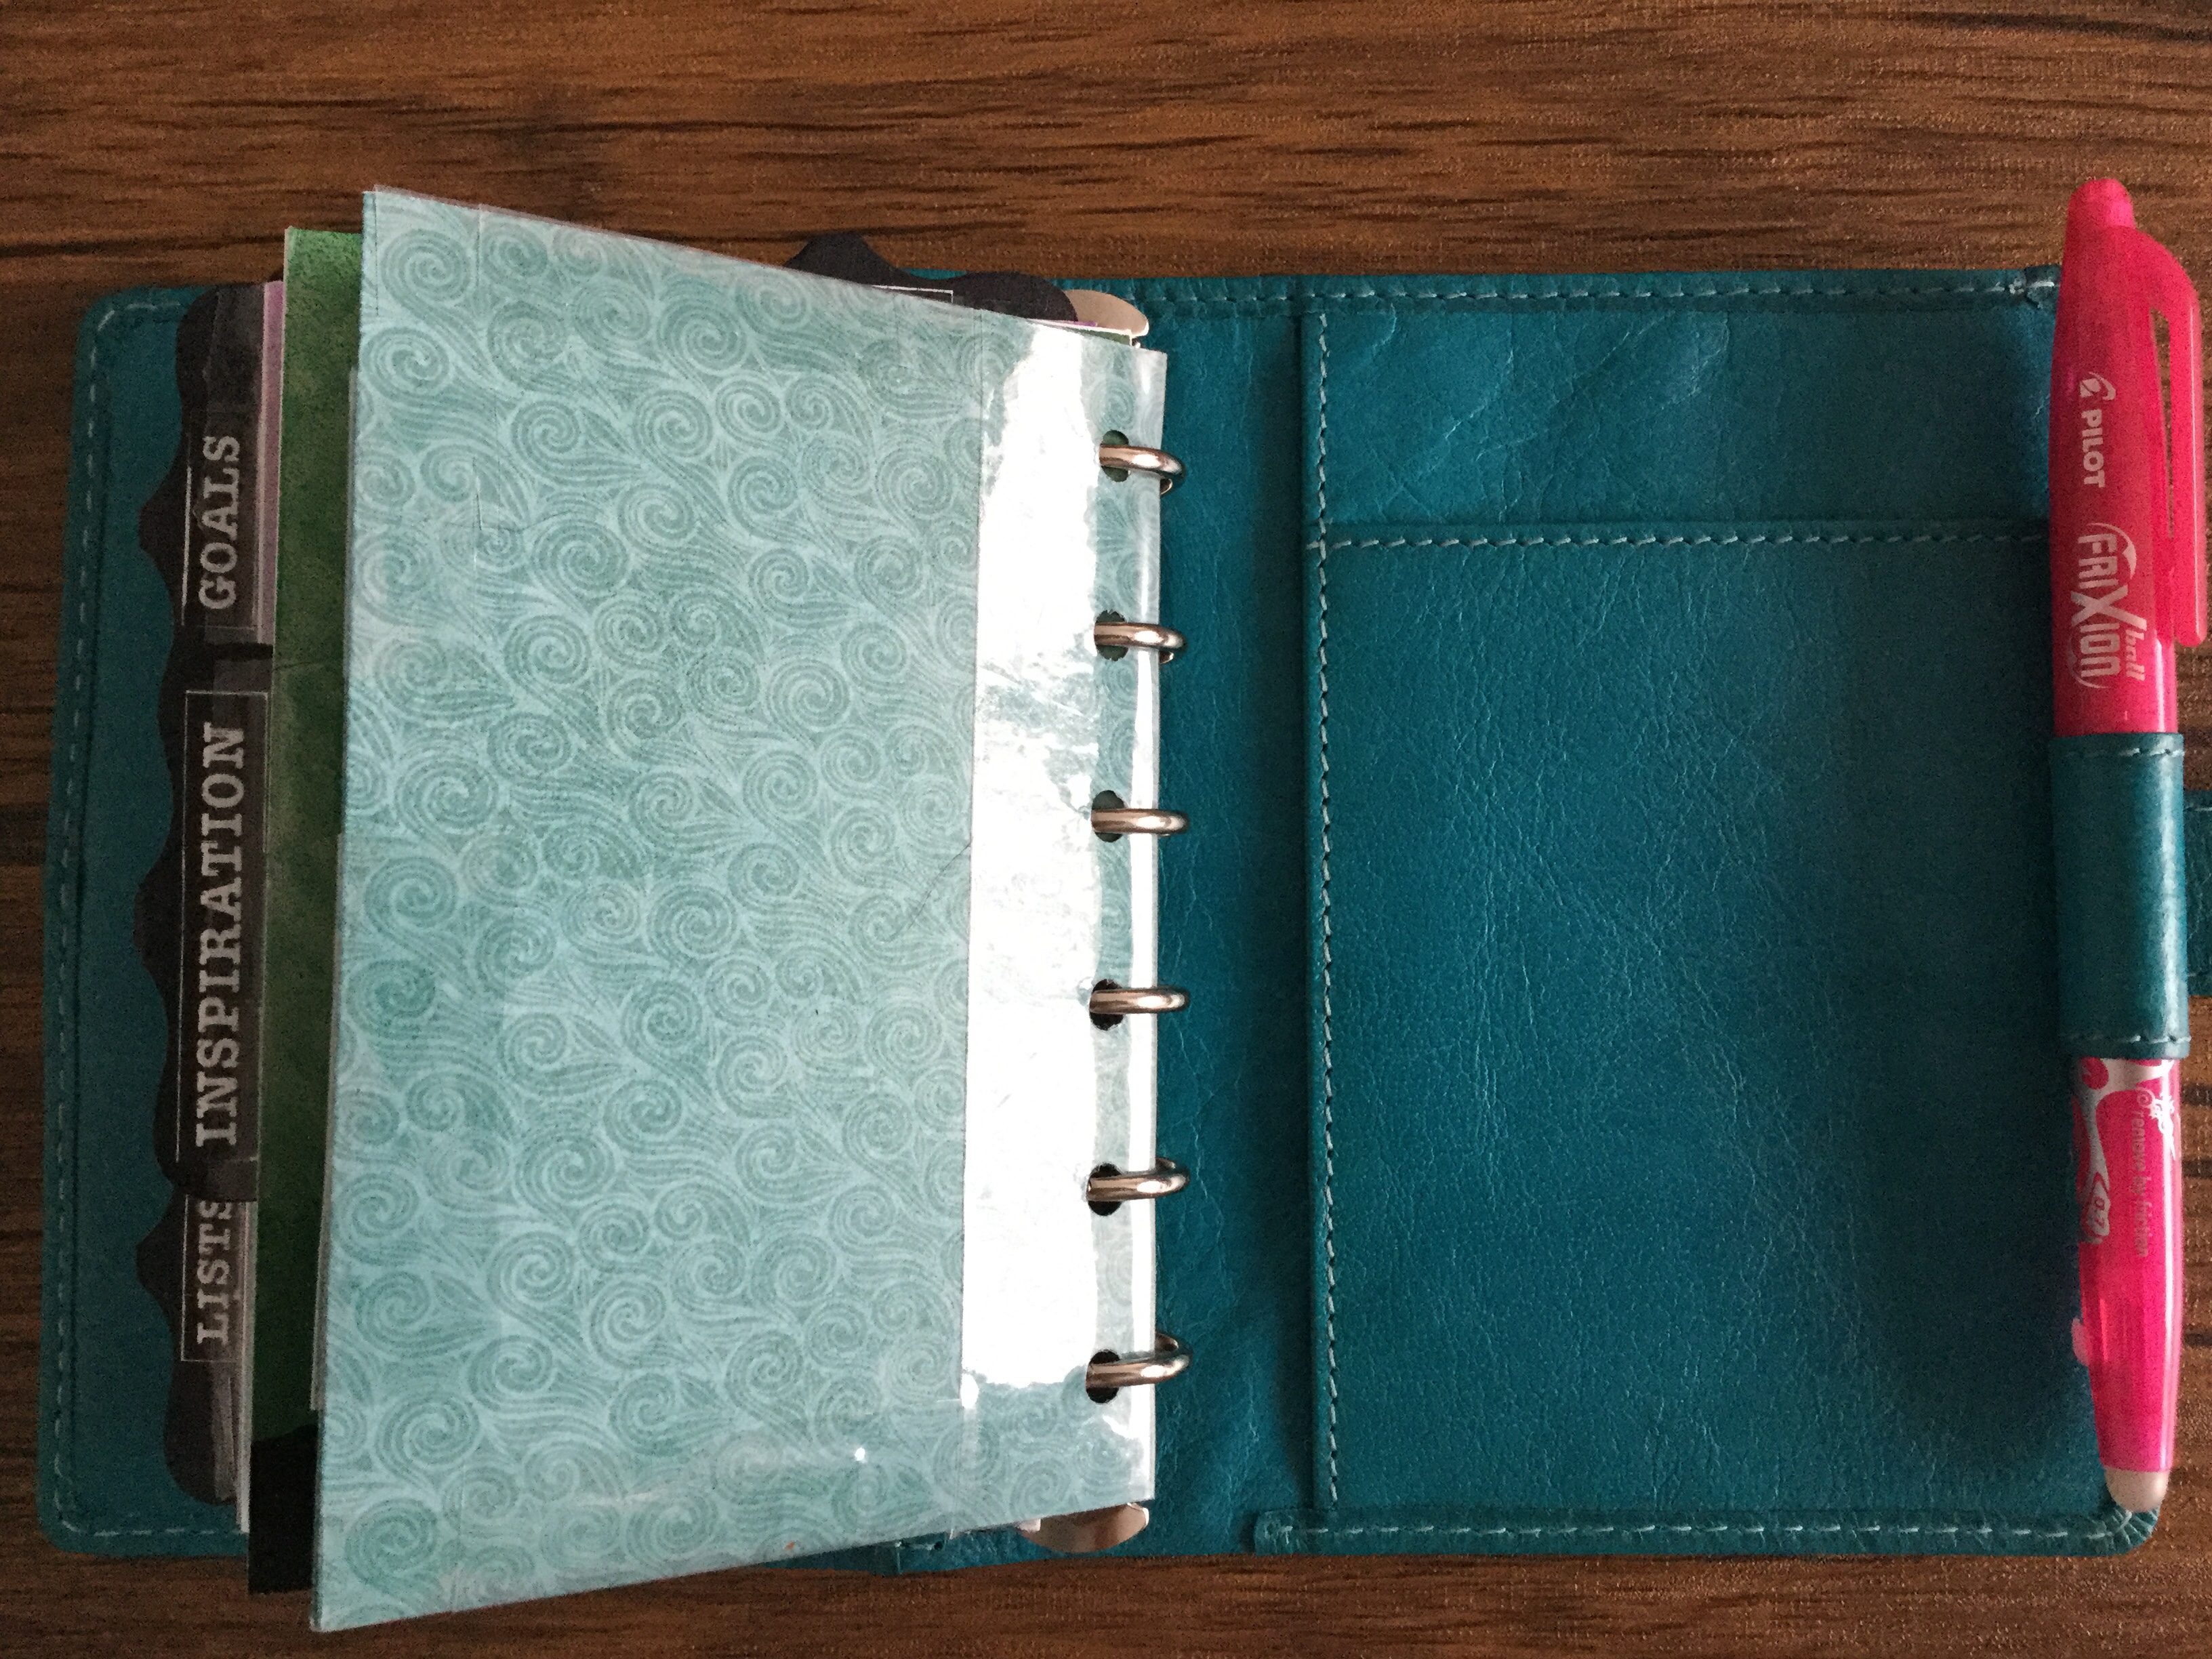
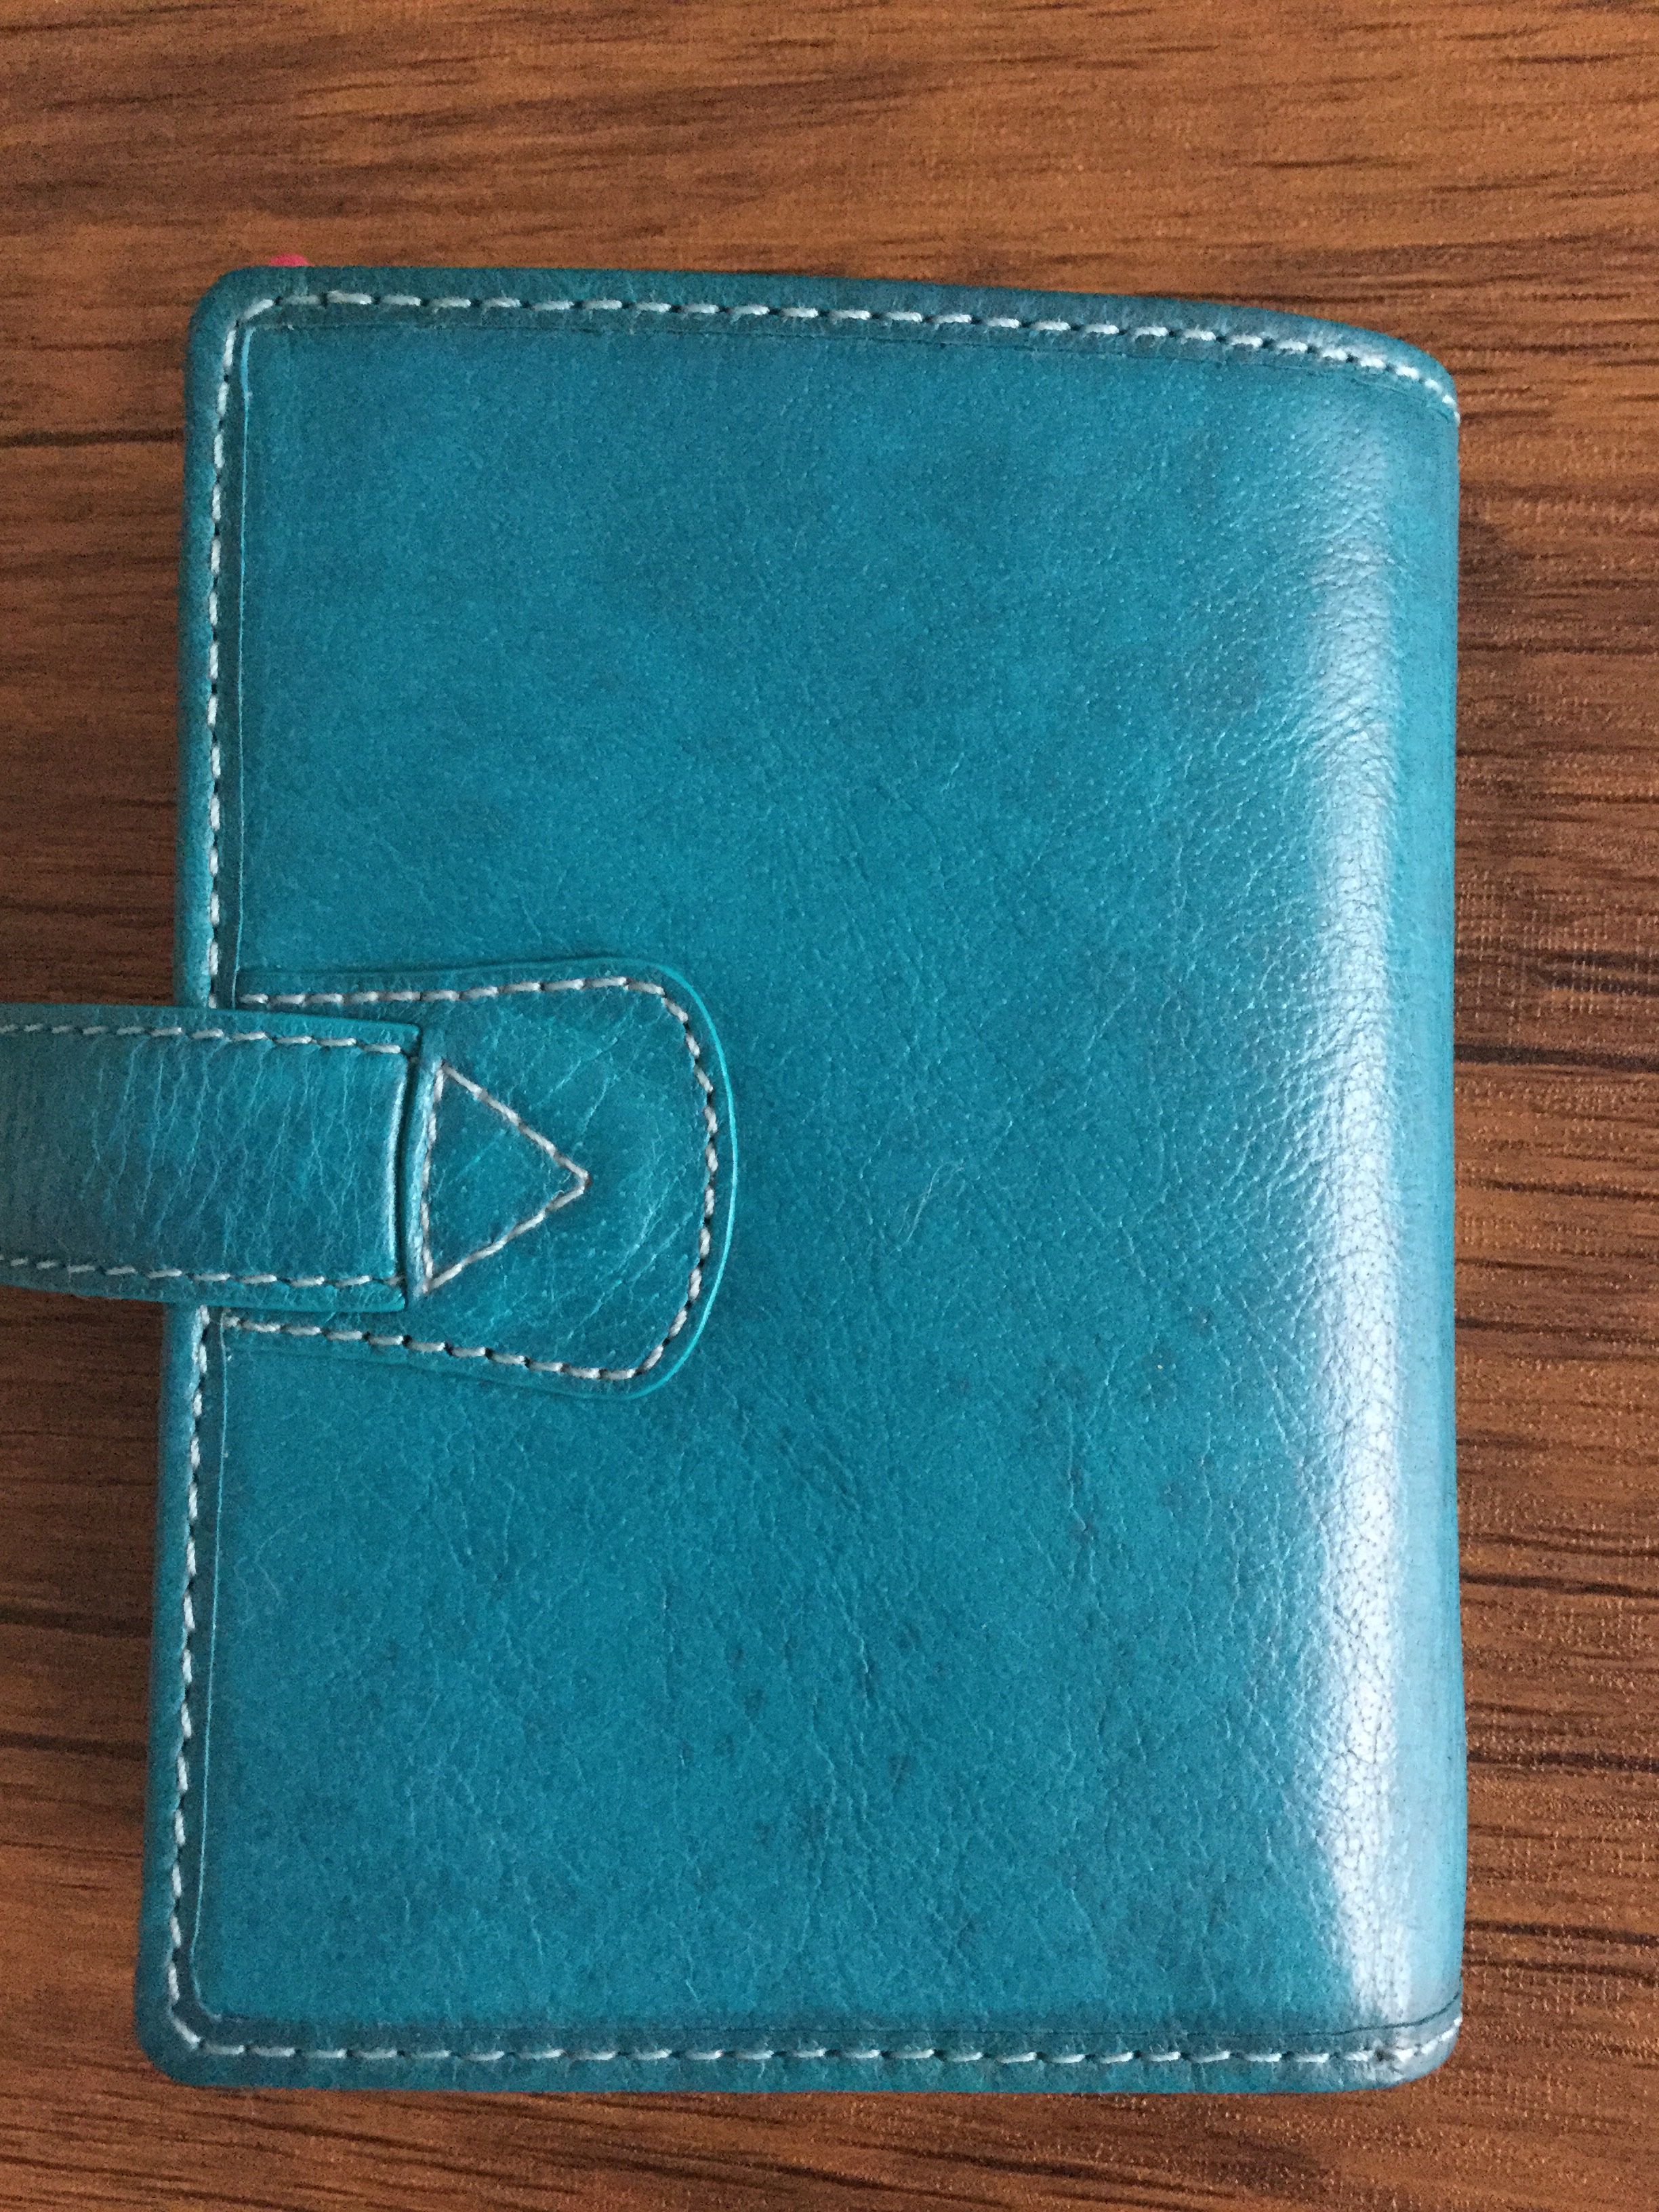
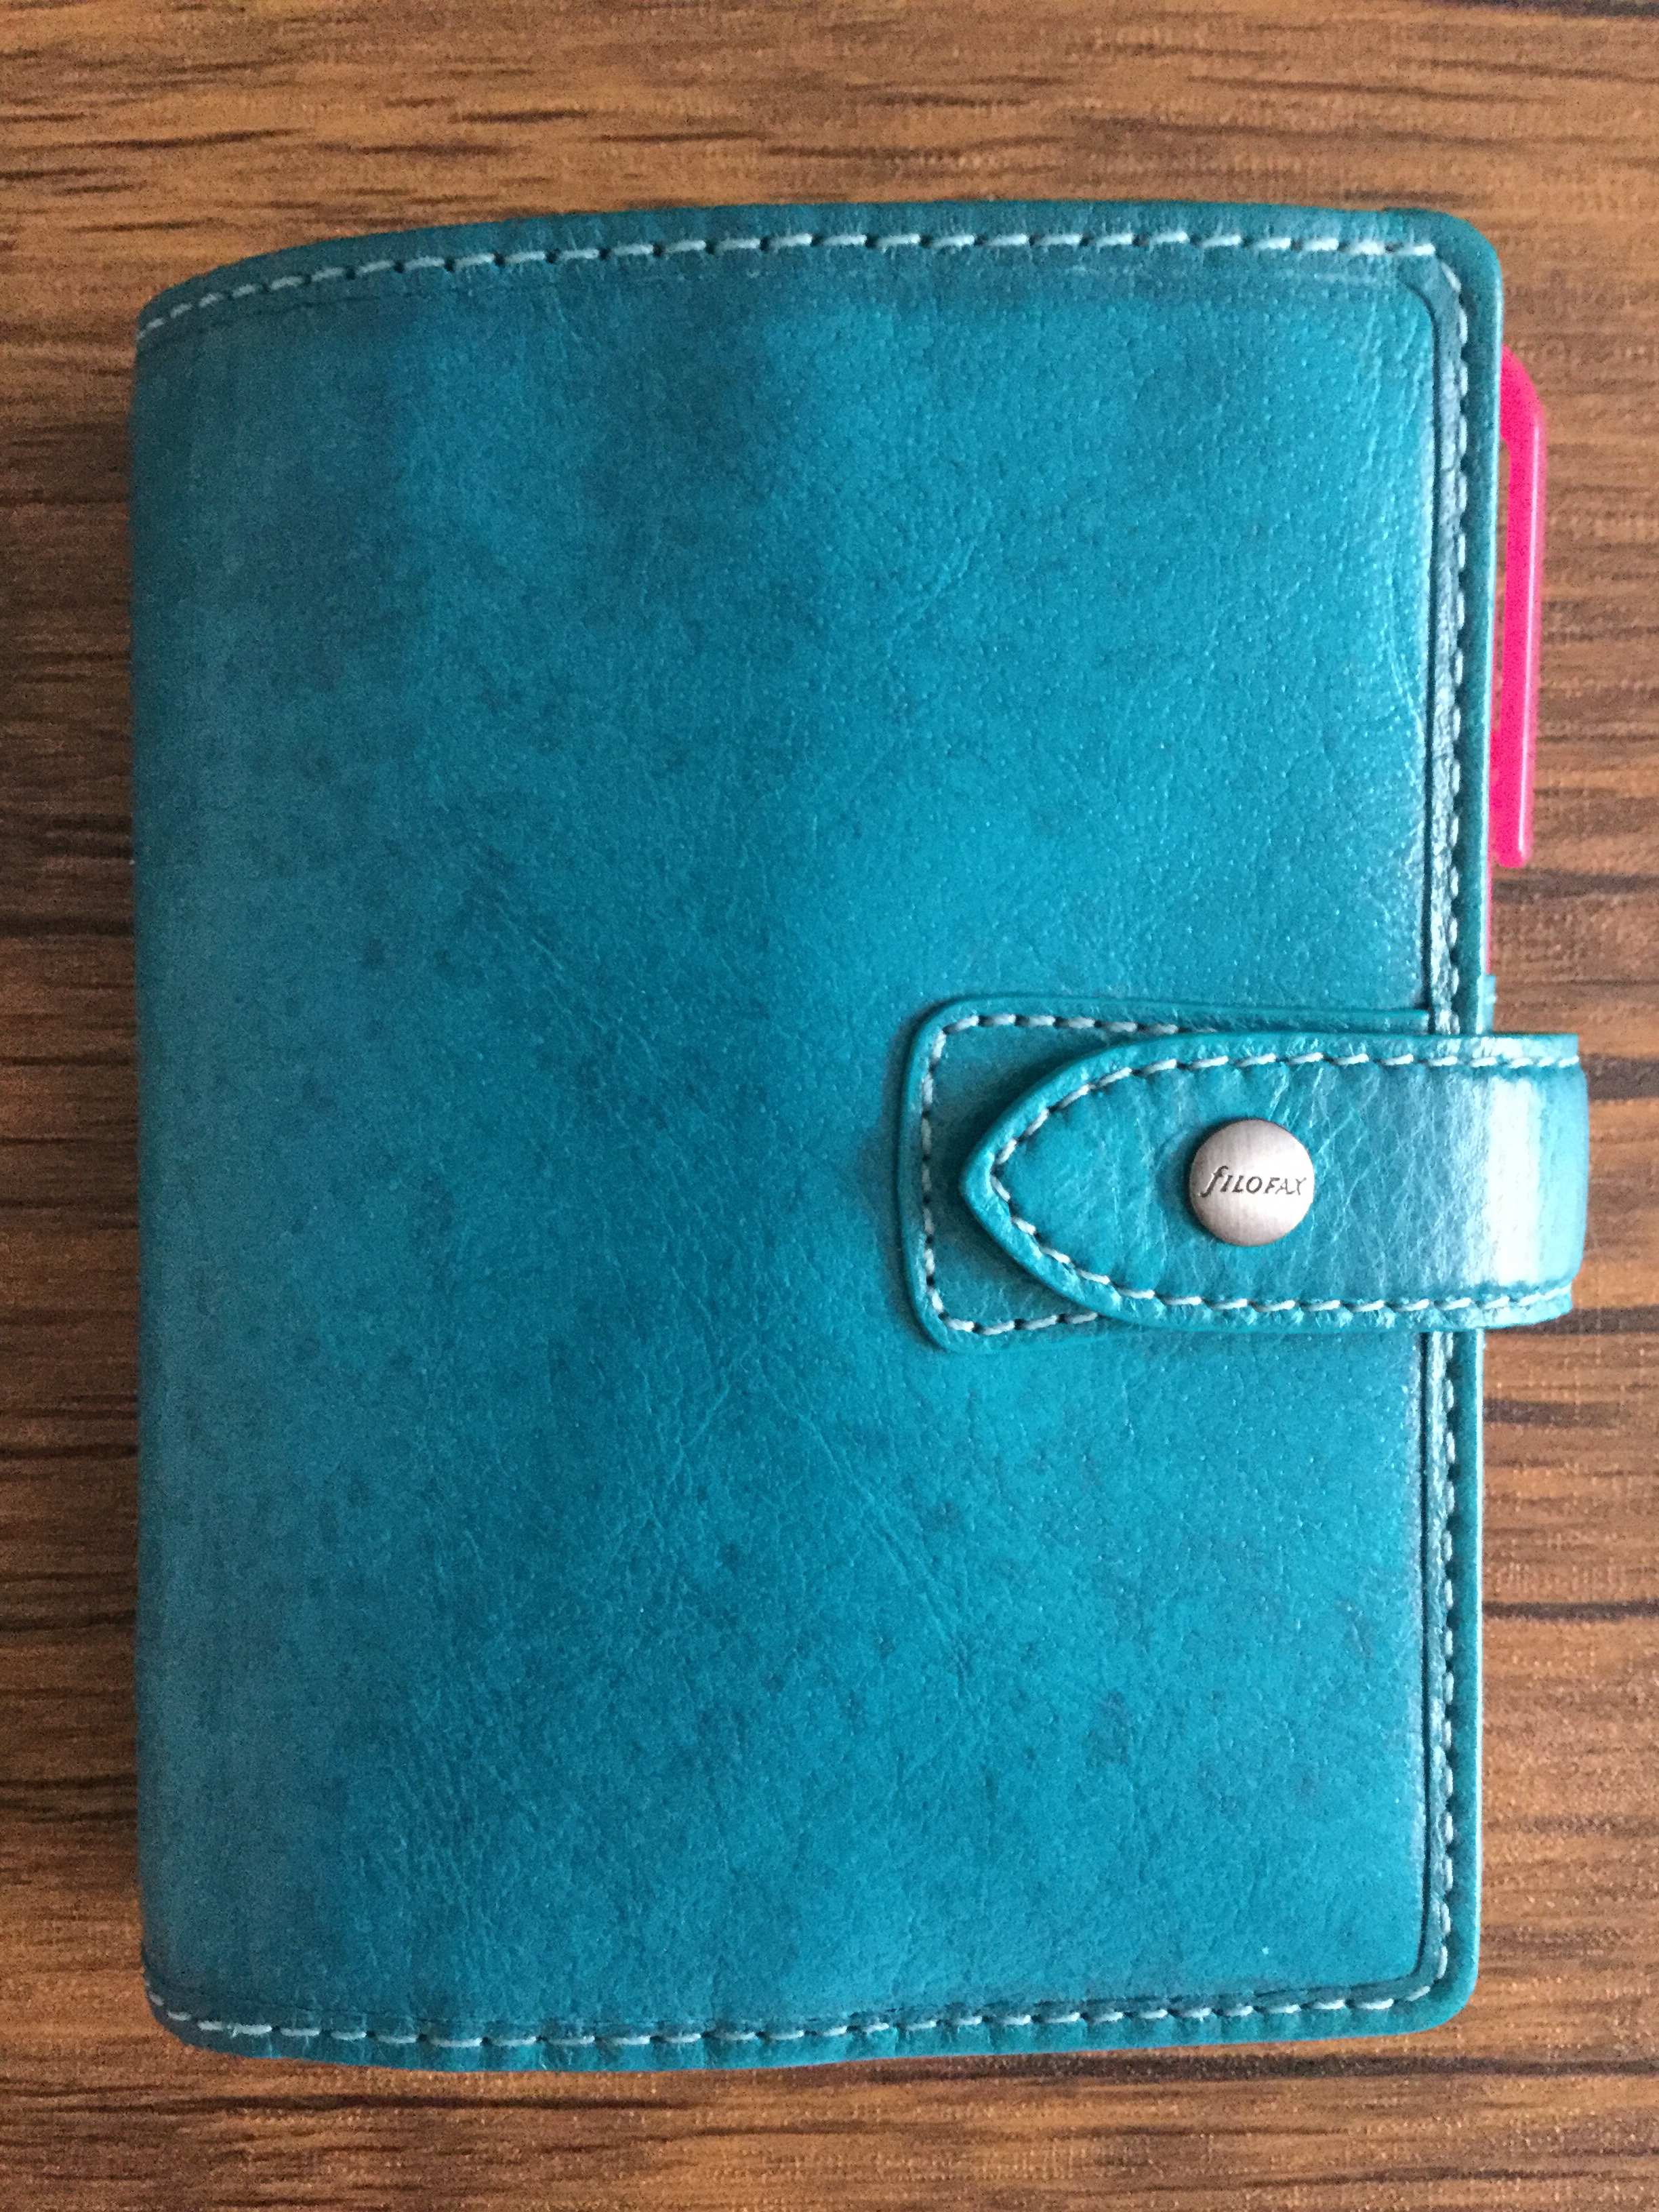
After an agonising 5 day wait, today I finally received my Pocket Malden in Kingfisher Blue. Oh my. It’s a beauty.

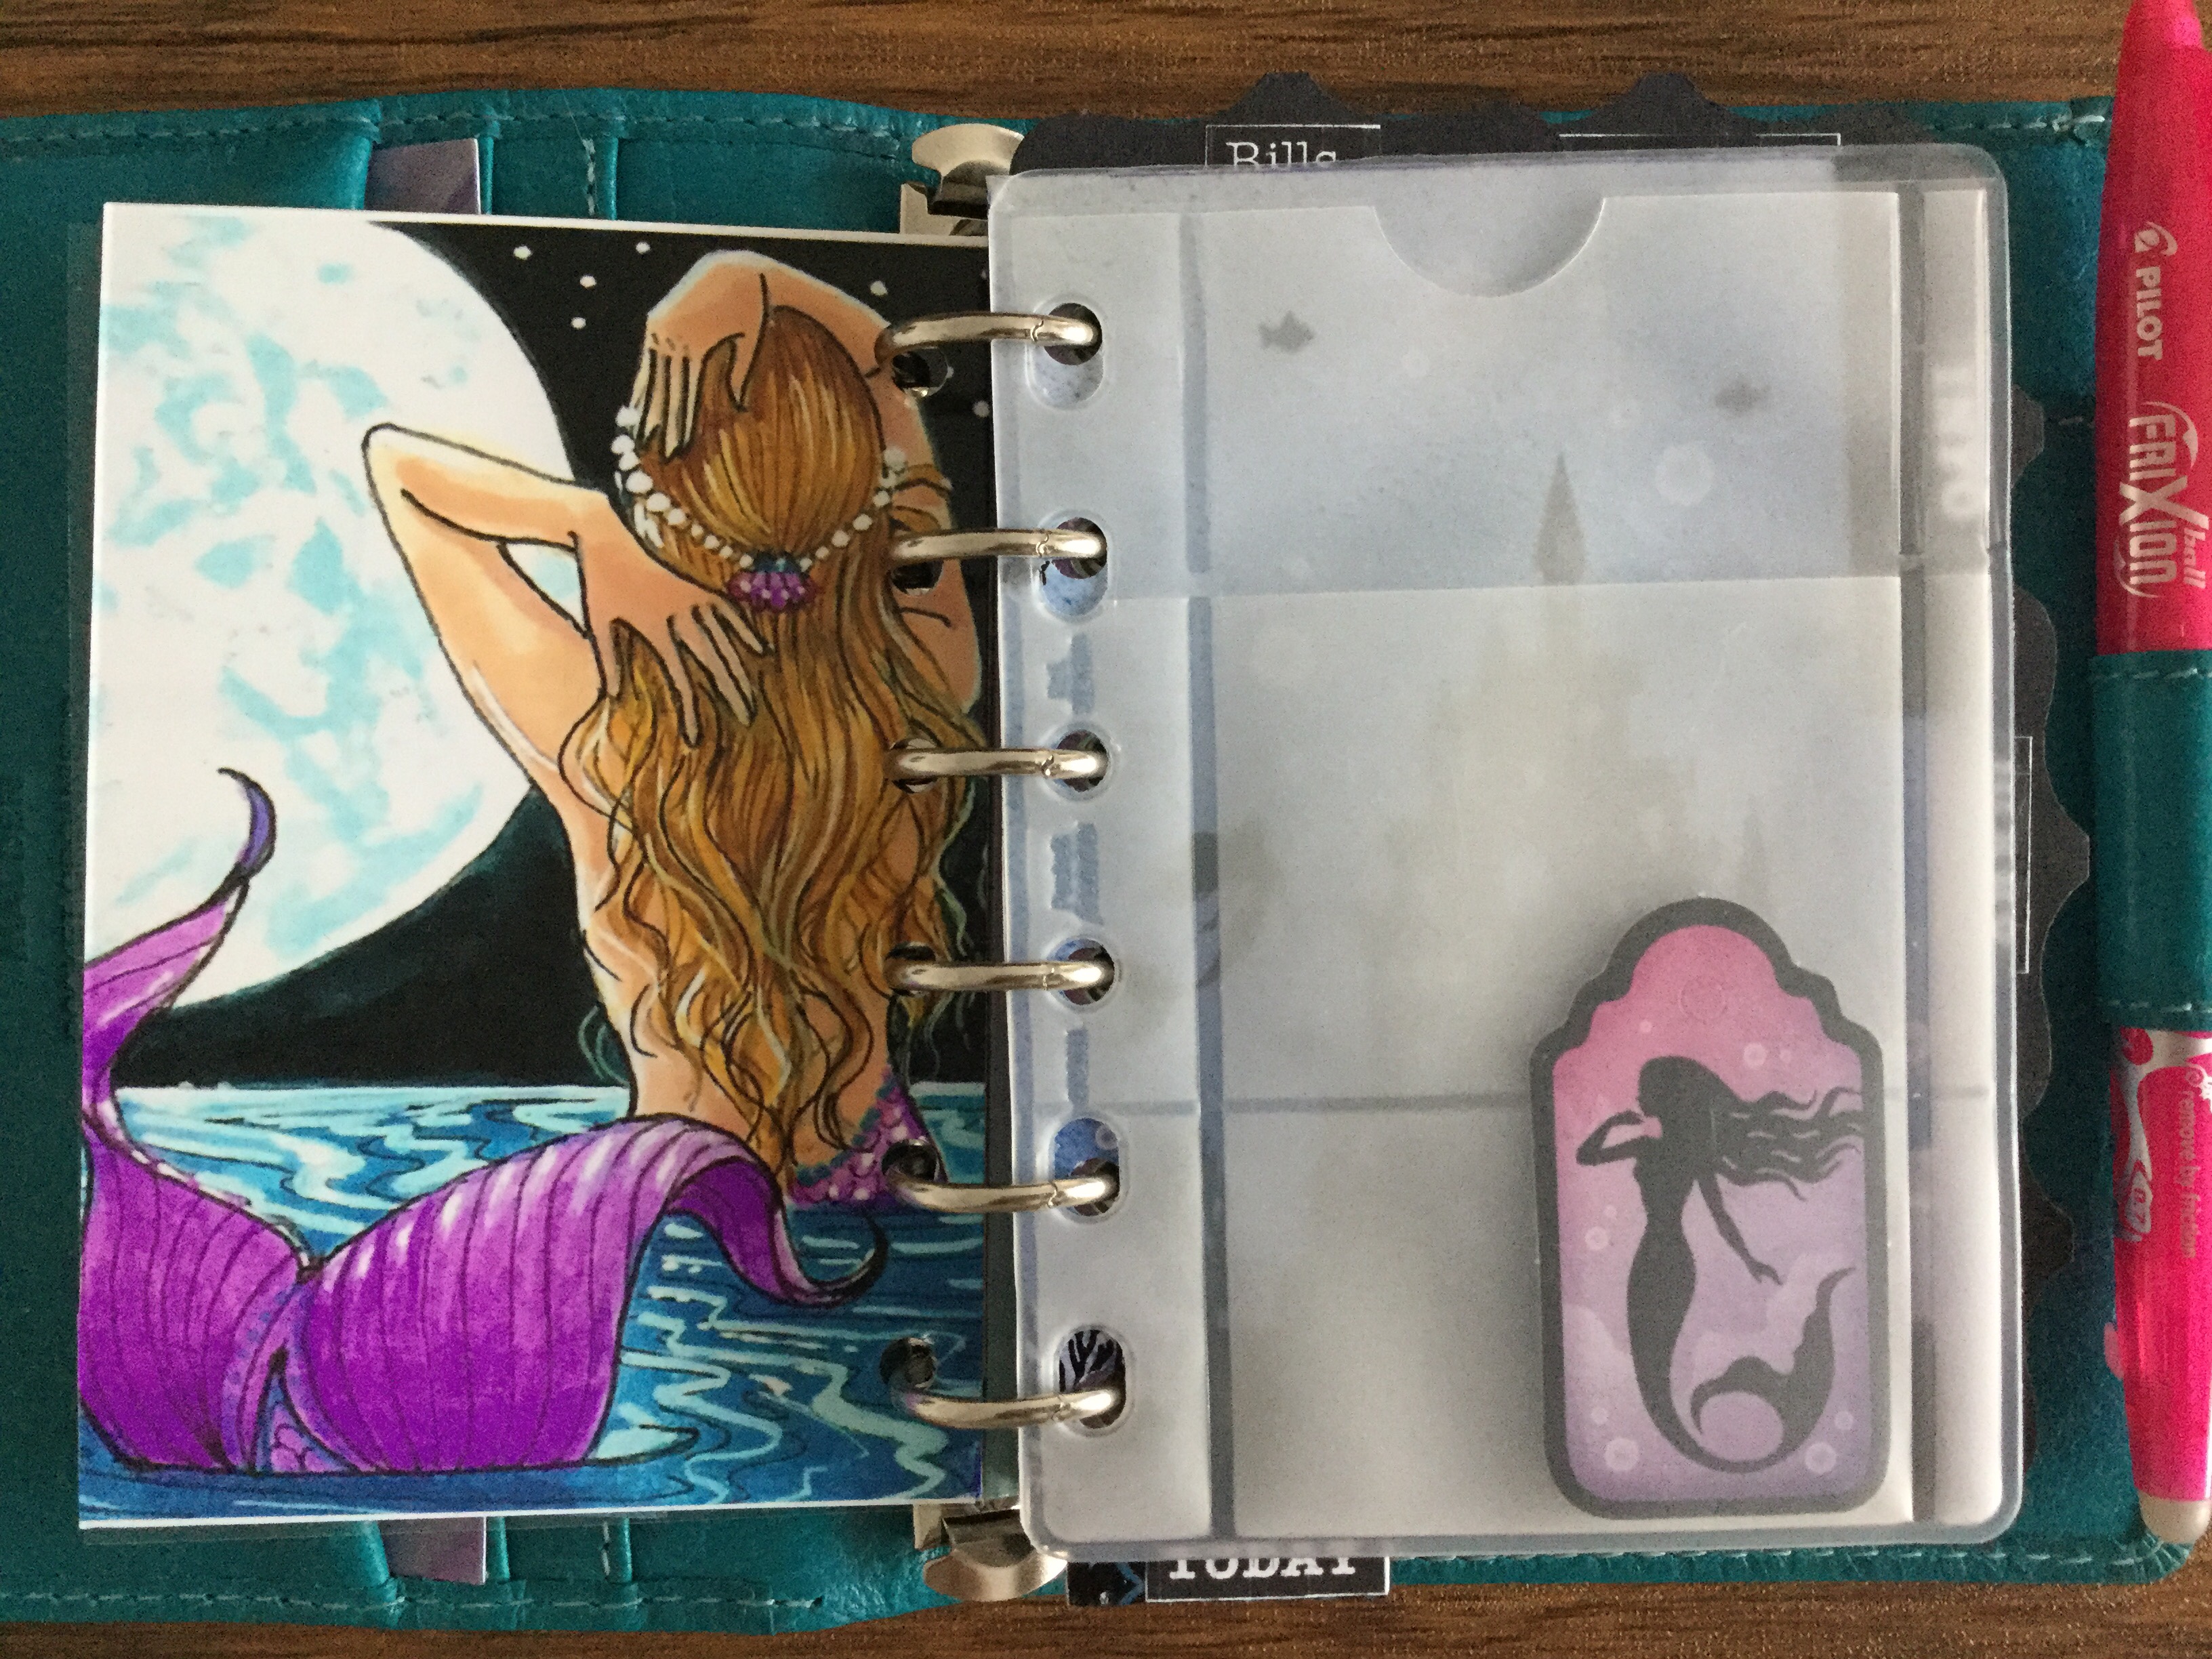
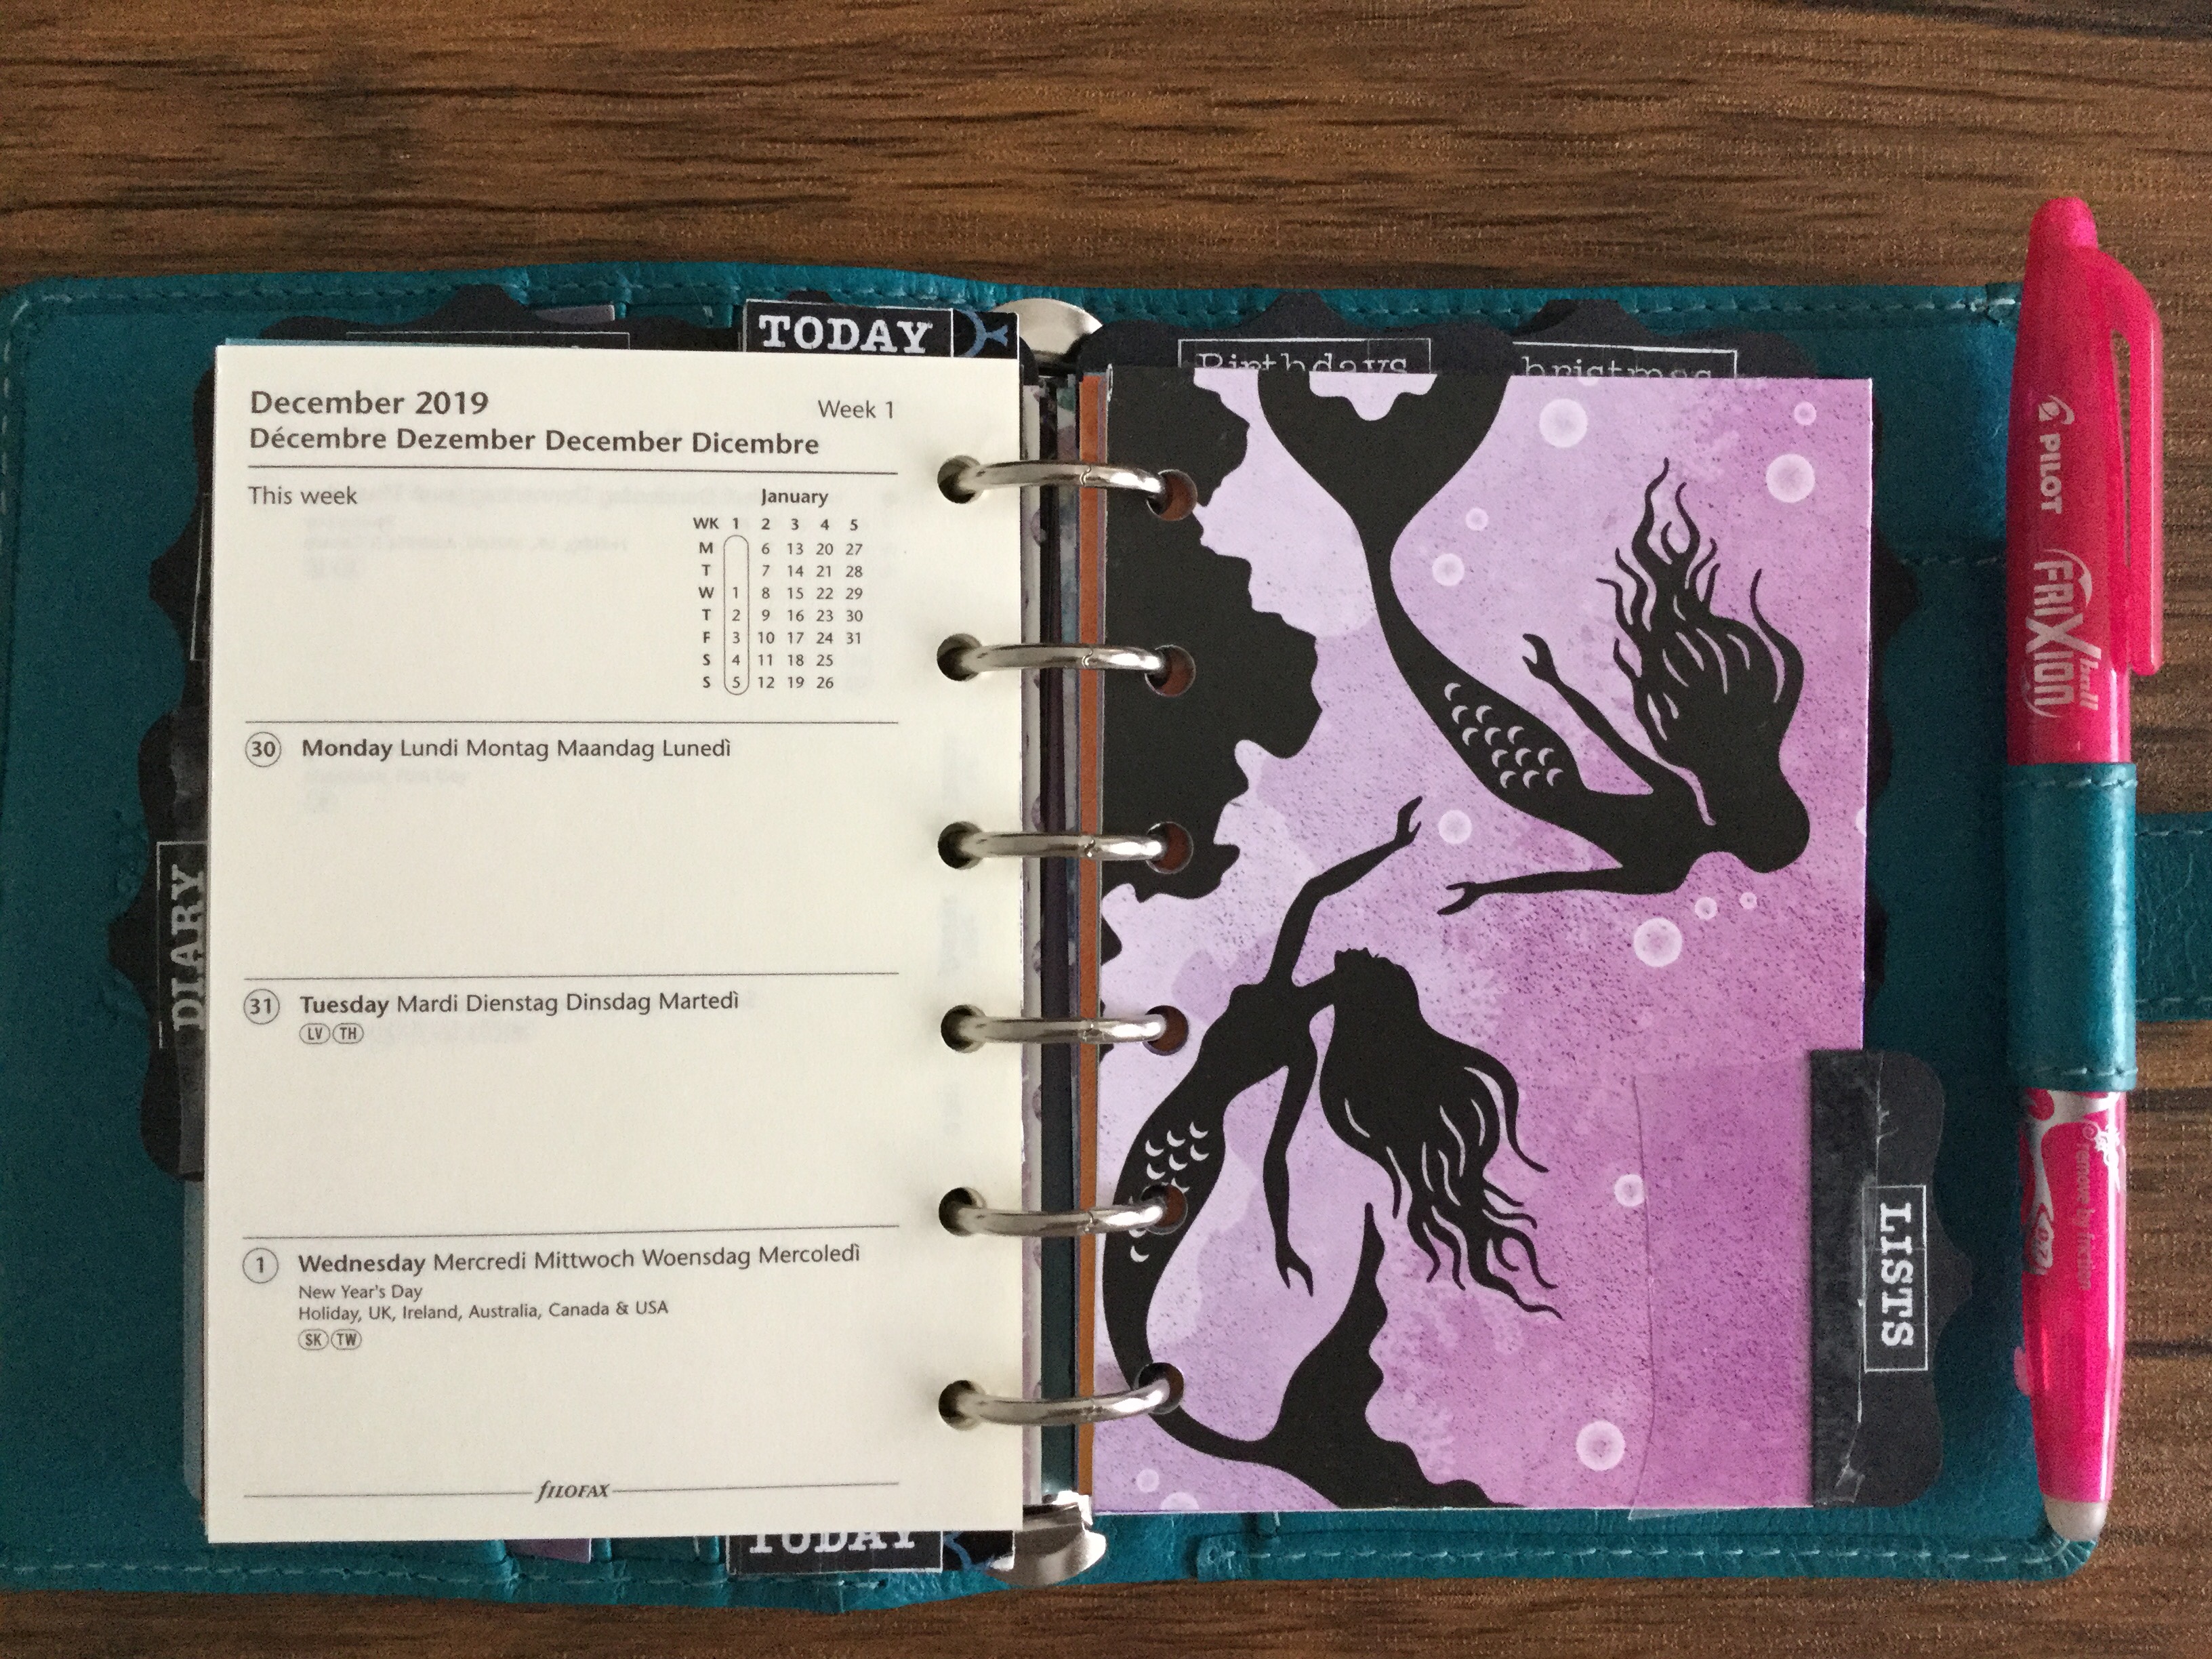
All over the bank holiday weekend I worked on inserts for it and, inspired by the colour, I decided to stay vibrant and go for a mermaid type of theme. You know my Filofaxes always seem to have themes!

I’ve used a lot of papers from “Hunkydory’s Twilight Under The Sea” collection and also the “First Edition Beyond The Shore” to create these dividers, markers note papers etc.

It’s by no means finished yet, but I just couldn’t wait for you to see it!And so, without further ado, please meet my latest addition 🙂

When I took it out of the box, I did my new favourite thing to do with the lived in Malden range – I massaged it with Coconut Oil so that it became buttery and soft and aged.

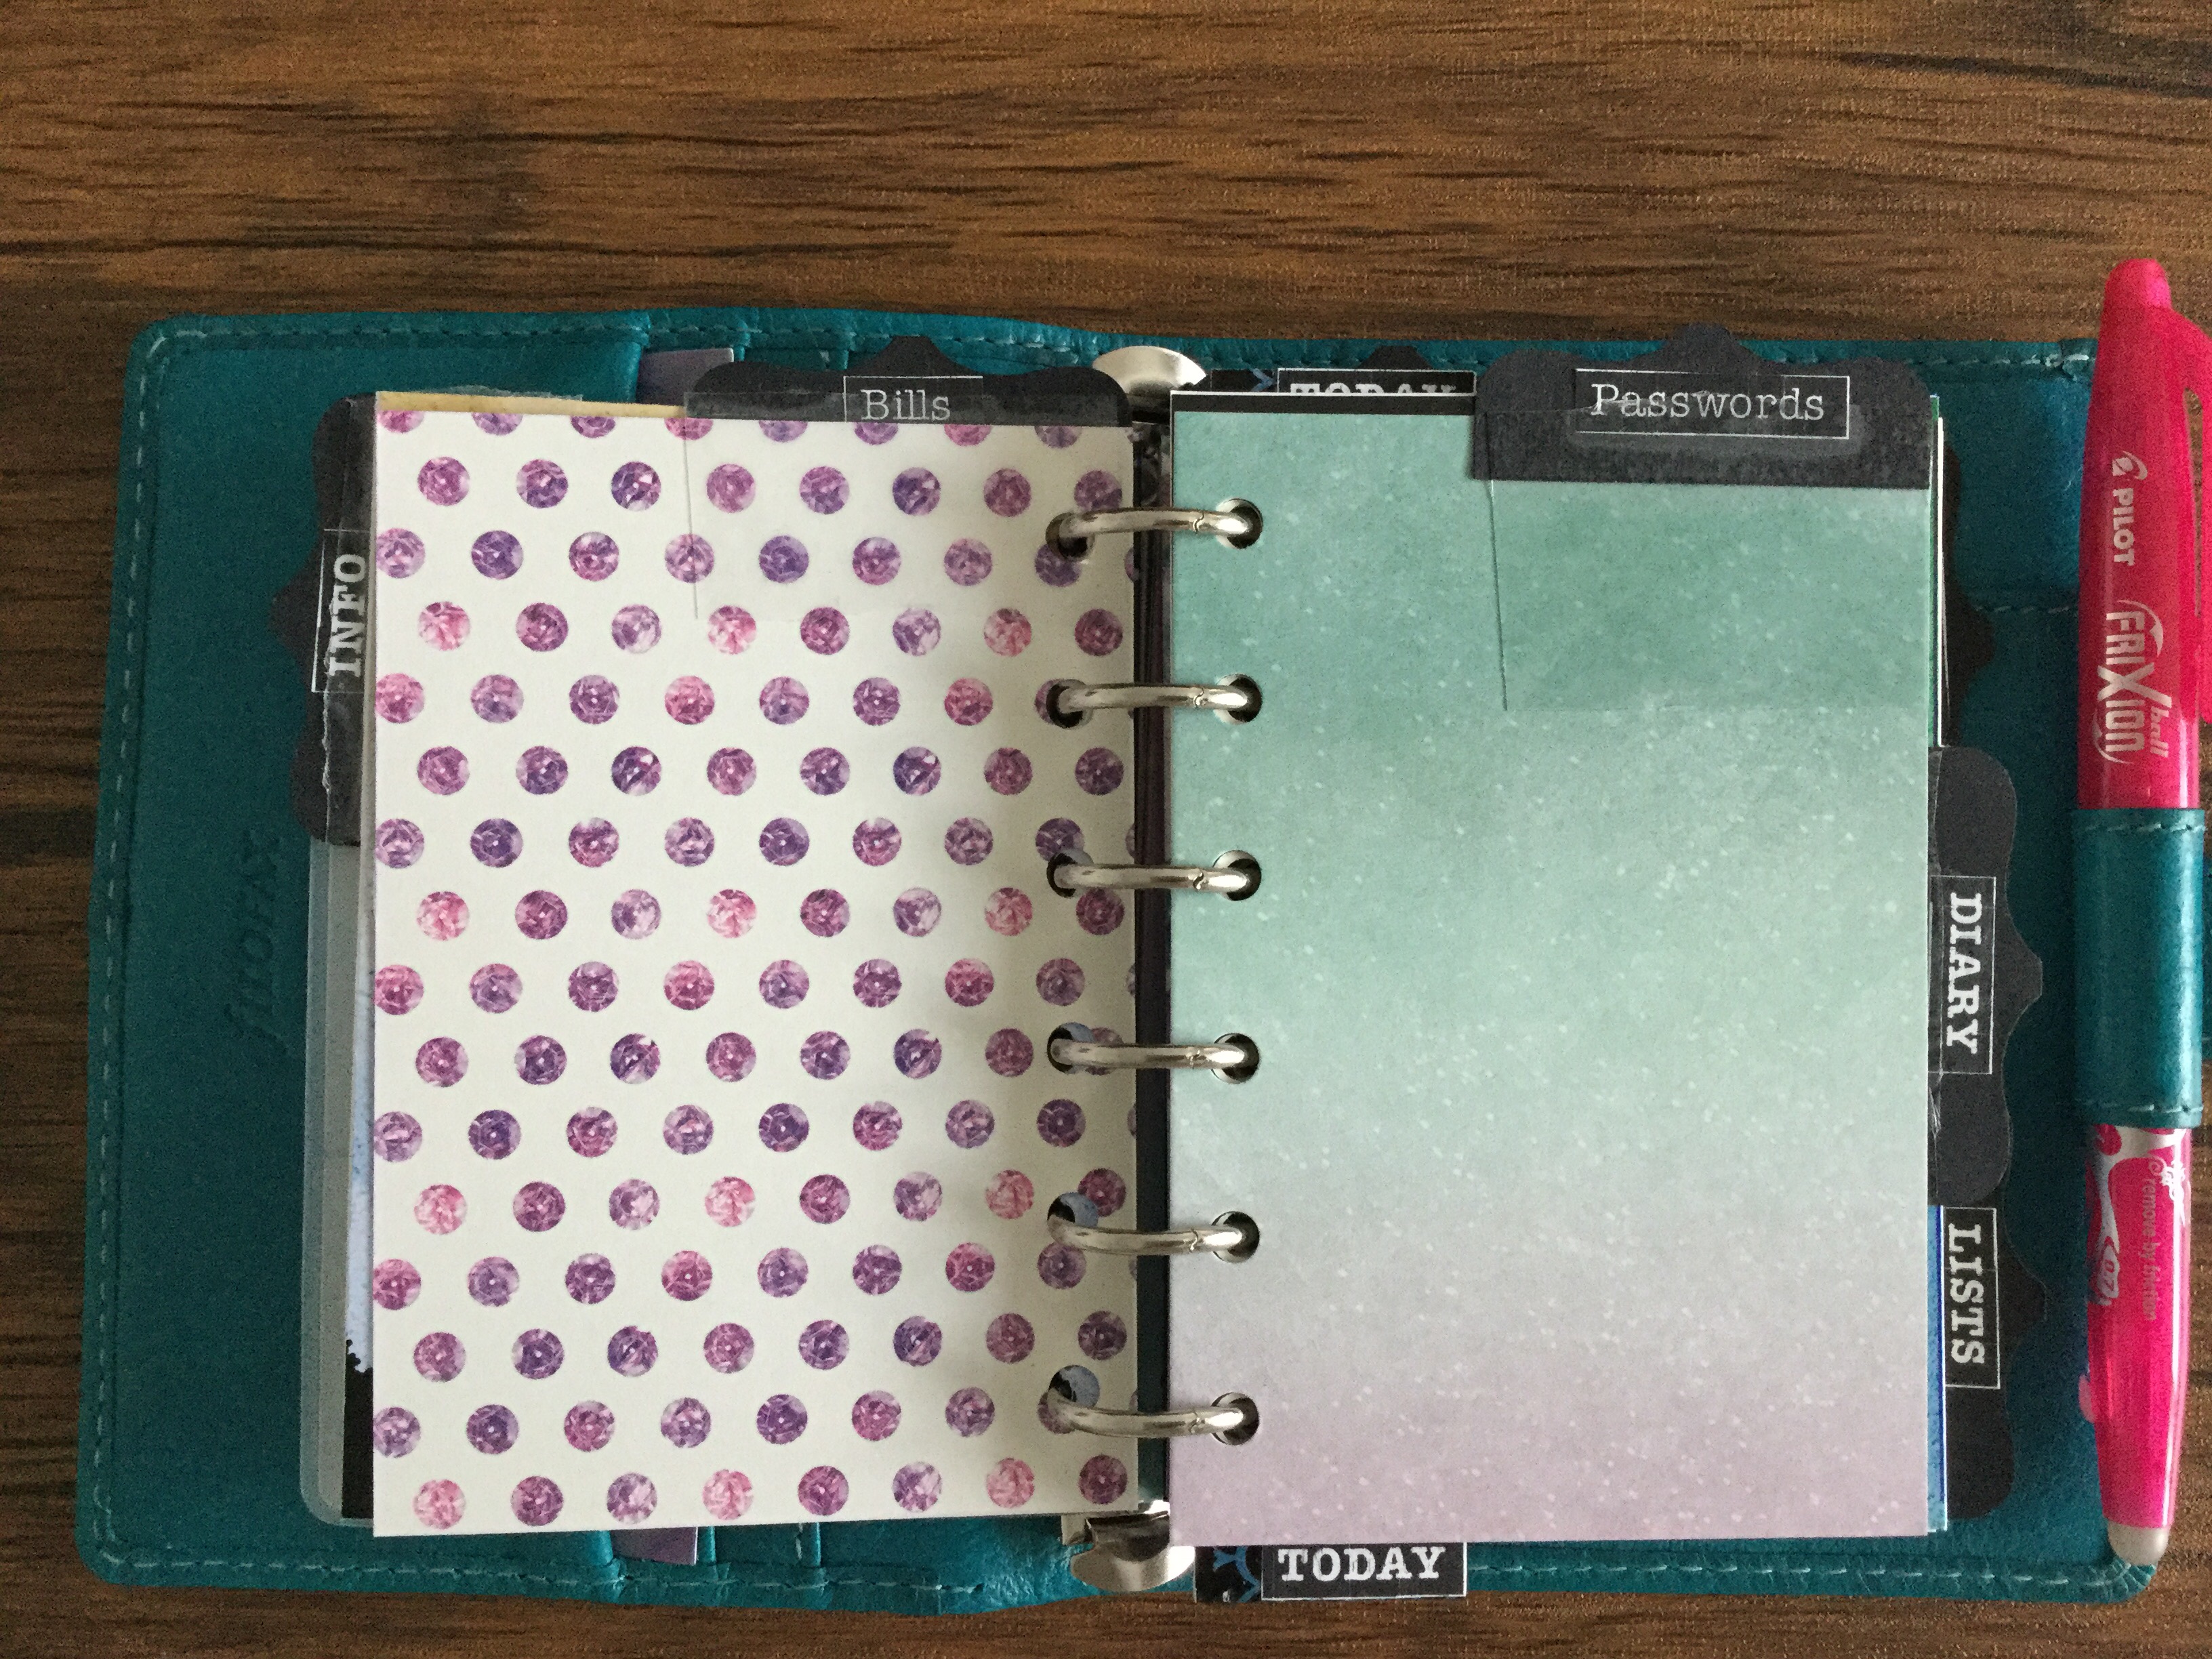
In the pockets I have an In Case of Emergency card that I created on Excel and stuck onto one of the scrapbook cards. In the pocket behind is a sticky notes section full of little tiny sticky notes – from Dovecraft. The Dashboard is an absolutely beautiful piece of art I just had to print out from Pinterest. It’s perhaps my favourite mermaid illustration ever. It’s so vibrant and mystical!

Behind the dashboard, another Pinterest find which is again, sublime! Then I have a credit card pocket with a die cut or topper from the Twilight Under the Sea range.

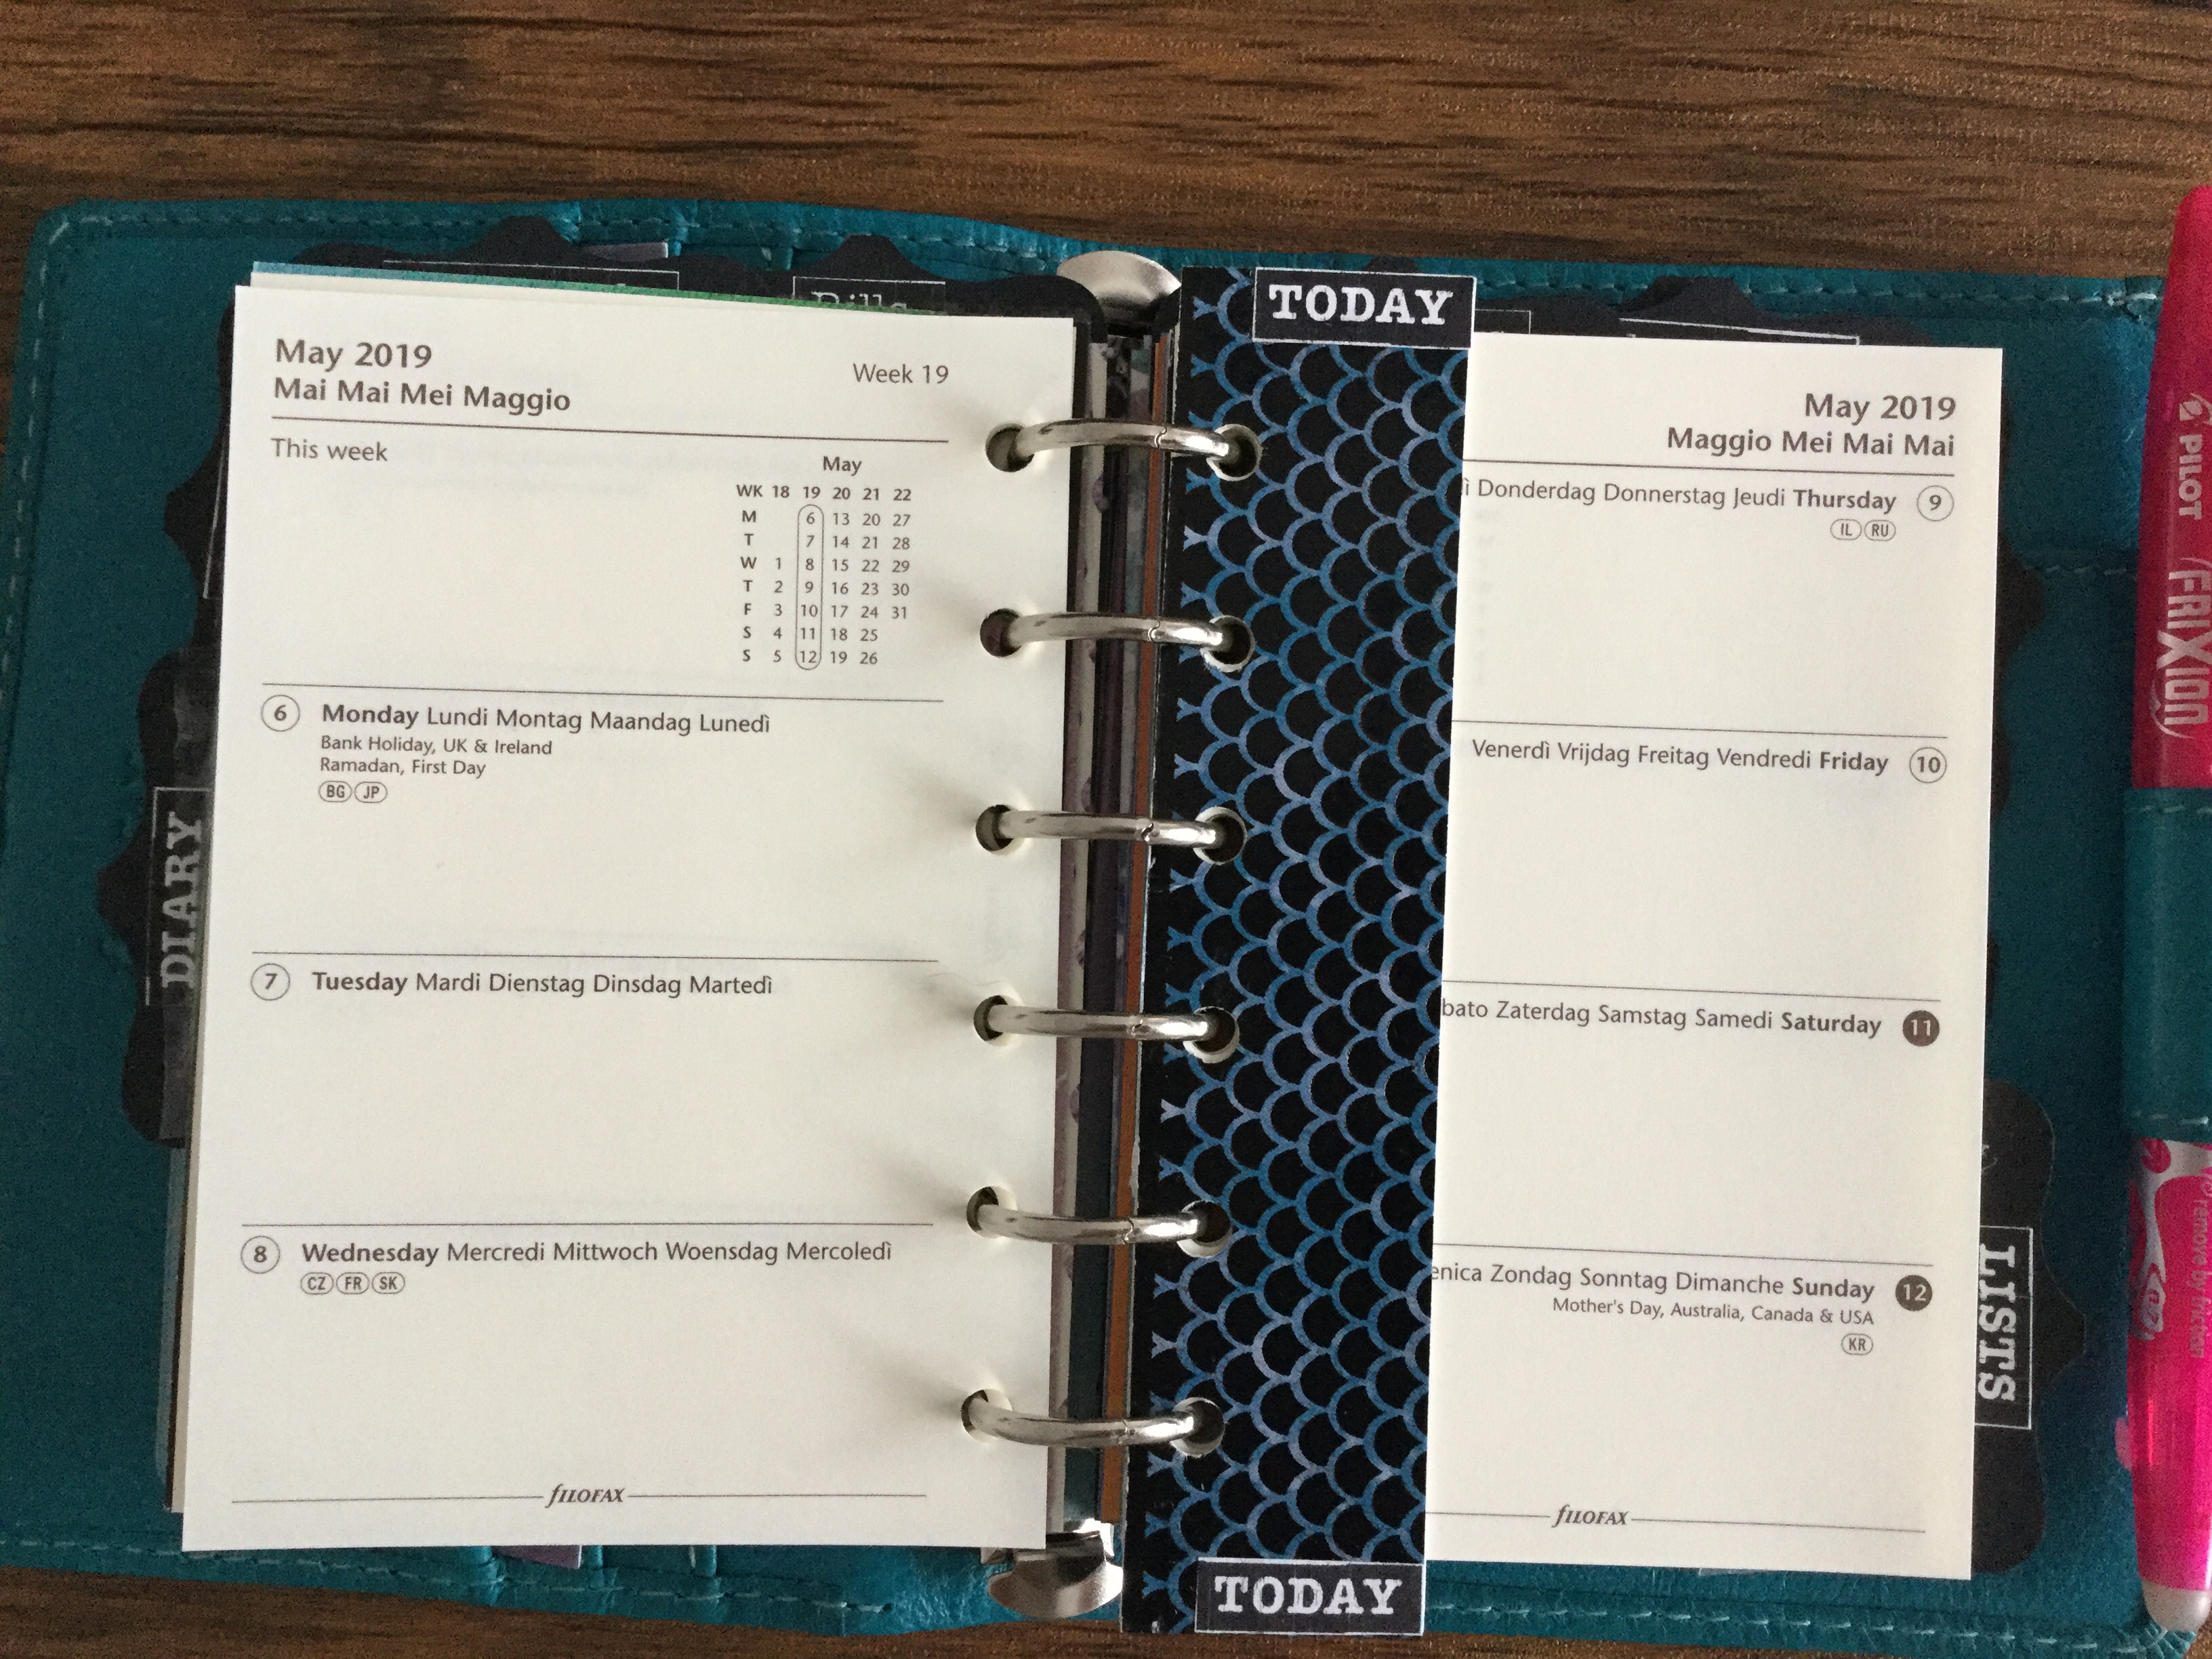
My tabs were all created using the “We R Memory Keepers” Bracket Tab and the labels were simply created in Excel, cut out very roughly and stuck onto the tabs with packing tape. I’ve used no laminate in this filofax.

The Today Bookmark was made with the “Twilight Inder The Sea” Cardstock and again, the labels were created on Excel, cut out very roughly and stuck onto the card.

Lastly I created this credit card holder with side pocket which I’m still not sure about… I don’t know if I’ll be keeping it in here just yet!

And that’s it! Like I say, I’m still setting things up and things are likely to move around as I find what works for me – it’s been a VERY long time since I was in a Pocket Filofax!

Pocket users – how do you utilise yours!? Any ideas will be great fully received 🙂

Until next time – carry on planning!

Kel

X

Back to Midori/Travelers Notebook we go!

Hello everyone!

Perhaps there is something magical about seeing the sun shining after days and days and days of unpredictable weather here in the UK. As we look forward to the summer and slightly warmer weather (I say as I am still tucked under two goose feather and down heavy duvets and wearing a fleecy robe! In MAY!), most Britons begin to daydream of summer adventures, travel, holidays, festivals and yes… The beer garden.

For me, it awakens my whimsical bohemian spirit once again after laying dormant for months, cooped up inside and forced to endure dark, cold early mornings and equally dark, rainy evenings. As much as I adore Autumn and  the opportunity to parade around in knee high and thigh high boots (but only ever over jeans, I’ll have you know!), after the January and February slump I yearn for the long dreamy evenings on the patio drinking a glass of wine or two surrounded by fairy lights and family/friends. I yearn for the early Sunday morning road trips going Antique Shopping in quaint little villages. I yearn to see the sea, to feel sand beneath my toes, to feel the sun on my back, to shut the world out and lose myself to the songs on my iPod.

And most of all, I crave the summer romantic bohemian fashion. The delicate crochet waistcoats, the floaty long dresses, the gold bangles, the ethnic inspired prints, the Indian sandals, the beach hair, the sunkissed tan. The cross body vintage bags… Holding cameras and a journal.

The Travelers Notebook, to me, is the most bohemian journal – it’s so simple yet functional and doesn’t look out of place on a beach in Australia or in a coffee shop in the UK. Travelers Notebooks are so versatile: they hold what YOU want them to hold. The booklets, interchangeable, are able to be personalised as much as you like, through the use of your own doodles, or by use of stamps or stickers or washi tape. The sturdy cover, made of leather; held together by a simple elastic band, ages so perfectly, over time developing a beautiful patina along with scratches… And every scratch tells a story. It’s journey really does merge with your own.

So… I recall two years ago, I purchased my own travelers notebook, made by Ray Blake of the website My Life All In One Place but after a few weeks of using it, I moved back to Filofax because I’d been so used to the system, so used to the ease of being able rip out a page or insert a page should I need to, that I could not seem to get used to the “restrictive” booklet style. 

But I continued to be in awe of them, admiring them. It wasn’t until I was travelling last year that I pulled it out again, and enjoyed the system, the idea of keeping everything together, flight tickets, passports, insurance documentation, currencies, something to note everything about my adventures down and an area to stash momentos ready to incorporate into my journal. 

When I got back home to the UK I immediately hopped onto Amazon and ordered the passport size Midori Travelers Notebook, with a few accessories. I used the system on and off for a good few months, but something about the size bothered me. It was perhaps too small for me.

Fast forward to last Wednesday night, browsing The Journal Shop and realising they provide a discount with your first shop, making the TN cheaper than Amazon, I hit the checkout button faster than I could talk myself out of it. Even though I selected the free delivery (stated up to 7 days), the TN arrived on Friday morning, much to my very happy suprise (I was recovering from an ear infection). And so, I’d like to welcome you to my journey with my new TN…


Have you got a Travelers Notebook yet?

Catch you later!

Kel

Xxx

A Day with the Raydori

Hi there

Righty, after a day with the Raydori Traveler’s Notebook, I’m going to update you on what I’ve been up to in terms of attempting to set it up… Or rather how I’ve been bamboozled by my lovely printer settings.

Yesterday I popped to my local garden and arts/crafts centre to see what I could pick up for the newest binder of my growing planner collection. I picked up a couple of vintage buttons, marker pens and a couple of A5 sketch pages in the shape of exercise books.

I spent the majority of the daytime wondering (and worrying) about tackling the printouts for my diary and month to view calendar and cutting the printouts down… And it wasn’t until I sat down with it again at 8.30pm I decided what I would do: I would design my own planner pages, undated.

So, I got onto excel, printing off the days of the week, cutting and sticking onto the middle page of Ray’s lined booklet provided with the notebook. It looked like this:

20140720-041037-15037333.jpg

I scanned the end result in and then printed it onto the A5 sketchbook I had purchased:

20140720-041101-15061921.jpg

Then I just trimmed the edges down.

20140720-041315-15195985.jpg

So, I put it all back together and had a quick attempt at filling in a few pages… Here you go:

20140720-041705-15425421.jpg

20140720-041733-15453933.jpg

20140720-041801-15481857.jpg

I’m trying a new way of colour coding: highlighting. You can see my code that I’ve taped onto the page marker. I’ve been colour coding using frixxon pens since last year and I’ve found it highly effective. I’m usually a serial neat freak, everything has to be “just so”, hence the erasable pens usually: I hate seeing crossed out cancelled appointments, it makes it look reply messy. However, I’m trying to embrace the whole “it’s ok to be imperfect”, and looking at the binder, I know it won’t mind a few imperfections here and there ;), so I’ve switched to normal biro’s and highlighters instead.

You’ll also probably notice that I’m using a week per page. This is because lately my weeks have been a little bare; my Filofax has been seeing a lot of gaps. So with the extra height I’m using it to see how I get on with the week per page instead of a week to view. My to do’s will probably survive on post it’s/page-flags etc ;)… We will see!

Anyhow… Moving on…

20140720-043352-16432200.jpg

A couple more pages filled in…

Next I have the back page of the 1st booklet, to show you how the printable is looking in the booklet without any filling in:

20140720-043639-16599038.jpg

The rest is just a couple of photos where everything else is (barely anything yet but hey ho…!)

20140720-043826-16706640.jpg

20140720-043850-16730479.jpg

20140720-043917-16757599.jpg

20140720-043940-16780277.jpg

And there we have it so far!

How have you set yours up?

Kel

X